May 31, 2009

Sarubobo variation

I made some styles of Sarubobo these days.
Sarubobo on the rope
The first ones are hanging dolls.
I made nine sarubobo, and put them on the rope.
Sarubobo on the rope
They are detachable from the rope.
Sarubobo on the rope
They are in different poses.
Sarubobo on the rope
I sewed their hands to catch the rope. Some of them catch the rope with their legs.

Hana bobo
The other ones are with flowers.
I thought they wanted to have a flower in their hands.
Hana bobo
The flowers are also detachable.

Hana bobo
I like this flower, because I made it with the fabric from Ravenhill.
I love this flower print.

I think if I can give you some ideas.
Thank you for reading!

May 29, 2009

How to make Sarubobo plush

Sarubobo

I wanted to write here the way to make Sarubobo plush.
It's easy and simple.
But I found some variations, so I tried some patterns.
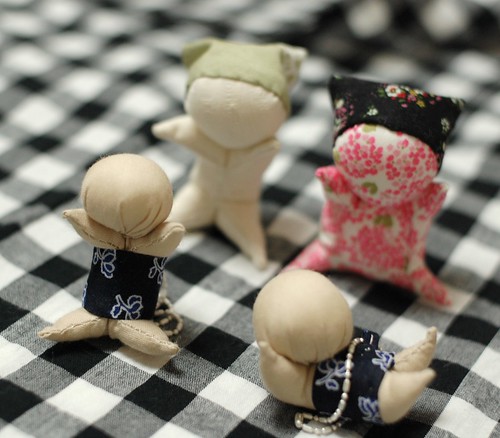
The first one is very simple, traditional one. I need only one circle and one rectangle.
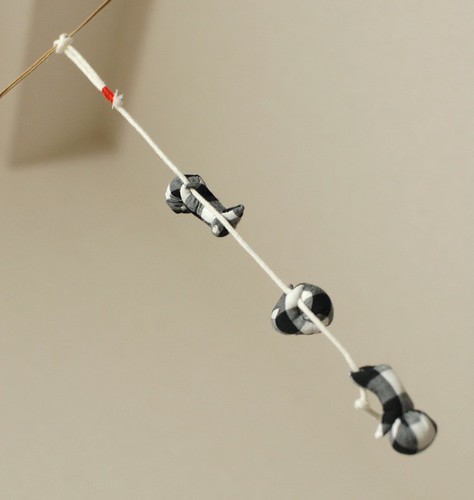
With this recipe, you can make this Sarubobo. This is the recipe 1.
Sarubobo, pattern 1

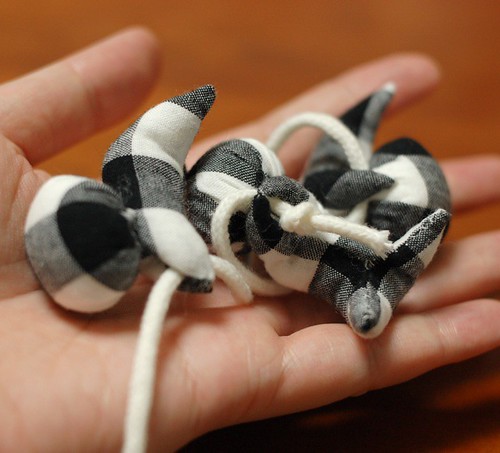
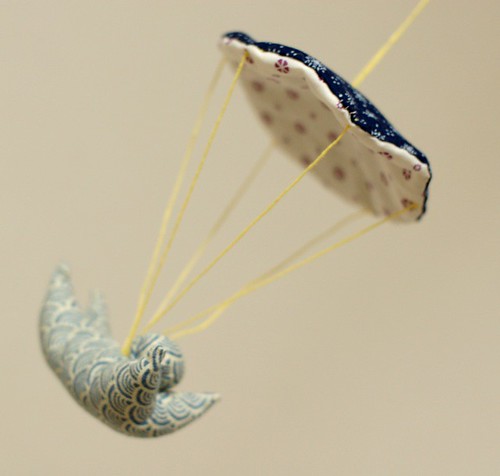
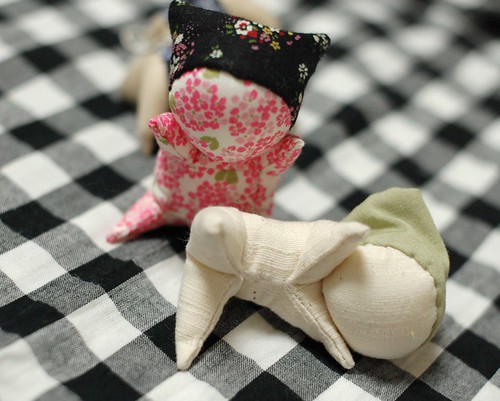
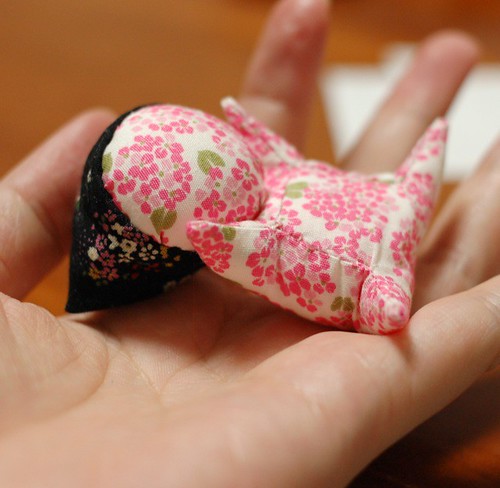
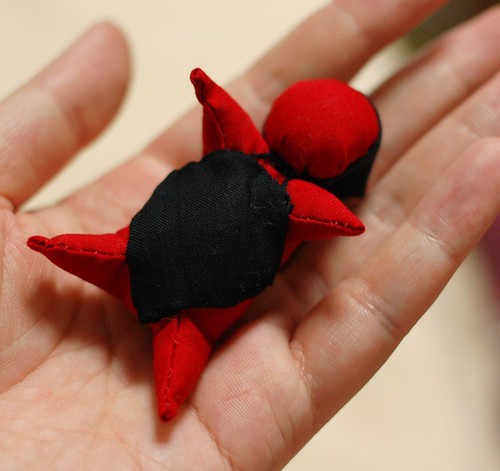
If you put the head on the back, you can make this(It's flying!). This is the recipe 2.
Sarubobo pattern 2

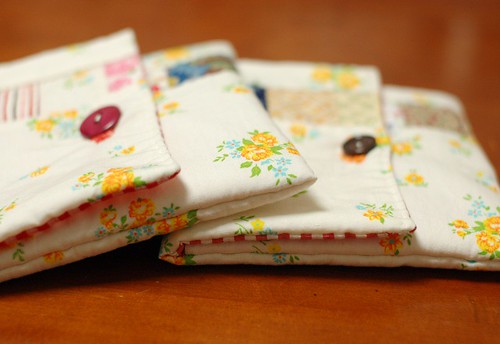
And you can put hats on them. This is the recipe 3(The white one).
Sarubobo, pattern 3 and 4
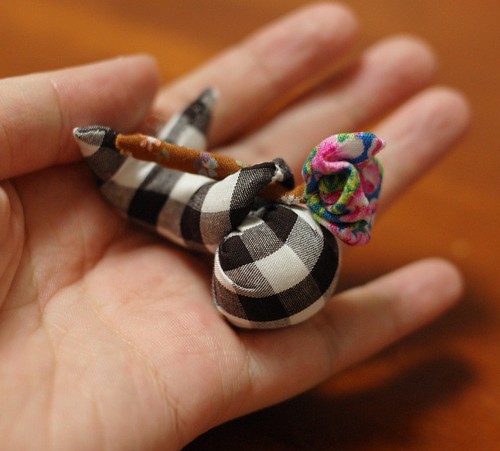
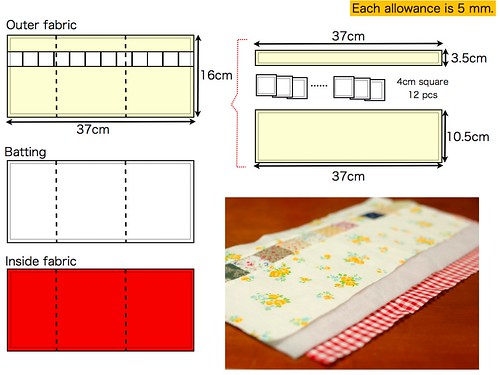
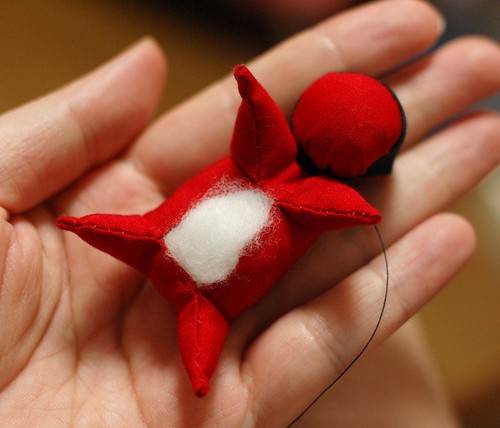
The last one has different body. I made it with not rectangle, but square pattern. In the traditional recipe, they make the body with square. But it has a big hole in the middle, so they put a cloth to hide it.
So I made a little different pattern to close the hole. This is the recipe 4(The pink one).
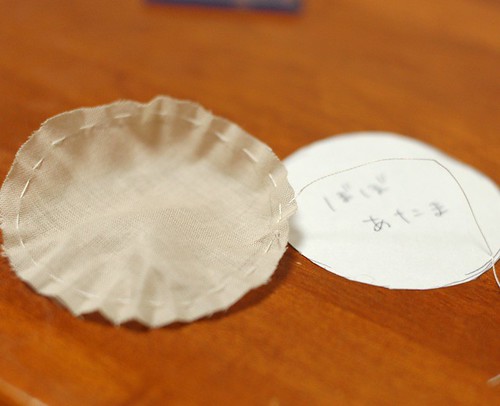
The recipe 1
This is the basic recipe. Prepare the pattens of 5 cm diameter circle and 5 x 6 cm rectangle. The circle one is for the head, and the rectangle is for the body. I put 5 mm allowance for each.
Sarubobo pattern 1, step 1
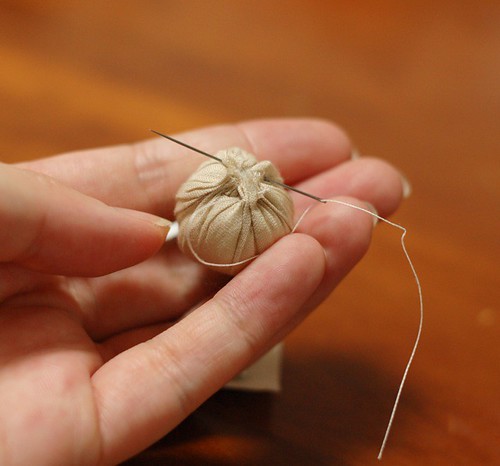
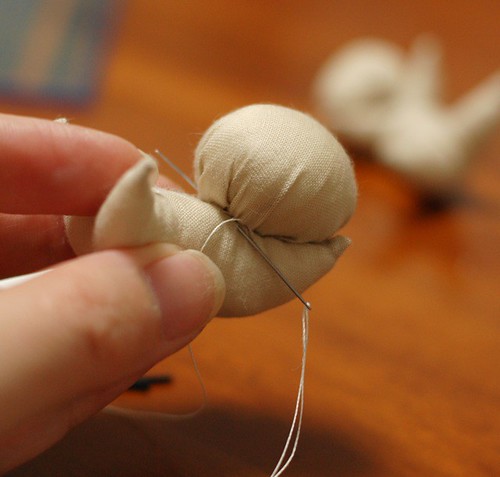
At first, make the head. Sew the edge of the circle roughly.
Sarubobo pattern 1, step 2

Then, put stuffing and pull the thread. Sew some places and make the ball.
Sarubobo pattern 1, step 3

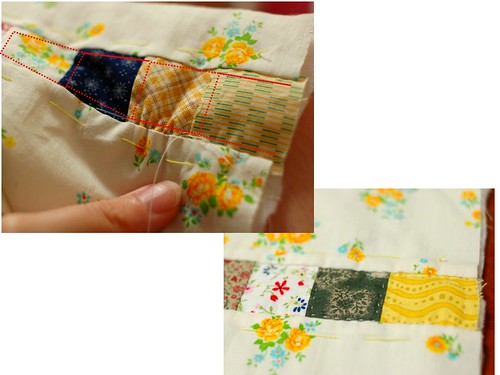
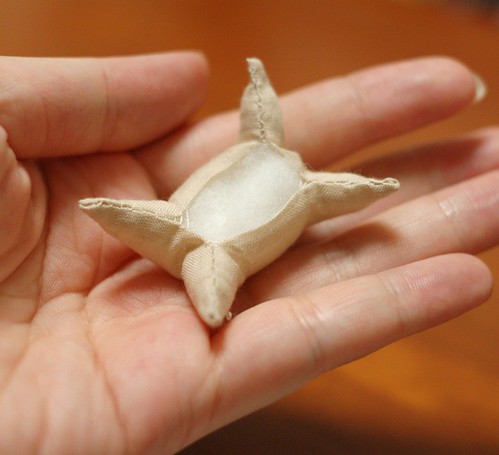
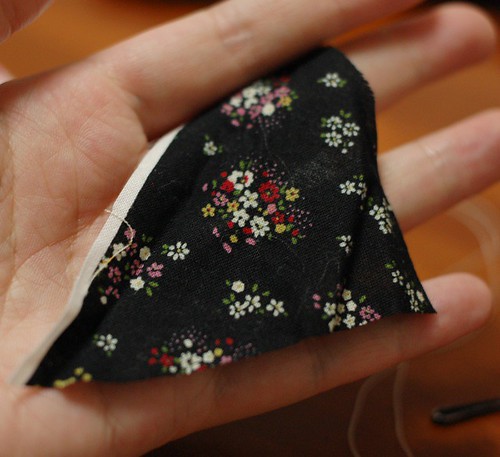
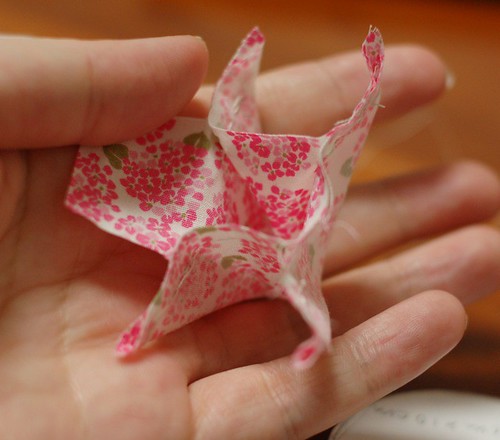
To the next, make the body. Every corners is their hand or leg. And there should be left the space (1 cm) to turn it out.
Sarubobo pattern 1, step 4
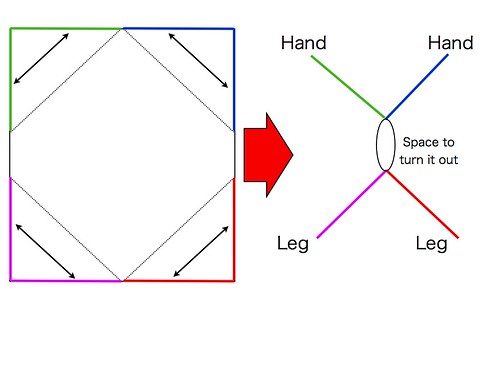
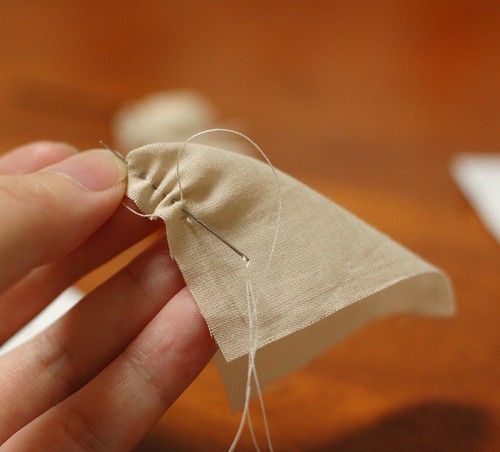
Take one corner and fold it like the picture and sew from the middle of the shorter side to the end of the corner. I sewed it from some millimeters closer to the corner from the middle to make bigger space.
Sarubobo pattern 1, step 5
After you sew the four limbs, it comes like the picture.
Sarubobo pattern 1, step 6
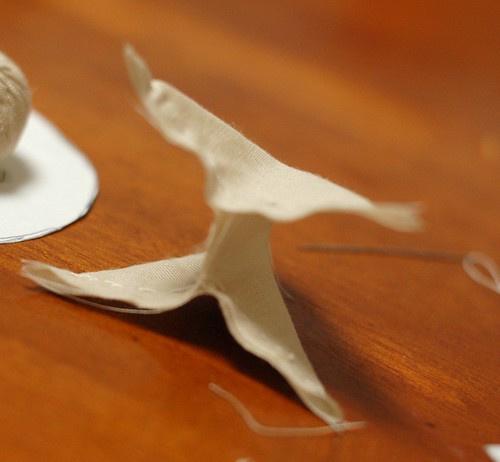
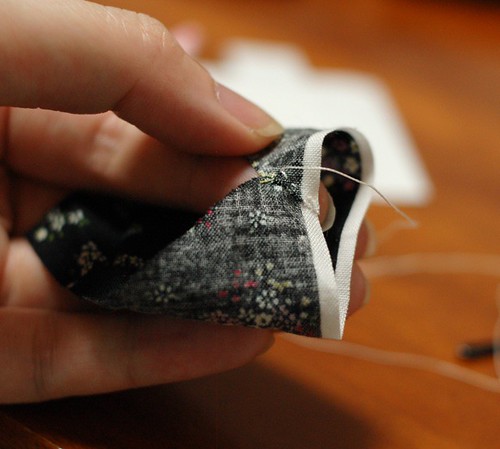
Then turn it out from the space of the center.
Sarubobo pattern 1, step 7
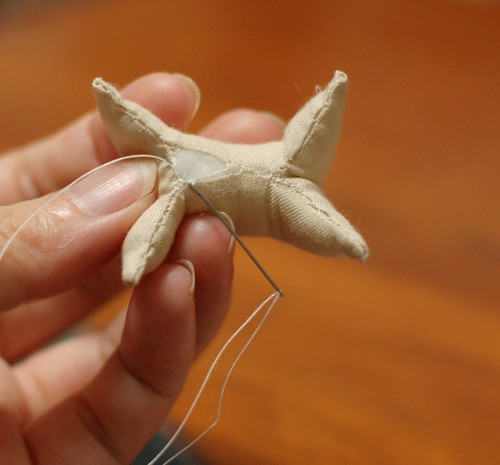
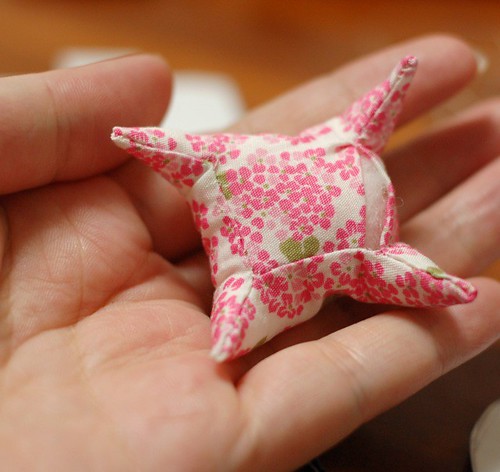
And put the stuffing little by little from the corner. I put it with my hair pin.
Sarubobo pattern 1, step 8
Then close the space.
Sarubobo pattern 1, step 9

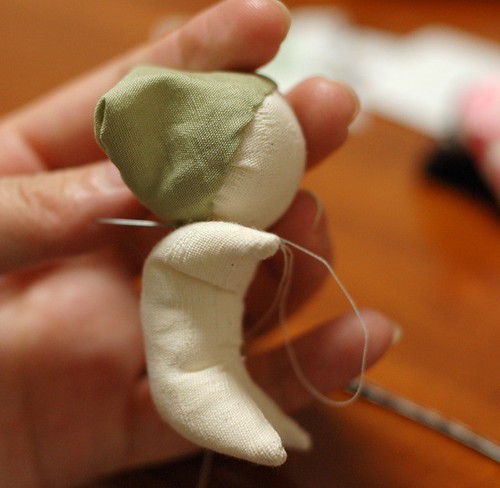
You made the body and the head.
Sarubobo pattern 1, step 10

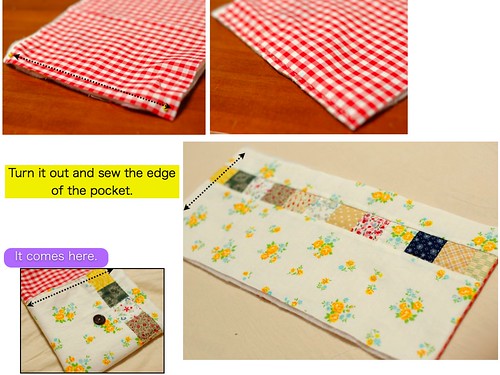
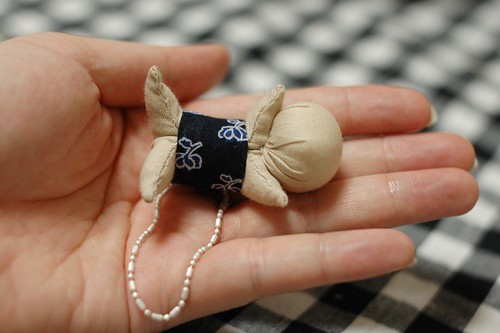
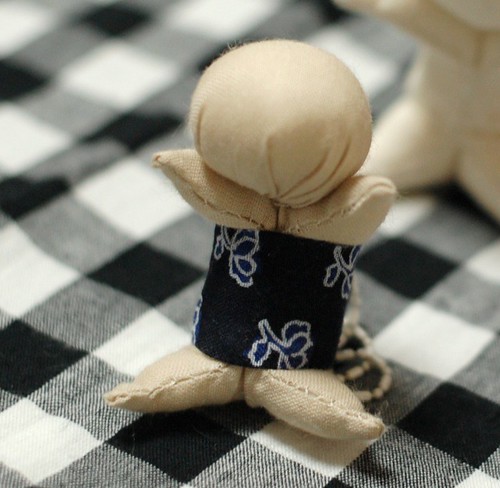
Then, sew the head on the body. That's all.
Sarubobo pattern 1, step 11
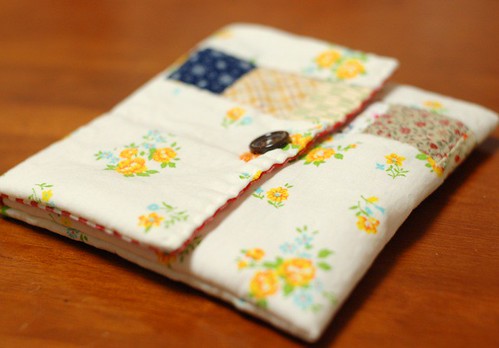
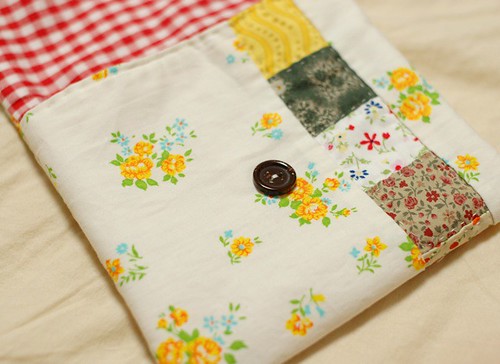
I made the clothing for it. I only put the strip on it.
Sarubobo pattern 1, step 12

The recipe 2

Make the body and the head like the recipe 1, and put the head on the back of the body.
Sarubobo pattern 2
It's like flying!
Sarubobo pattern 2

The recipe 3
For this and for the recipe 4, I make the pattern little bigger than the recipe 1 and 2. The circle is 6.5 cm diameter, and the rectangle is 6 cm x 7 cm.
At first, make the head like the recipe 1.
Sarubobo pattern 3, step 1

Then, make the hat. Prepare the piece of a rectangular triangle of 7.5 cm side.
Sarubobo pattern 3, step 2
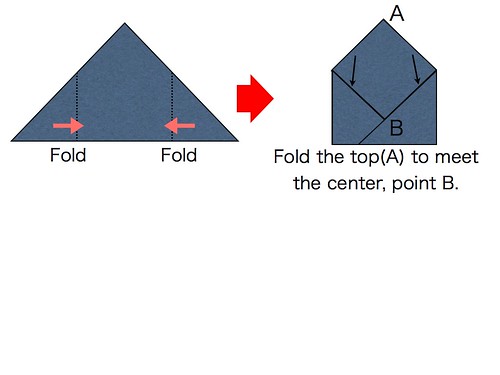
Then fold each end to meet at the middle of the back. Put the right side inside.

Sarubobo pattern 3, step 3
Sew the point.
Sarubobo pattern 3, step 4
Then Fold the top to meet to the sewed point and sew the line.
Sarubobo pattern 3, step 5
It comes like this.
Sarubobo pattern 3, step 6
Then turn it out.
Sarubobo pattern 3, step 7
Put the hat on the head folding the edge a little and sew it.
Sarubobo pattern 3, step 8
And put the head on the body.

The recipe 4
Sarubobo pattern 4, step 1
This has the different pattern of body from others. The pattern is 6 cm square with the 2 cm square on the middle of the top.
Sarubobo pattern 4, step 2
Sew each leg like the recipe 1 leaving the 2 cm square.
Sarubobo pattern 4, step 3
And then sew the two sides of the 2 cm square to close the space, only one side left.

Sarubobo pattern 4, step 4
Turn it out, fill with the stuffing and close the space.
Sarubobo pattern 4, step 5
Put the head on the body. You did it!

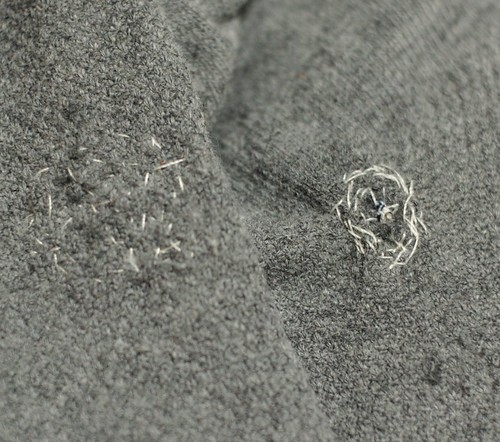
If you make the body with a square, you leave the space in the center.
Sarubobo, with space open
In such case, you can make the cloth for it and hide the space. This is the traditional recipe.
Sarubobo, with space open

I'm sorry to write so long and the explanation is too complicated.
If you have any questions, please leave a comment.

Enjoy Sarubobo!

May 26, 2009

He wanted to close the hole

socks
Yesterday, my boyfriend took a pair of his socks.
They had a hole on each.
So he sewed one, and I sewed the other.
The left one is what I did, and the right one is his.

He doesn't sew at all usually. He used the needle very carefully, little by little. So he took three times more than me, but he seemed to enjoy it.
I had very happy time, even if it was only 15 minutes.

May 25, 2009

Flying Sarubobo

Flying bobo
Today I made two Sarubobo, Japanese plushes.
"Saru" means monkey and "Bobo" means baby.
Wikipedia Sarubobo

In common recipe, the head comes top of the body.
But I put the head on the back. So usually it seems sitting, but this bobo seems like flying.
Flying bobo
When I finished making one, my boyfriend said to me to put a parachute on it.
Good idea!

Then I made parachute for it. It seems like flying.
Flying bobo

The recipe of saru bobo is very simple and easy.
I'll write here someday.
Flying bobo

May 23, 2009

How to make a patchwork button pouch

Patchwork button pouch
Today, I'll show you how I make button pouches. I think it's an easy way, but I've never learned sewing techniques, so if you know better way, please tell me!

Patchwork button pouch
This pouch measures 15 cm wide, 13 cm tall.
To make it, you need the outer fabric, the inner fabric and batting. Each measures 16 cm wide, 37 cm long(with 5 mm allowance).
How to make a patchwork pouch (1)

I patchworked the outer fabric, so I cut fabrics like the following.
-yellow flower printed fabric: two strips, 3.5 cm x 37 cm and 10.5 cm x 37 cm (with 5 mm allowance)
-patchwork: 12 pieces of 4 cm x 4 cm(with 5 mm allowance)
At first, sew each square pieces to make a long strip and iron it.
Then, put the three strips like the picture, and sew together.
Iron it again.
How to make a patchwork pouch (2)

Then, quilt the outer fabric and batting(Only these two!).
Place the outer on the batting, and baste them.
Then, quilt it. I sewed approx. 1-2 mm inside of each square.
How to make a patchwork pouch (3)

Put the inline fabric on the outer fabric to make the right side inside, and sew the two edges(the shorter edges).

Turn it out and stitch the edge which comes to the top of the pocket.
How to make a patchwork pouch (4)

Then, turn it out again and place it making the pocket.(The stitch line of the top of the pocket comes to the middle).
Sew the side line leaving the space to turn it out.
How to make a patchwork pouch(5)
Turn it out and close the space.

Put the button and make the button hole. I made it with Sashiko thread.
How to make a patchwork pouch (6)
How to make a patchwork pouch (7)

That's all!
Thank you very much for reading this long post. I felt many difficulties to explain it in English, but I did it anyway!