Jul 30, 2009

How to make a tetra charm

As I wrote the previous post, I write here how to make a tetra charm.
You need only a piece of rectangle, stuffing and a piece of tape or string.
Petit gift for customers, tetra charm
I made in two sizes. The one is from 7cm x 3.5 cm rectangle, and the smaller one is from 5cm x 2.5 cm rectangle. They both includes allowances of 3mm.

Tetra charm
The bigger ones are what I post yesterday, and the smaller ones are these.
I made a bracelet with these smaller tetras.
Tetra bracelet

How to make a tetra charm 1
These are cut pieces, 5cm x 2.5 cm.

How to make a tetra charm 2
At first, fold the allowance of a longer side like the picture. This edge is what you sew at last.
How to make a tetra charm 3
Then, fold it in two and sew like the picture.

How to make a tetra charm 4
Open the allowance and fold it like the picture, and sew the not folded edge.
How to make a tetra charm 5

How to make a tetra charm 6
Turn it out.

How to make a tetra charm 7
Put the stuffing making the tetra shape(The edge of both sides intersect one another).

How to make a tetra charm 8
Then, sew the folded edge using blind stitch, putting a string on the top.

How to make a tetra charm 9
Finished!

Tetra bracelet
I put them on the linen code and made a bracelet.
It closes with a loop and a tetra (* v *).
Tetra bracelet

By the way,,,
Today I got another bread crust from other bakery. They gave me without any charge (* v *)!!!!!
Bread crust pizza

Jul 29, 2009

Patchwork cube drawstring bags

Patchwork cube drawstring bag
I made these four bags yesterday.
They are made with square pieces.
It's very easy pattern, so I'll write here the recipe in several days.


The inner fabric is Japanese cotton linen. It's good texture and thicker than cotton.
Patchwork cube drawstring bag

And I put low profile batting on the bottom, to keep the items well.
Patchwork cube drawstring bag

It open widely, so you can use it as a basket too. So I think this is good for sewing or knitting project, maybe making sarubobo.
Patchwork cube drawstring bag

Patchwork cube drawstring bag
I like this one. It's with american cotton fabric from my friend, EmiShimosato.

And also, I made some little gifts for my customers today.
Petit gift for customers, tetra charm
They are very easy to make, from a piece of rectangle. I like this kind of simple idea. I made one in 10 minutes.
I'll write how to make it in next article.
Petit gift for customers, tetra charm

Have a good day!!!!

Jul 26, 2009

A sunny day

2009.7.25.
The day before yesterday, it was very sunny day, and not too hot in Japan.
So we went for a walk, long walk with our cameras.
We like taking pictures. I especially like taking pictures of what we eat(I love eating!), and he likes taking pictures of nature and animals.

At first, we took the lunch in an italian restaurant.
2009.7.25.
I like the restaurant, but the portion is too small for us always... Maybe 1/3 of size in Italy.
2009.7.25.

Then, we walked seeing the beautiful sky for more than 2 hours.
2009.7.25.

While we were walking, we met some cute cats.
2009.7.25.
2009.7.25.
He was sleeping, but we waked him up. I'm sorry...

2009.7.25.
These two cats are in the same house. One is always on the roof, and the other is always near the door, maybe waiting food.
2009.7.25.

We like such a usual walking.

When we walked in another town last week, we found a good bakery.
We got some breads there and I asked whether they had bread crust. They had and sell it with only 0.5 dollars for 500g or more.
Could you get it in your country? In Japan, we see it only in some small bakery. And usually they don't display crust. So we should ask to get it.

The crust of this bakery was absolutely good taste so we enjoyed it very much.
I baked it with butter and sugar.
Bread crust
Or I put some cheese on it.
Bread crust

Most of bakery through the crust away in huge amount. I don't like the way.
So to get the crust in this shop, I should take buses and it costs more than 4 dollars, but I'd like to go there to get it. Otherwise, they should throw it away.
It's my way for eco!

Jul 23, 2009

Sloth, sloth, sloth!!!!

Sloth cuff
In these two days, I made six sloth cuffs!
Two of them are for custom orders, and the other for are for my shop.

At first, I make their faces and put them on their body.
Then, I sew them at a time,
Making sloth cuff
and cut the allowances,
Making sloth cuff

then turn them out. This is the most time-consuming process. It's hard to turn out the thin arms!!!!
Making sloth cuff
I picked the arm little by little with a thick needle.
If you know the better way,,, please teach me!!!!

At last, close the space to turn out, and put a button on each.
Sloth cuff

It's hard to find good buttons, so I always look for new buttons.

Oh, I went to Bo-chan yesterday. It rained yesterday so he couldn't go out, but he was sitting on the entrance and we could see him.
These days, it's not so hot in Japan, and he seems very well (* v *)!!!!

Jul 22, 2009

Here are the winners of my 1st. Giveaway!

Thank you very much for your comments on my Giveaway post!
I wrote down all of your names on pieces and my boyfriend fold them in four. They were approx. 200 pieces!!!! I used recycled paper as always. If you got any package from me, you know that I use recycled catalog or Japanese maps to my package. I also use recycled papers when I make patterns (* v *)! I like drawing, so if I find paper near me, I cannot stop writing or drawing on it.

Oh,, I'm sorry. I should return to the giveaway...

At first, I thought to make three boxes for each giveaway, but some people wrote their two choices. It became difficult to separate.
My first giveaway, drawing
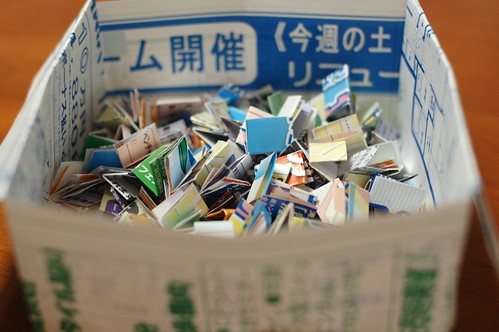
So I put all the names in one box, and picked five names from it.

!!!!Here are the winners !!!!
My first giveaway

My boyfriend picked the first winner,
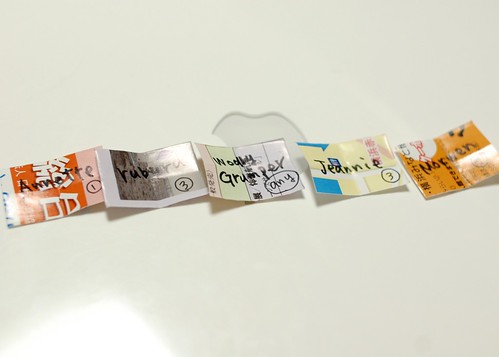
 Annette!!!!
She chose the giveaway 1, Sashiko stitch book. Enjoy the book!
Giveaway 1
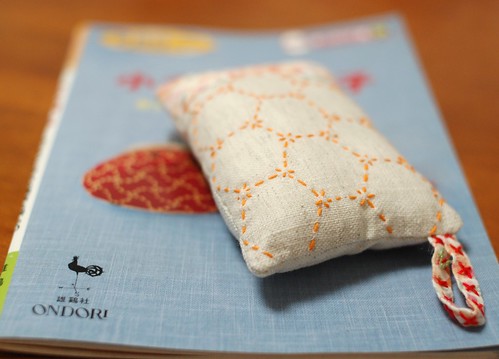
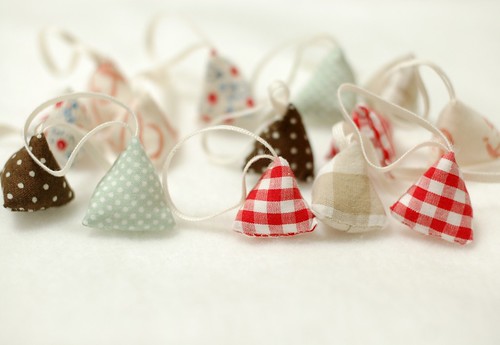
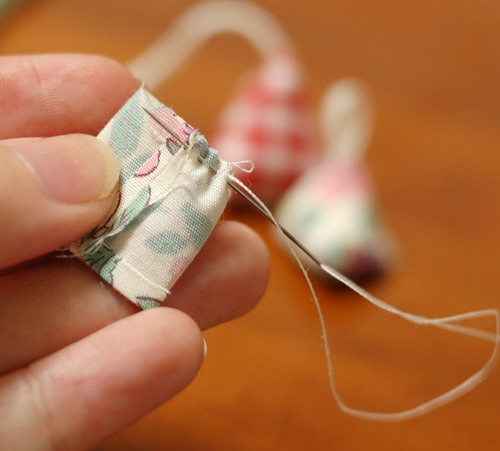
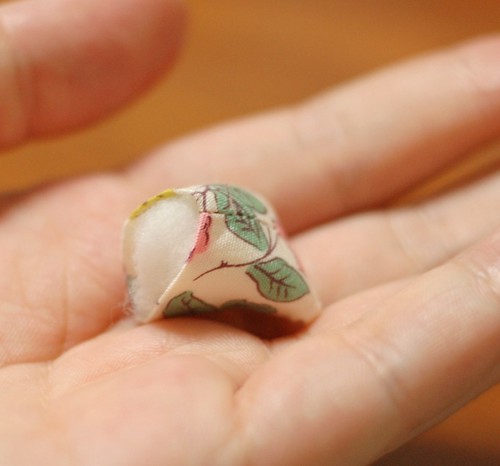
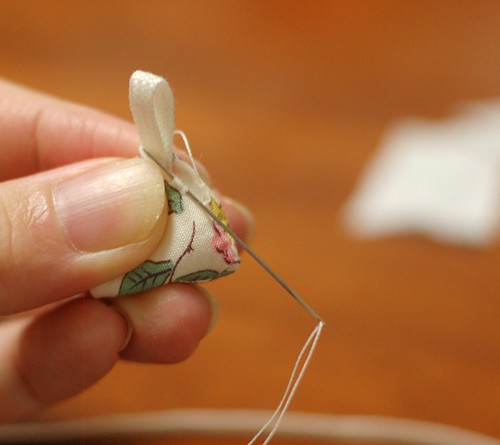
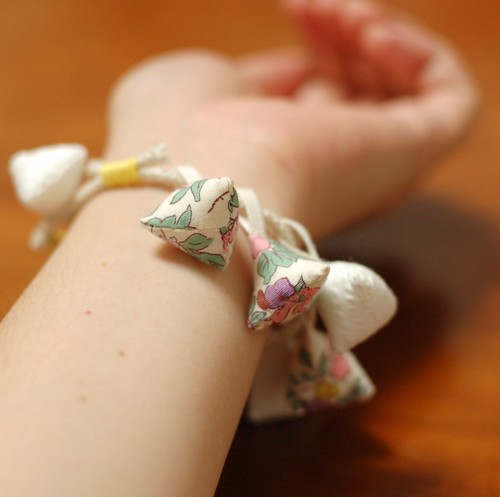
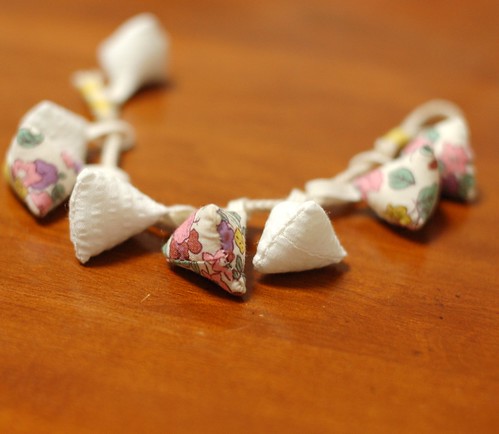
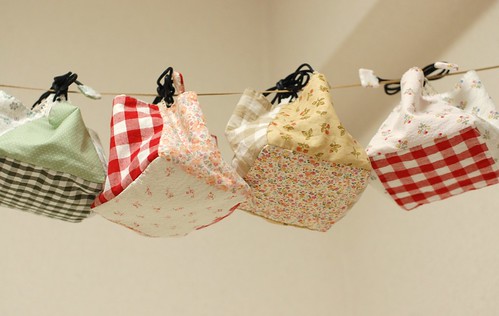
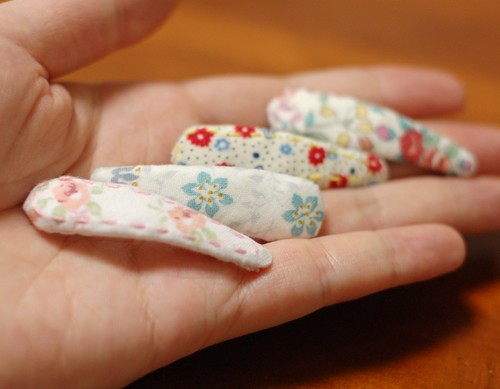
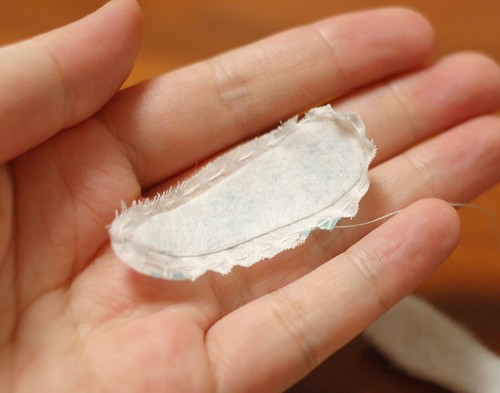
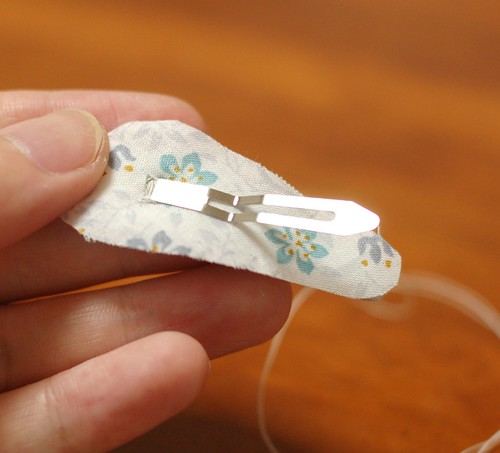
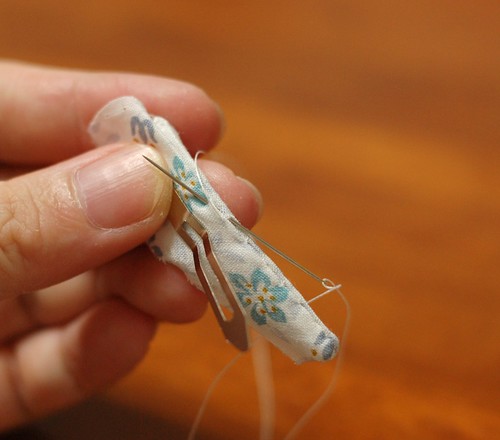
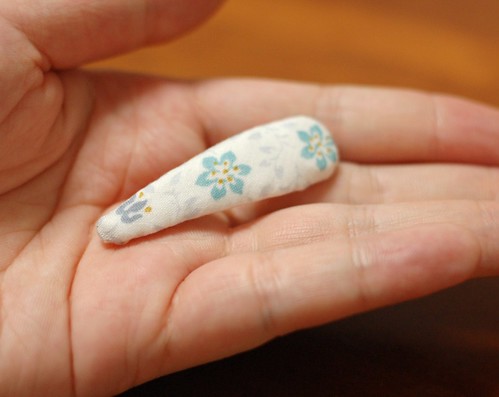
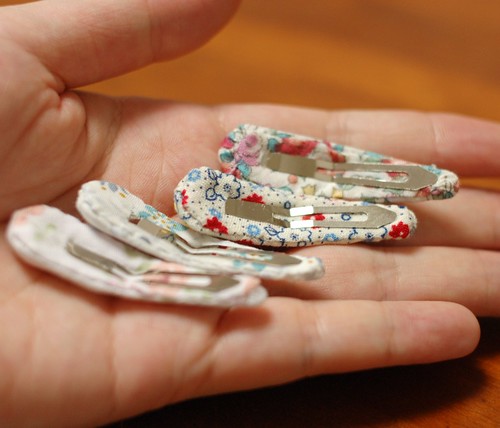
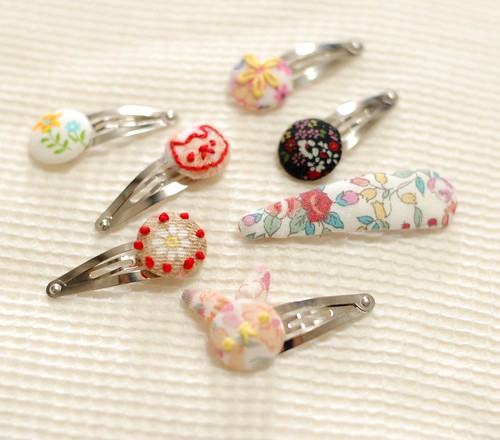
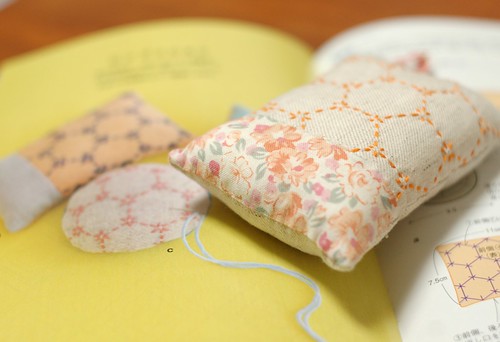
I made the pincushion with my favorite cotton linen fabric and flower printed cotton. Enjoy it also!
Giveaway 1

Then, I picked the second winner, Rubyru!!!!! Oh, I cannot contact you. So please read this post, please write me!! -> maimairuru(at)gmail(dot)com !
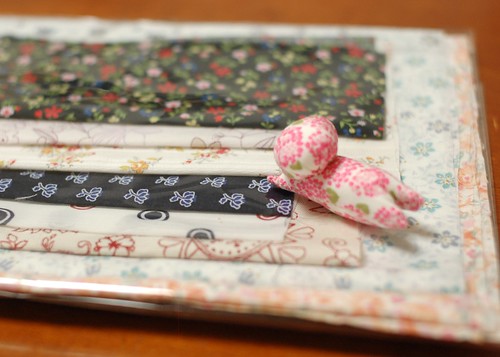
She took the fabric bundle. I'll wait till the end of July. Please contact me!!
Giveaway fabrics
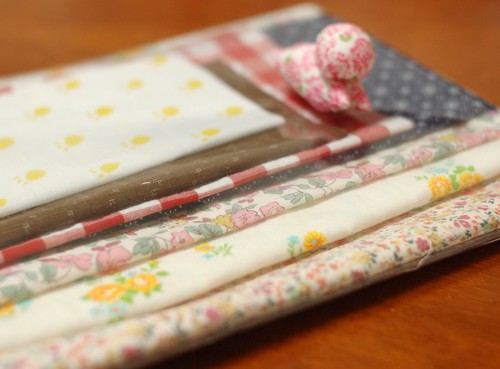
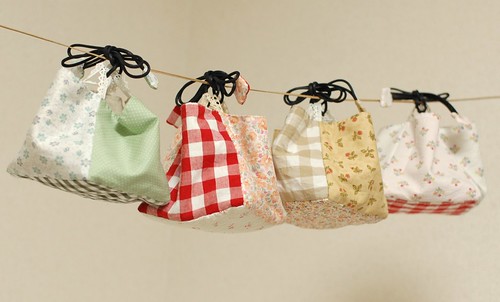
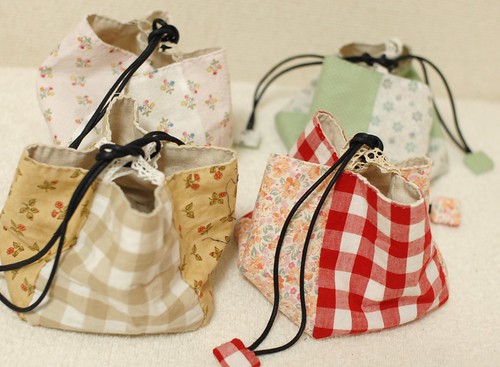
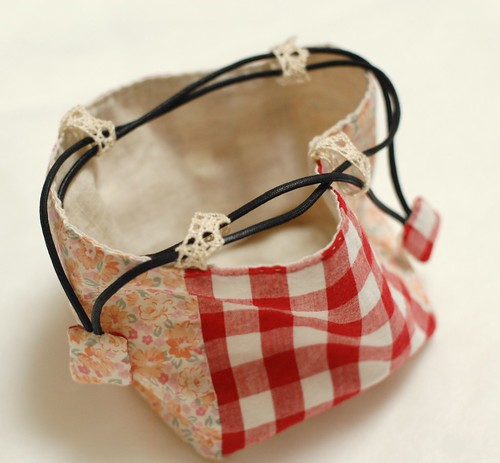
The bundle includes two fat quarters and some smaller pieces. The foot stamp one is the fabric of Japanese tenugui, hand towel.
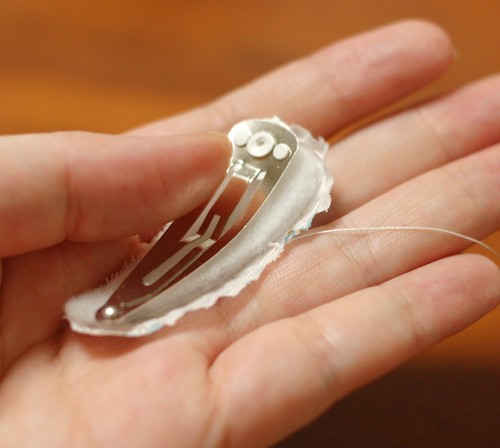
I also put the sarubobo clip. He can hold only thin items, but enjoy it!
Giveaway fabrics

Next, my boyfriend picked the third winner, 
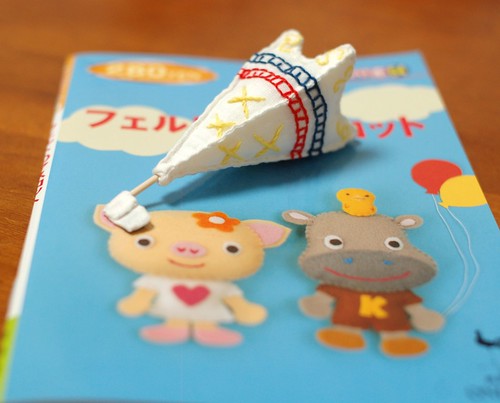
WoollyGrumper!!. She didn't choose any, so I'd like to send her the giveaway 2!
Giveaway 2
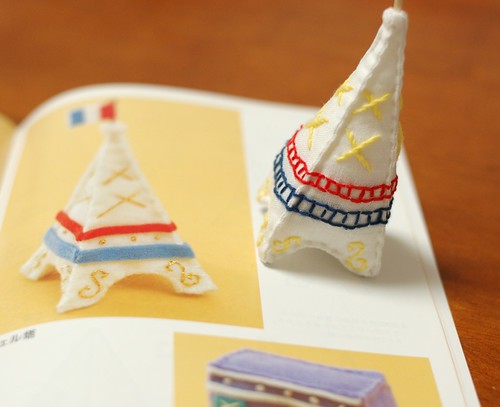
I made the Eiffel Tower with cotton linen fabric. I cut the fabric with allowance and sew it putting the right side inside. When I finished the tower shape, I sew the edge line again to make it like the felt one. It comes fat one, but I like it!
Giveaway 2

Then, I picked the forth name, Morwen!!!! She chose the giveaway 1, but it's already of Annette. I'm so sorry for Morwen, but I'll send you fabric bundle. Please allow me! And I cannot see your profile. If you read this, please write me!!!! -> maimairuru(at)gmail(dot)com !!!! I'll wait till the end of July. Please contact me!!
Giveaway fabrics
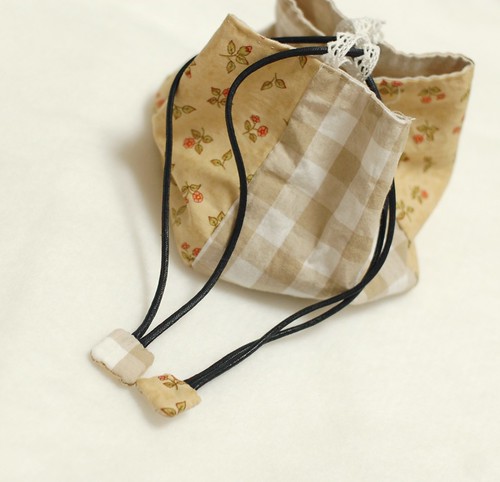
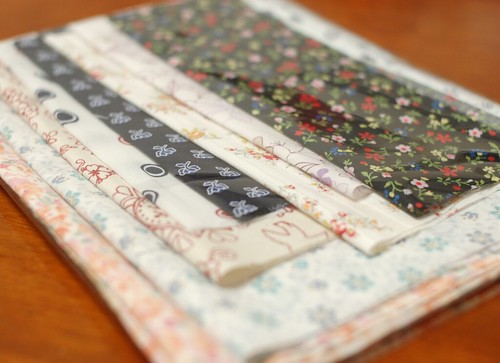
It has two fat quarters, and some smaller pieces. It includes one cotton linen piece.
Giveaway fabrics

At the last, my boyfriend pocked the name, Jaennie!!!! She chose the fabric bundle.
Giveaway fabrics
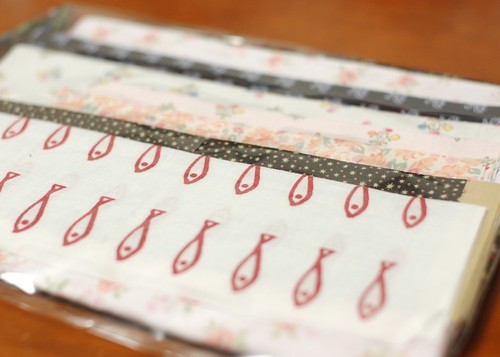
It also has two fat quarters and some smaller pieces. The fish print one is the fabric of Japanese tenugui, and the black star printed one is what I got more than 15 years ago. It's of Lucien.
Giveaway fabrics

That's all five names we picked!

I'm really happy to read all your comments. And I really want to pick all of your names! Thank you for join this giveaway!

(And thank you for my boyfriend who helped making 190 pieces of name cards and picking them! )

Jul 18, 2009

How to make a fabric covered snap clip

Thank you, thank you very much for many many comments on my giveaway post.
I'm really happy (* v *)!!!! So I want to share other sewing tutorial with you!!!!

How to make a fabric covered snap clip 13
These days, I made some snap clips for my little niece.
So I want to tell you how I made the one of fabric covered.

I used 4 cm long snap clip. It is with a base to put a charm on it(But I don't need it for this.)

At first, I made a pattern from the clip. Put the clip on paper, and lined it.
How to make a fabric covered snap clip 1
Then, turn the clip out and check the red line of the picture. From here, the clip open.
How to make a fabric covered snap clip 3
Write the red line on the pattern.

Then cut one piece of bating as the line of pattern.
And cut two pieces of fabric with 3-5 mm allowance to the pattern. For the fabric, it's better to put the pattern in bias because to fold the clip good.

How to make a fabric covered snap clip 3
And for the under side fabric, cut the red line.

This time, I put adhesive interlining(cut as the pattern) on the upper fabric. It's because my batting was too thin.
How to make a fabric covered snap clip 4
Then, sew the allowance of the upper fabric with running stitch. After you should pull the thread, so please use the strong and enough length thread.
Don't cut the thread!

How to make a fabric covered snap clip 5
Put the batting and the snap clip on it and pull the thread putting the snap in the fabric.
How to make a fabric covered snap clip 6

Sew the allowance enfolding the clip.
Please be careful open the clip and not to fold the shorter flick(?<- Is this word correct???).
How to make a fabric covered snap clip 7

When I finished, it comes like this picture.
How to make a fabric covered snap clip 8

Then, put the fabric with the cut line on the other side to cover the stitching.
How to make a fabric covered snap clip 9

Sew the edge folding the allowance with blind stitch.
How to make a fabric covered snap clip 10

Finished!
How to make a fabric covered snap clip 11
How to make a fabric covered snap clip 12

It's easy to make it. Please try it!!!!
How to make a fabric covered snap clip 14

Hair clips for girls
I also made some clips with covered buttons. They are easier than this tutorial.

Enjoy sewing small things!