Today I'd like to show you the way to make a drawstring bag from square.
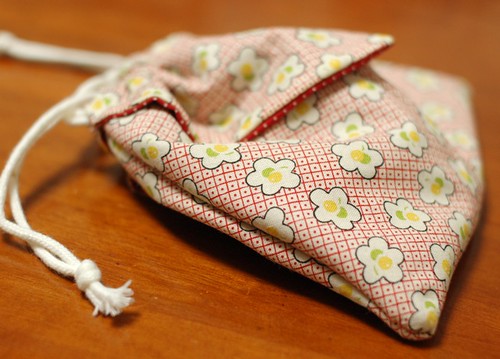
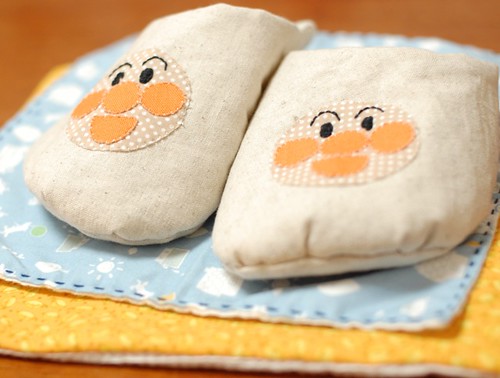
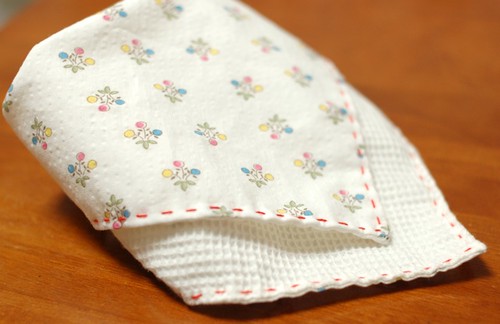
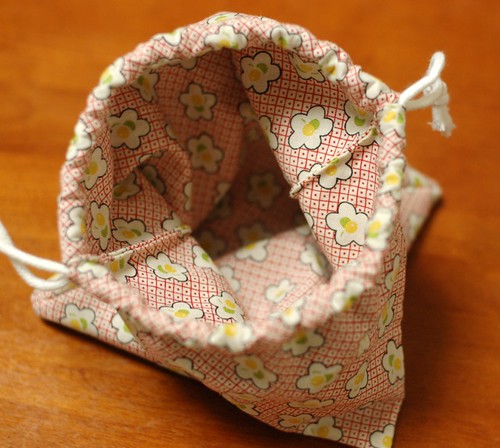
This is the bag.
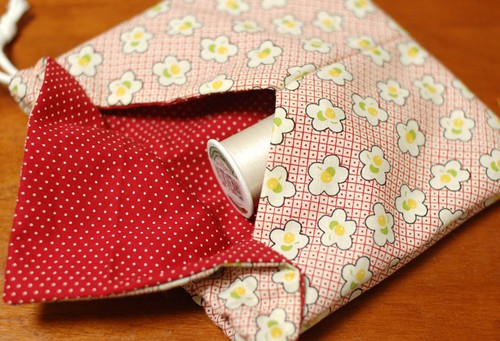
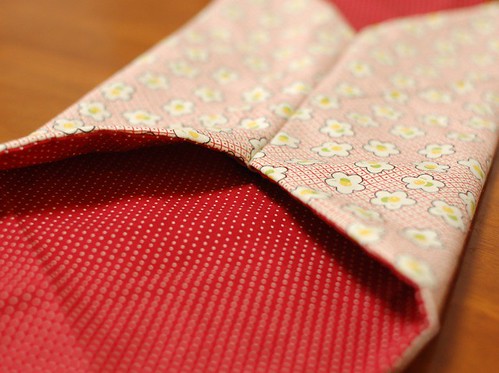
It has two pockets on the outside with flaps.
If you have a hanky, you can make the bag from it.
I didn't have any to use, so I used two pieces of squares for it.
Here we go.
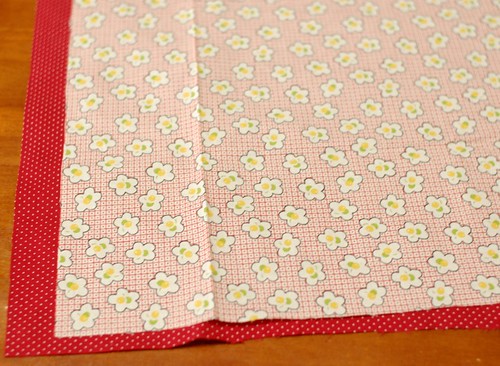
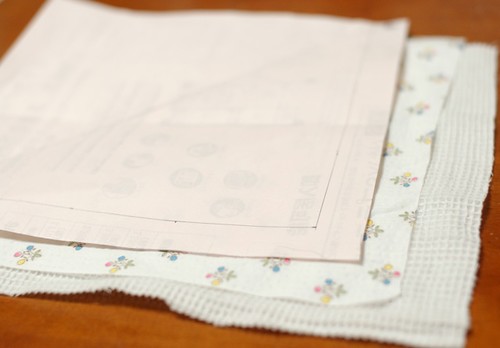
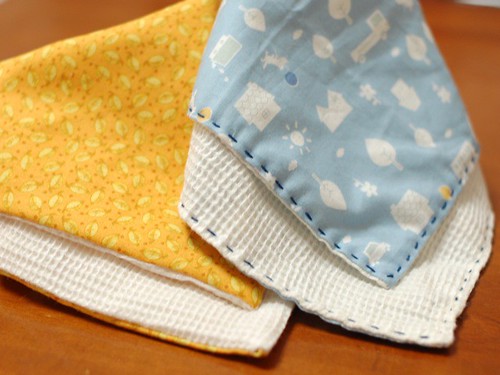
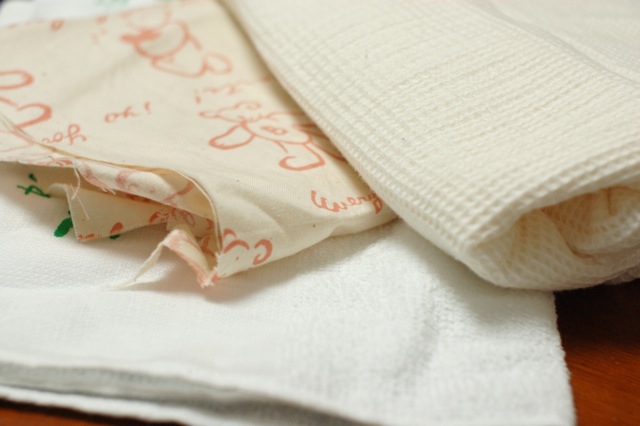
I cut each fabric in 16 inches square. From them, I made approx. 6.5 inches square pouch.
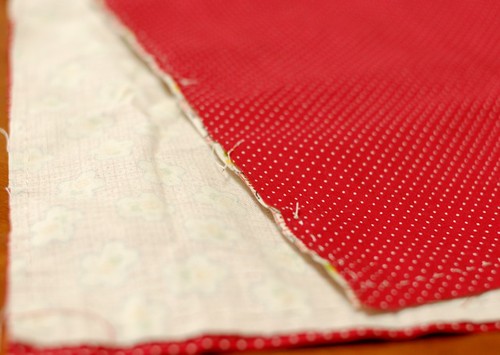
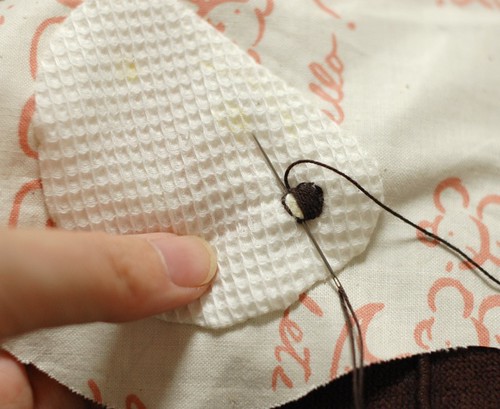
I sewed them together leaving the space to turn it out.
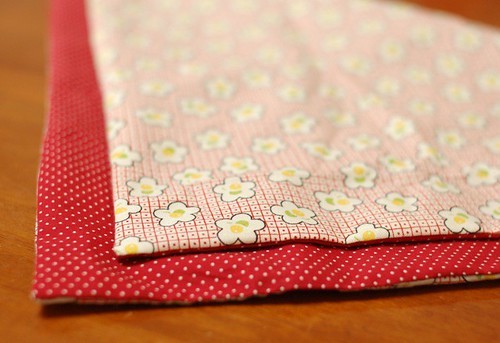
I turned it out and closed the space. If you make it with your hanky, please begin from the next step.
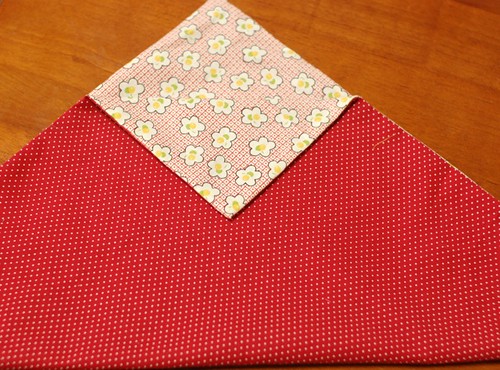
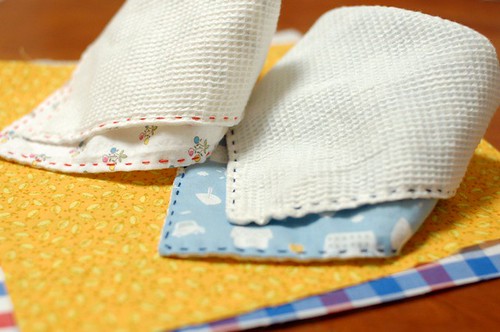
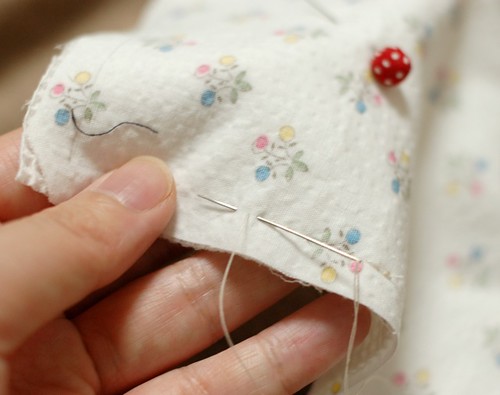
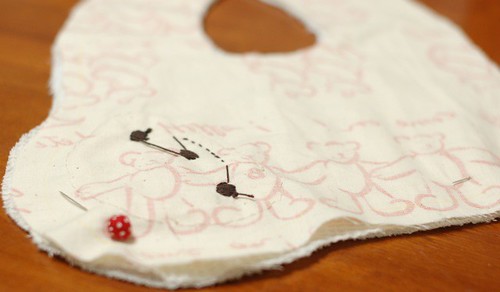
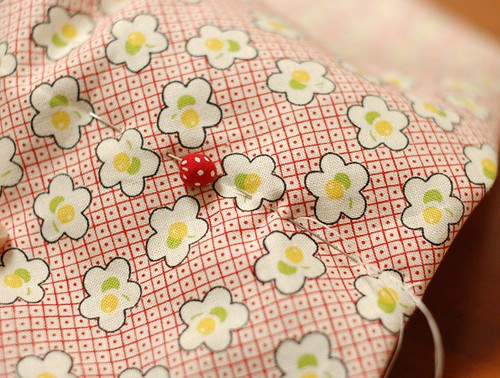
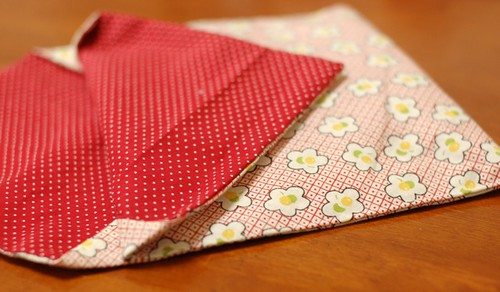
Fold it into a triangle, and fold the top at the 1/3 from the top. (See the picture)

Mark the line and put pins.
Then sew at the line.
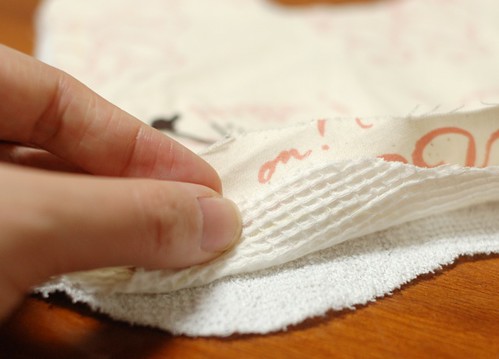
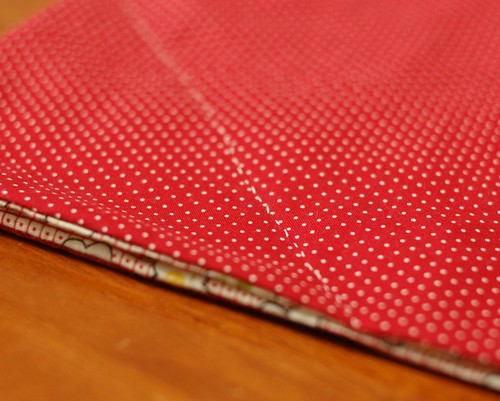
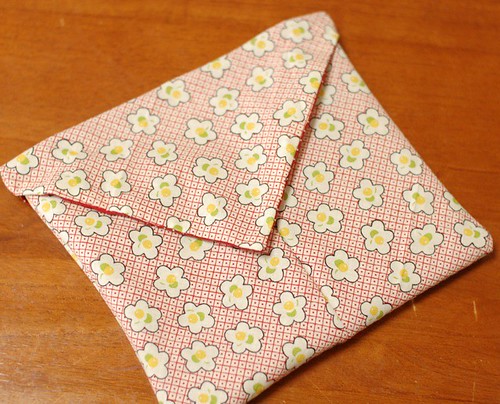
After you sewed it, you can open the top like the picture. Place the sewed line at the center.
Then turn it out.
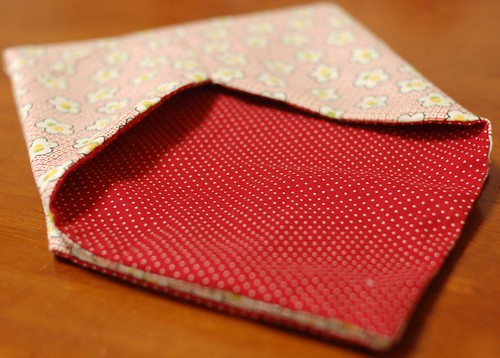
And fold it in two.
Sew at the bottom line to separate the outside pockets.
Open it again and fold in two the other side out.
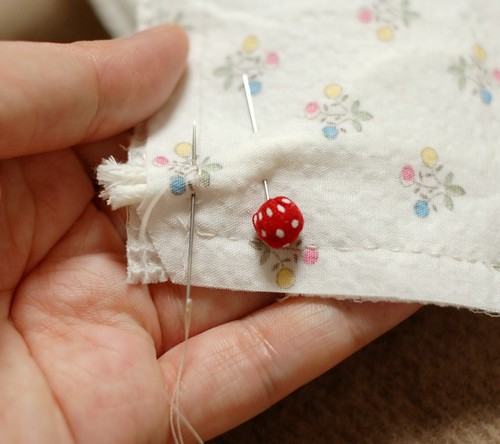
Then sew the both side lines leaving 1 inch from the top(Leaving the space to put strings in).

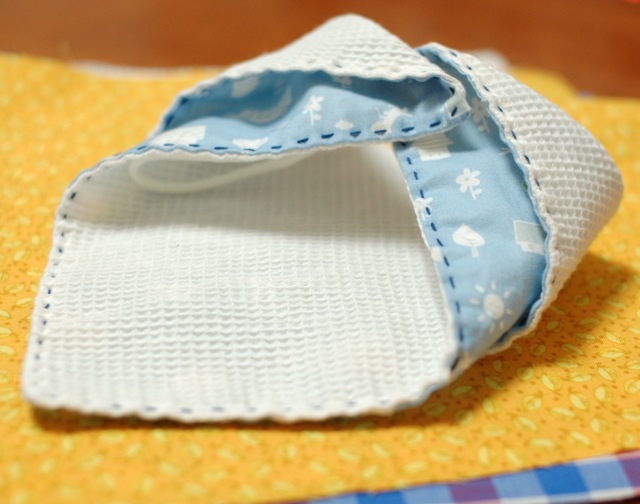
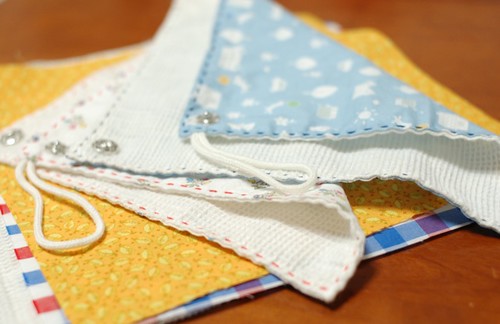
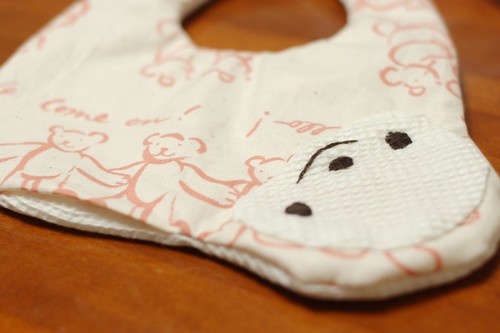
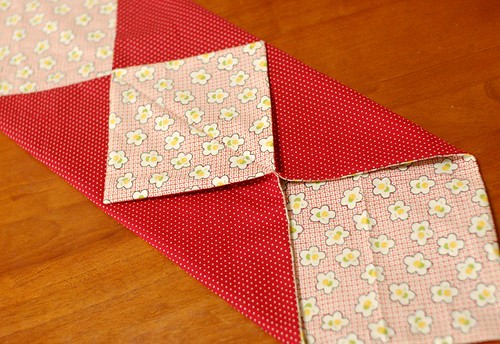
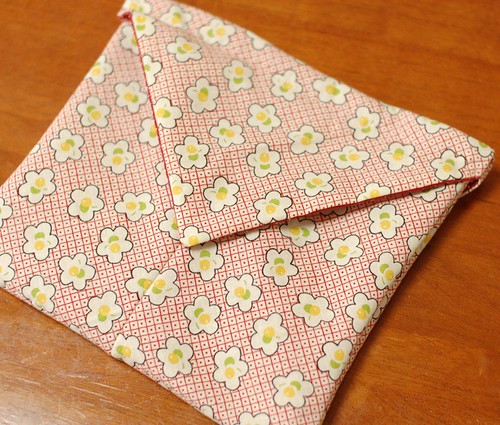
Turn it out again. Now you have the main pocket and two outside pockets.
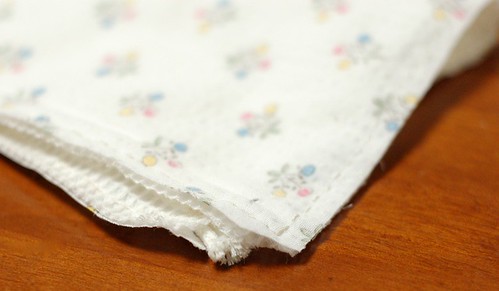
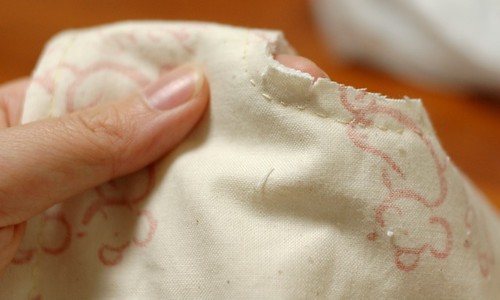
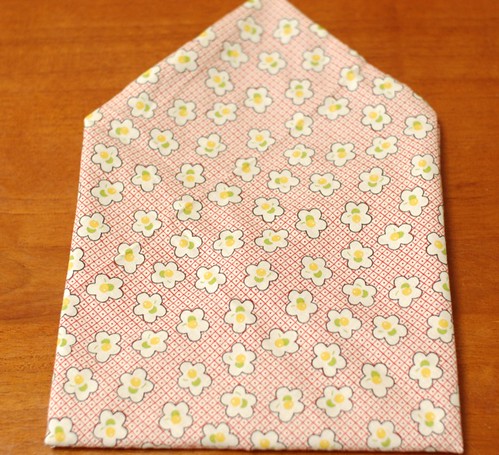
And fold the top triangle like the picture.
Sew at 0.5 inches from the top on both side.
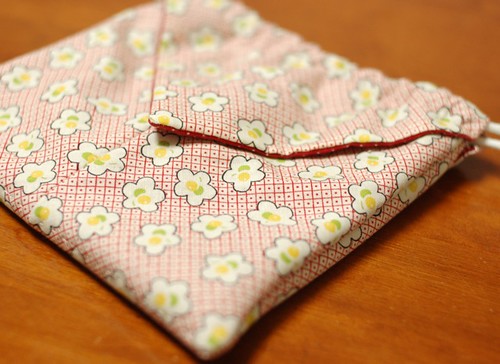
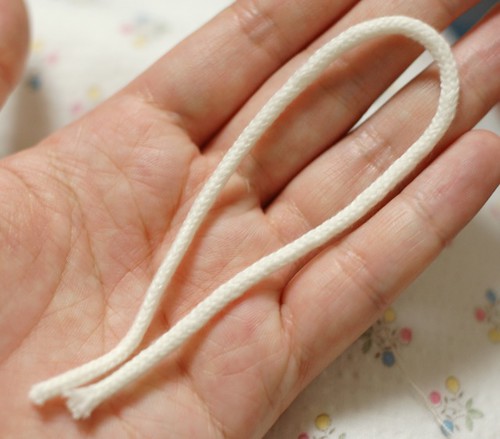
Put two strings from both sides. That's all!
If you make it from a hanky, you don't need so much time to sew.
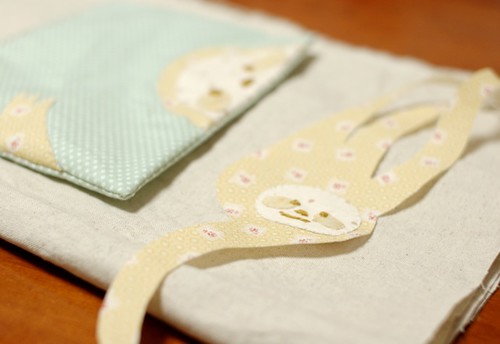
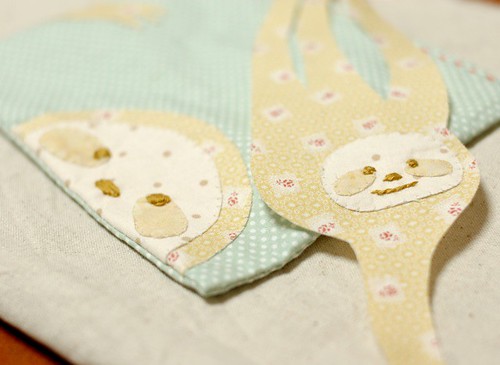
The fabric what I used for the outside is my favorite one (* v *).
By the way,,, today I organized my stashes so I chose some of my favorites and cut little pieces.

They are for my next give away. Now I have 5-6 books for it, so I can choose 5-6 readers. I'd like to thank you for all and choose as many as I can.
Please give me some time more to prepare.
Thank you for reading again.
Today's work was a little hard for me, but I'm fine at all(* v *).
Oh, by the way, I made this toast today. It was quite easy and simple.
Cookpad Toast recipe
I know you cannot read Japanese, but it has pictures.
1) Cut the bread like the picture.
2)Put it on the pan and put some oil in the square. Put an egg, salt and pepper in it and mix them.
3) Put a slice of cheese on the egg.
4) Put the square left at step 1 on it.
5) Turn it out.
That's all! I put a slice of ham also.
See you (* v *)!!!!