
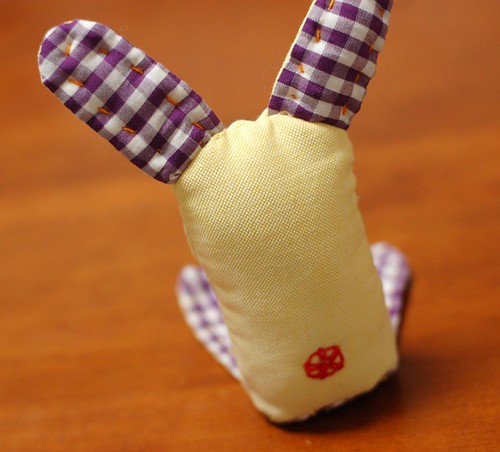
Yesterday, I made a rabbit plush.
I didn't make any patterns, I just only cut fabrics as I like. It's very easy way to make plush.
I write here the process of making cat one.
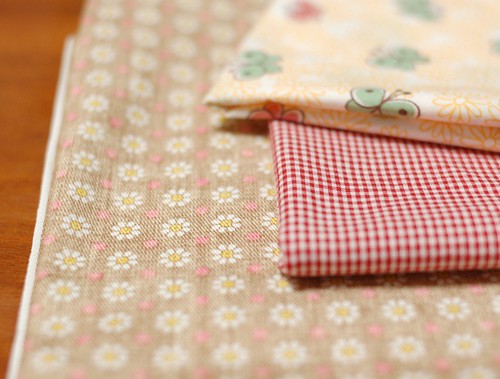
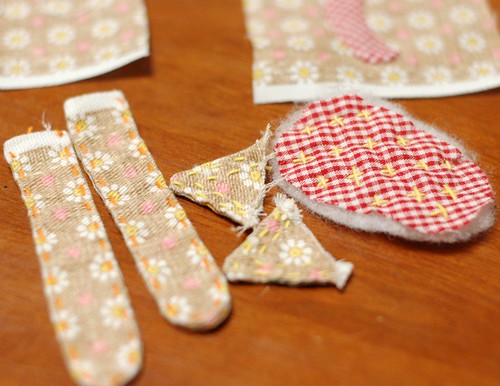
(1)Prepare the fabrics. I use three cotton fabrics for the body, for the back of ears and legs, and the hip and tail.
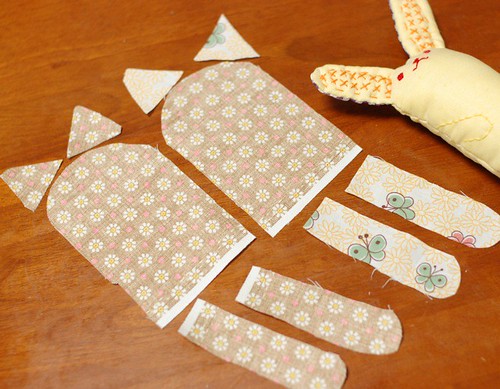
(2)Cut the fabrics. I cut the body at first, then ears and legs checking the size. The seam allowance is about 0.5 cm.
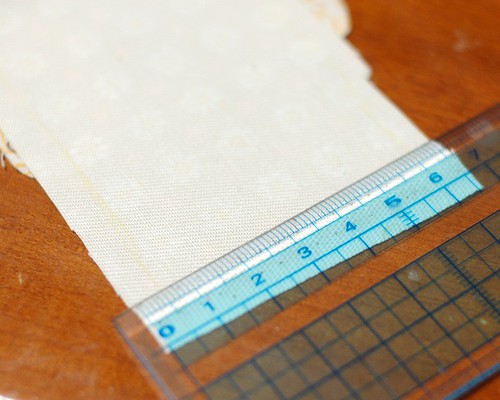
(3)To make the pattern of the bottom, scale the width of the body. I use a "cm" scale, and it was 6.5 cm(Approx. 2.5 inches). The allowance is 0.5 cm, so the pure body width is 5.5 cm.

(4)This pattern is only one what I made for this plush. Make the pattern of the bottom. Draw the curve line to be the same length of the body width. But actually, I didn't use the pattern what I drew, I used the pattern what I drew by free hand... Or you can cut the fabric after you'll finish to sew the body, then put the body on the bottom fabric making the curve as you like. When I made the first rabbit, I cut the fabric in this way.

(5)Cut the fabric for the bottom with the pattern with the allowance.
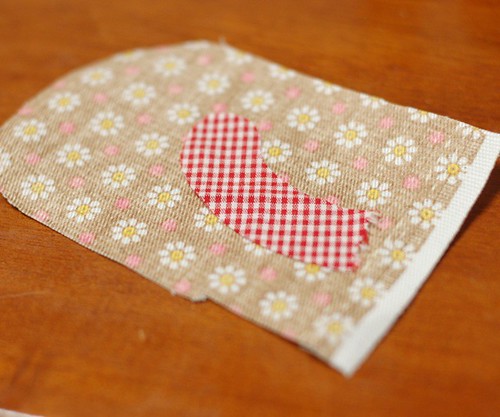
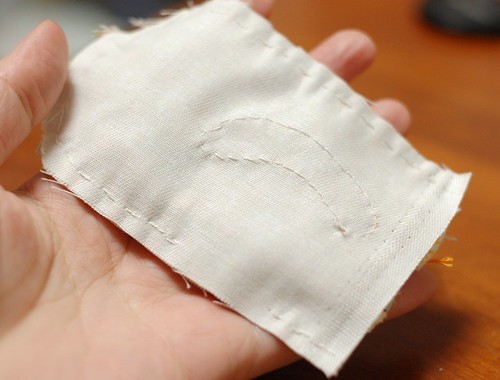
(6)I wanted to put the tail, so I cut out it by freehand. For the rabbit, I didn't applique the tail but hand embroidered it.

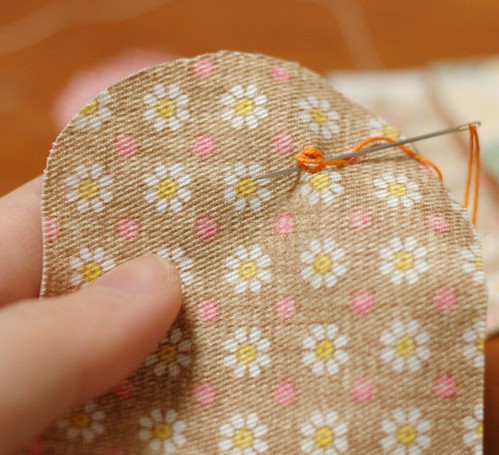
(7)Put the tail on the body fabric and applique it.

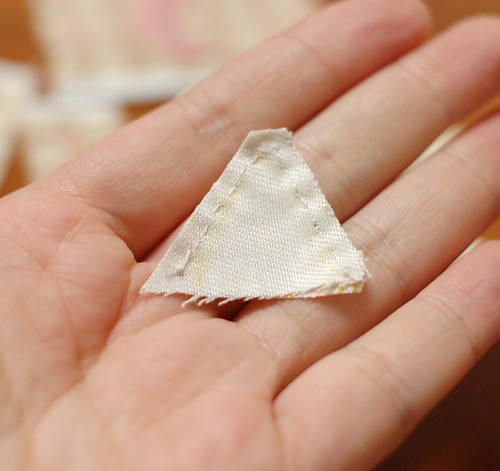
(8)Fold the allowance on the inside and sew by blind stitch.

(9)Finished tail.
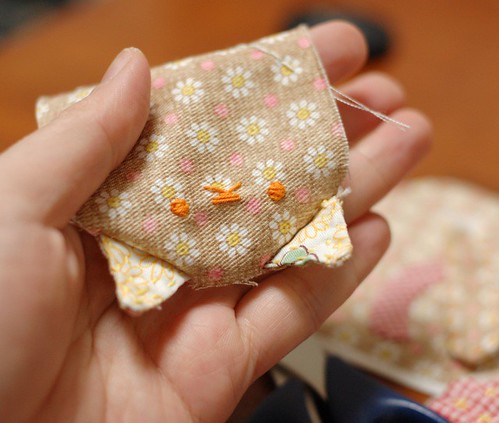
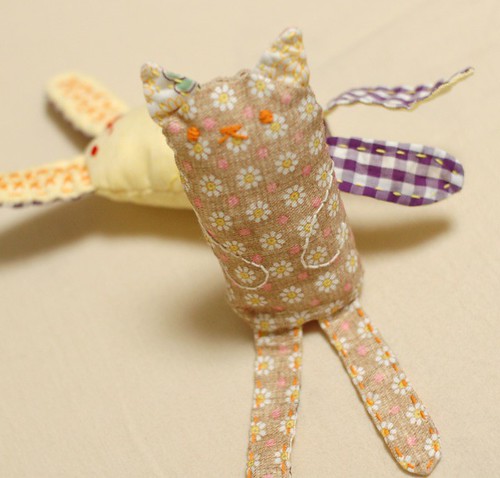
(10)Then make the face as you like.
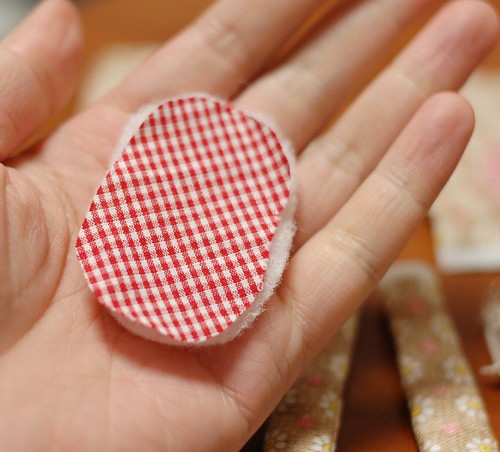
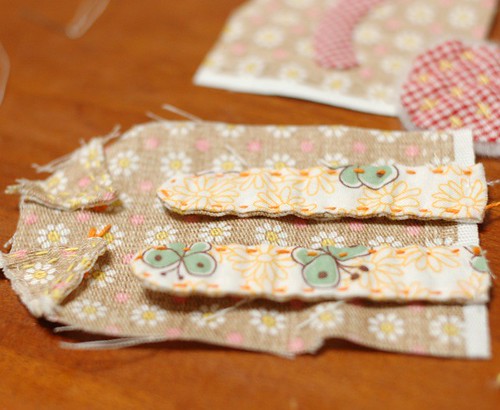
(11)Make the ears and legs. At first sew leaving the line with which attach with the body.

(12)Turn them around.
(13)For the stable sitting, put the batting on the bottom. Cut the batting as the bottom fabric.
(14)Stitch ears, legs and the bottom as you like. I used Sashiko cotton thick embroidery thread. For the rabbit ears, I put the stuffing, but for the cat ears, I didn't put anything.

(15)Then, put the ears on the top of the front fabric.Sew the edge line.
(16)The ears comes like this picture.
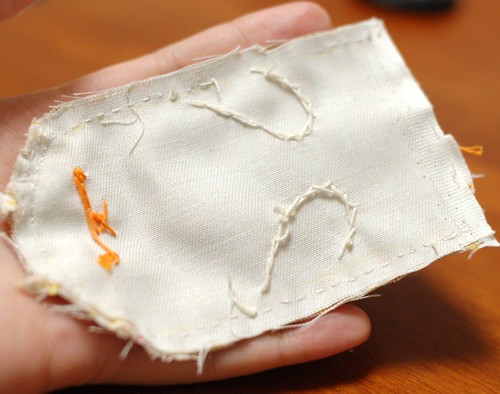
(17)Sew the legs as the ears.
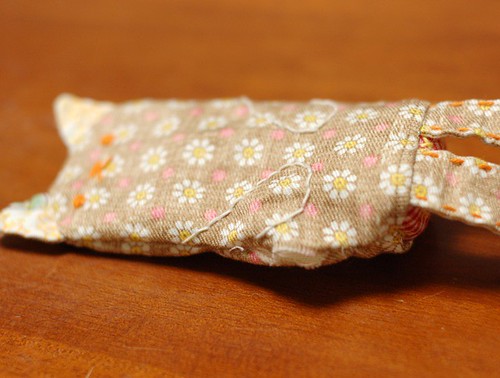
(18)Put the back fabric on the front fabric to make the right side inside. Then sew them leaving the space to turn it out and the bottom line.
(19)The back side is like this.

(20)Sew the bottom. Put the bottom fabric and adjust it.

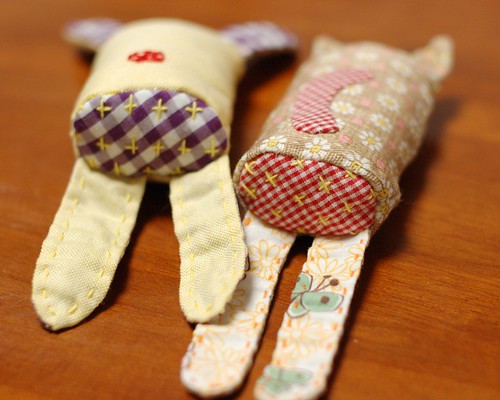
(21)I finished sewing the bottom.
(22)Turn it out.

(23)Fill the stuffing and close the space. You made it!
I like their bottom.
Thank you for reading this lo---ng post!
I'll make them more (maybe) and list them on my etsy shop. (* v *)


29 comments:
Mai, these bunnies are sooo cute and so fun to make! Thank you for sharing and making this lovely tutorial! I adore it! Hope your weekend was fun...have a lovely merry monday night and love to you!
Hello Mai!
I love your blog.
I love their bottom embroidery :)
Hi everyone,
Thank you seeing this long post!
I like to make plushes. It's really fun!
Have a sweet spring!!
how very adorable and you are so sweet to share! Did you see you were featured on whip up???!!!
http://whipup.net/2009/03/27/how-to-make-a-fabric-oval-tray/
~Emily xx
Thank you for this tutorial, I really like your sweet little plushes. Now I know that I'll have to make one next weekend!
I really love the simplicity of you work Have you heard of the artist Janet Bolton?
Hello Emily,
Thank you for telling it.
I'm happy!
Hello Meavy,
Thank you! If the bottom is small as my plush, you'd better to put something heavy at the bottom. I put some beans later.
Hello Things Hand Made,
Thank you for your comment. I didn't know her and check in google. Her works are beautiful!!!! When I go to book stores, I'll check if there are some books.
Thank you!
That is DARLING! You're super talented to just be able to whip this up! I'm totally loving your blog and excited to link to some of your projects if you don't mind!
Interesting blog! Amazing stuff you have hand sown. Thanks for the step-by-step tutorials, will try them soon!
Thank you very much!
If you have any questions, please write me!
Thanks Mai for the tutorial and inspiration. I made a white bunny for my boyfriend and have posted on my website. He loves it a lot.
Hello Nesa,
Thank you for the comment. I love the cup bunny! Really cute.
so cute!! I love your directions...very easy and beautifully done.
Nice story you got here. I'd like to read something more about that matter. Thank you for sharing that information.
Sexy Lady
UK escort
I once did some paper dolls are very similar to these, the difference is that I did have a hole in the bottom of it was to insert fingers, I'm waiting for the opportunity to share my creation with you! !
Intresting aricles you got here.
It will be intresting to find anything more concerning this article.
Thank for giving that information.
With best regards Margo!!
that's so great Mai...wow, can't say more words.
propolis propolis
madu asli madu asli
Hrmm that was weird, my comment got eaten. Anyway I wished to say that it’s nice to know that someone else also talked about this as I had trouble finding the same data elsewhere. This was the primary place that advised me the answer. Thanks.
International Business Times also reports that the iphone 5 will be coming this September and will be pre-loaded with iOS 5. IBT also reported that the iphone 5 production will start in the month of July or August this year.
I’ve been surfing on-line far more than three hours lately, nonetheless I don’t ever found any interesting posting like your site. It’s fairly value enough for me.
erectile dysfunction treatment For my part, if most of website house owners and folks produced great content materials as you do, the web will probably be a lot far more helpful than ever before.
Thank you for sharing and making this lovely tutorial! I adore it! Hope your weekend was fun...have a lovely merry monday night and love to you!
Wow, Now that surprised me as i really never had an outlook on the subject like that.
Oh my god, there is a great deal of worthwhile data above!
Thank you for sharing and making this lovely tutorial! I adore it! Hope your weekend was fun...have a lovely merry monday night and love to you!
This post is really sweetest on this notable topic. I harmonise with your conclusions and will thirstily look forward to your incoming updates. Keep posting good blogs. Thanks.
Hi there!!! I greatly appreciate all the info I've read here. I will spread the word about your blog to other people. I like your blog. Thanks!
Post a Comment