There are many many pictures and it's very long... I'm sorry.

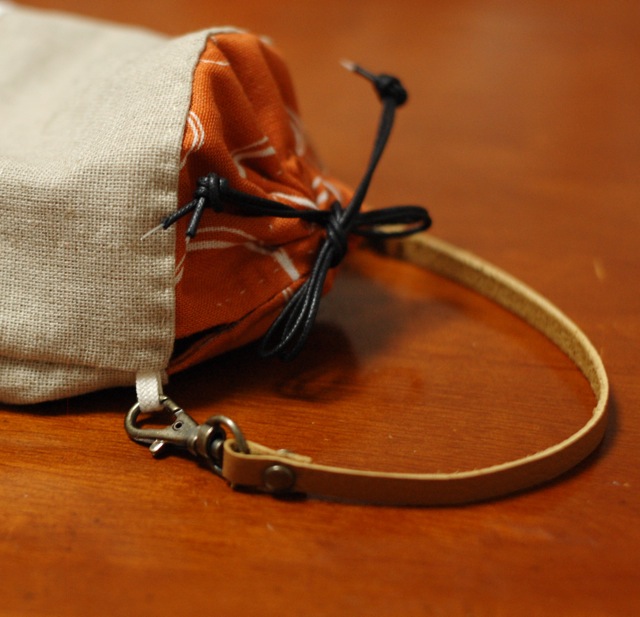
You can make the pouch with a leather strap, or without it.

You need only two patterns, one is for the body, and the other is for the top for the drawstring.
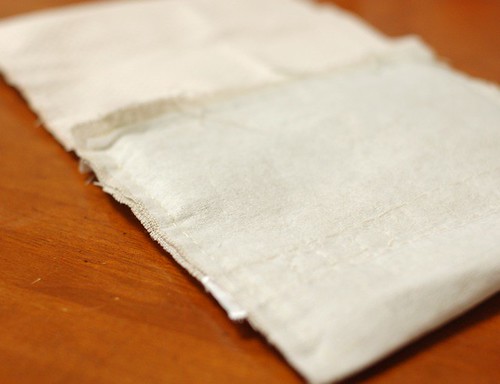
The body is 14cm x 26cm without the allowances, so if you put 5 mm allowance for each, you cut 15cm x 27cm. You need it for the outer fabric, and the inner fabric. My outer fabric was thin, so I cut also adhesive interlining as the same size and iron it on the outer fabric.
You need two pieces of the top, and the pattern for them is 10cm x 14cm without the allowances (with 5mm allowances, 11cm x 15cm).

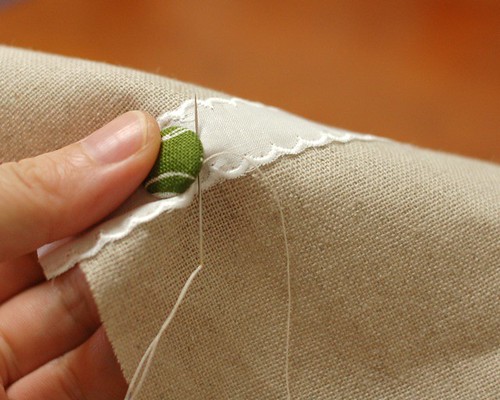
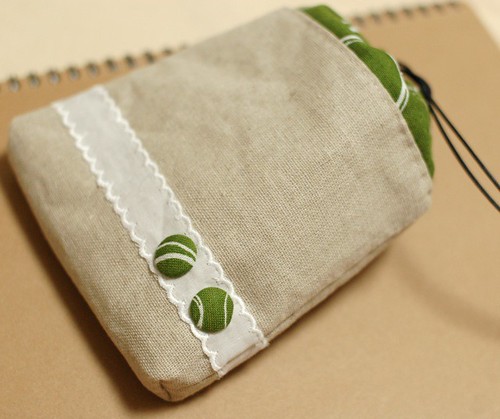
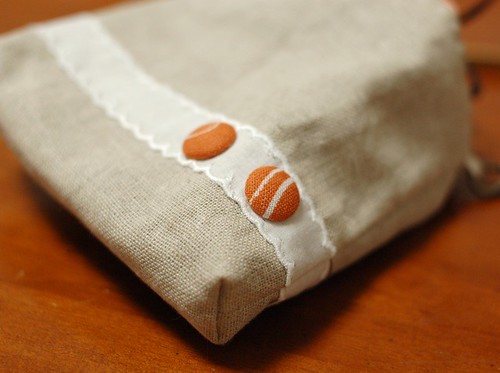
I cut also two pieces of lace as the width of body fabrics to decorate the bag. I also made covered button with the top fabric for the decoration. But this post is too long so I write in another post how I made them.
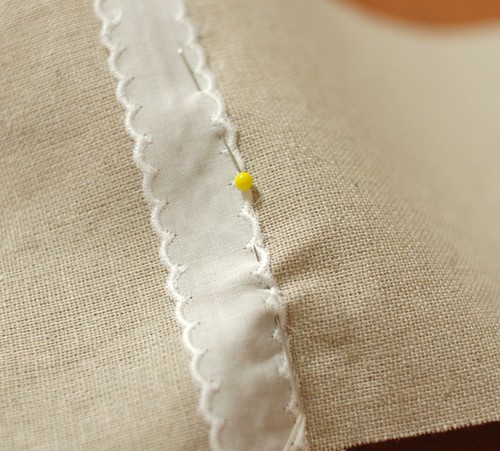
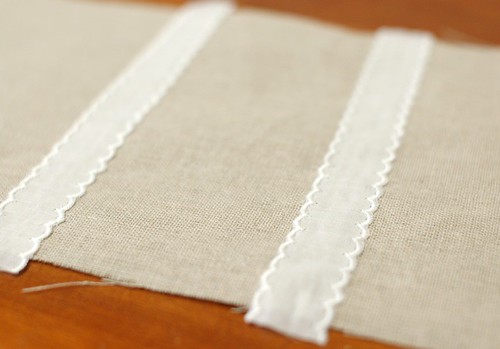
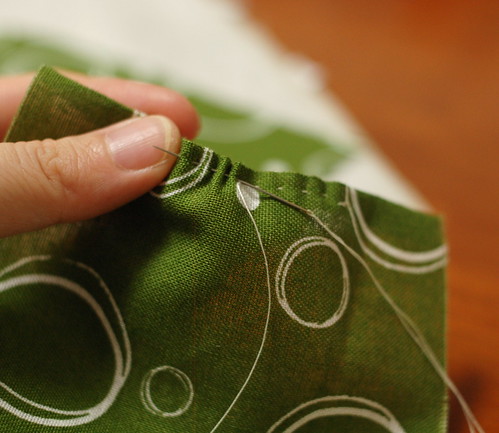
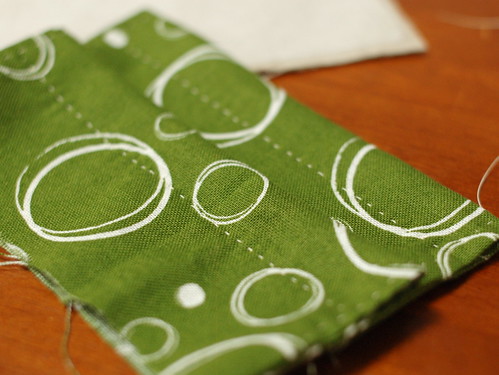
At first, draw the line of the center, then mark 1cm from the center and 3cm from it(See the picture). The 1cm line is for the gusset, and the 3cm is where you put the lace.

Then put the lace on the mark, and sew at the edge of it.
I put two pieces, for both sides.
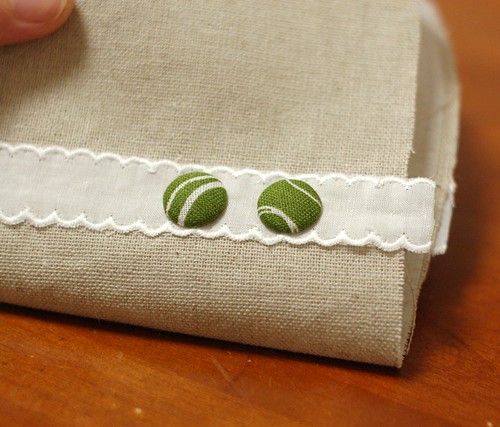
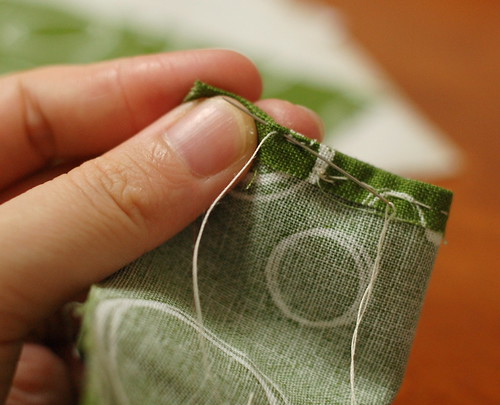
Then put two covered buttons on the lace of one side.
I put two buttons.
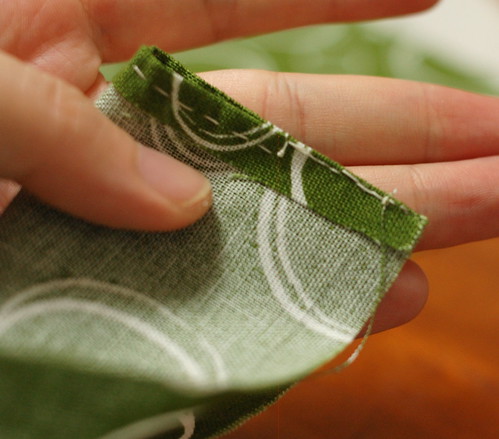
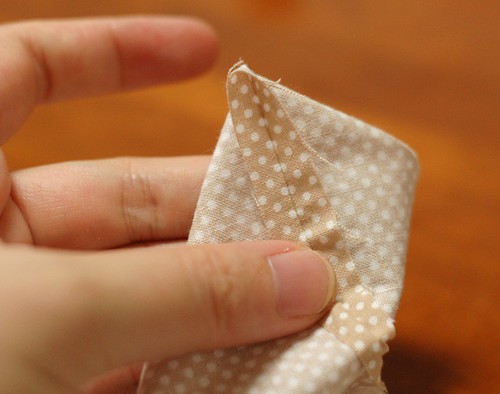
Then prepare the top. Fold bth sides of allowance like the picture.

Sew the edge line as the picture from 3cm from the one side to 3cm from the other side.
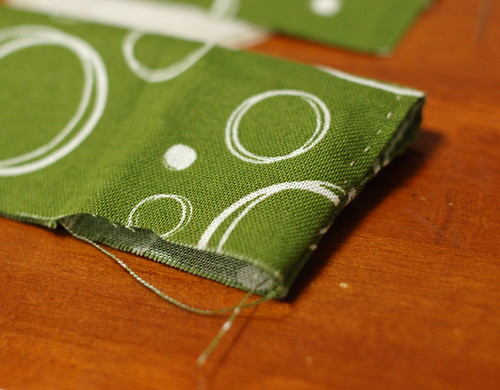
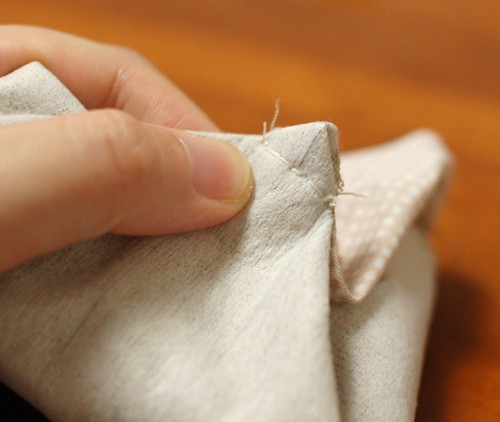
Then fold it like the picture, and sew at the edge of the rest 3cm.

Sew 1mm from the edge like the picture.
I finished it.
Do the same for the other side, and turn it out.
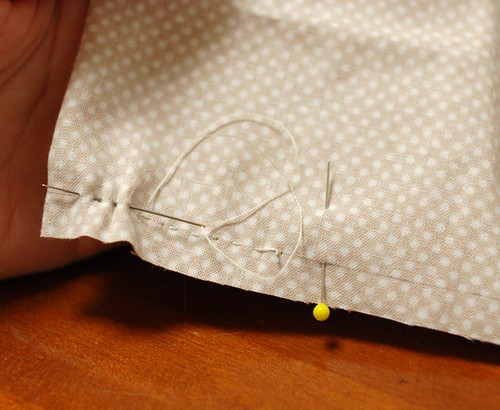
Sew 1.5 cm from the top. This makes the space to put drawstrings.

I made two tops.
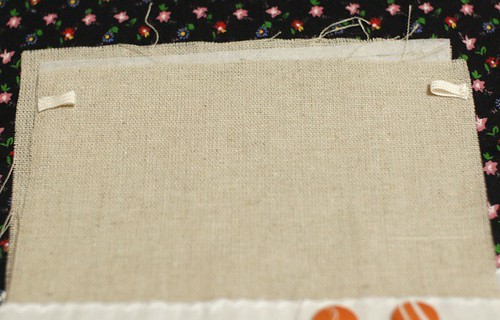
If you put a strap, cut two pieces of string or tape, in 3cm. Fold it in half and put it on the outer fabric, 1-1.5cm from the top.

Baste them on both sides.
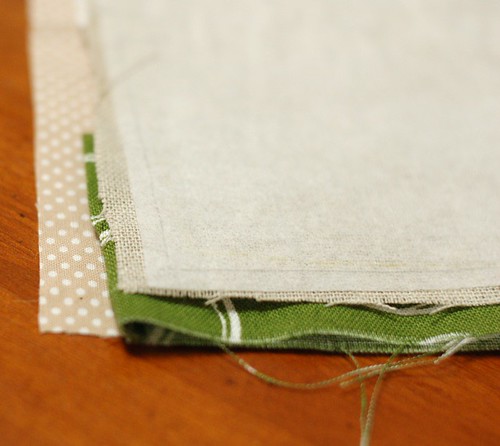
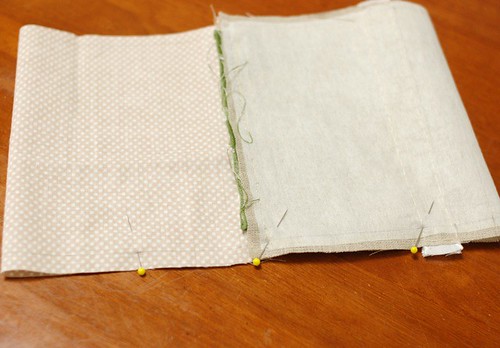
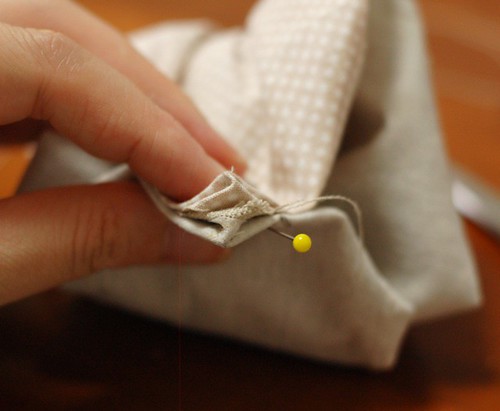
Then, put the inner fabric, top and the outer fabric as the picture.
Then put dress pins like the picture.
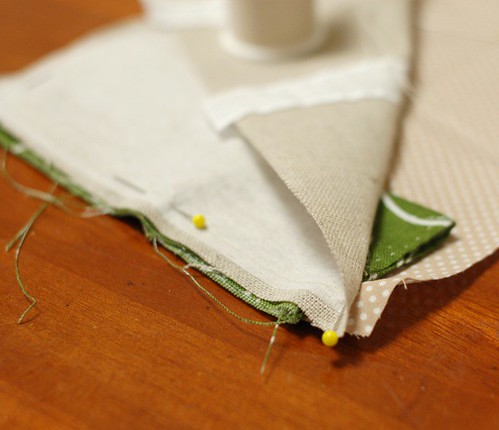
And sew the line. I sewed with half back stitch.
I finished the one side. Then sew the other side in the same way.
Fold it like the picture to sew the side lines.
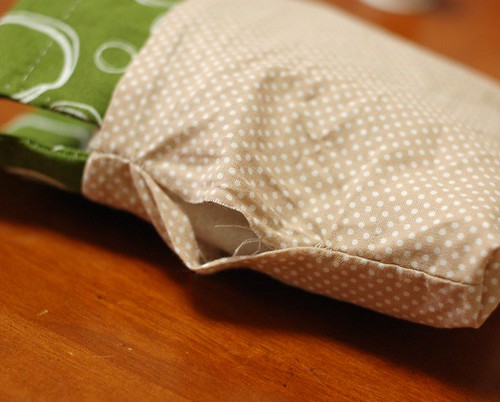
To leave the opening space on the inner fabric side, begin sewing from 4-5 cm away from the bottom to the bottom.
Then, sew from 2-3 cm from the top to the outer fabric. Continue sewing to the bottom of the outer fabric.

So you can make the space to turn it out.

Then sew the other side. It's better to sew from the center to make it neat.
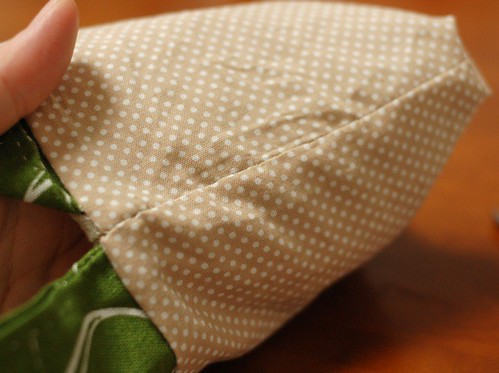
Then to make the gusset, take one edge like the picture opening the allowance.
Take the edge of outer fabric also in the same way, and put them together facing the allowances.
Sew it from the 1cm line you drew at first to the other 1cm line.

You made one gusset.
Do the same for the other side.
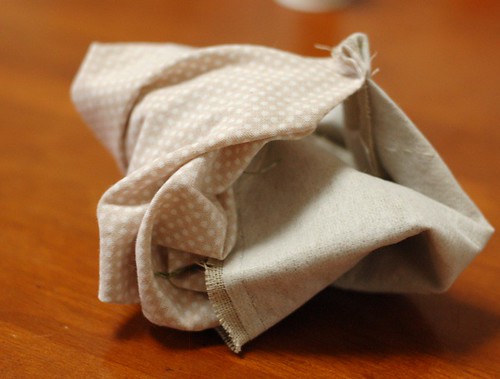
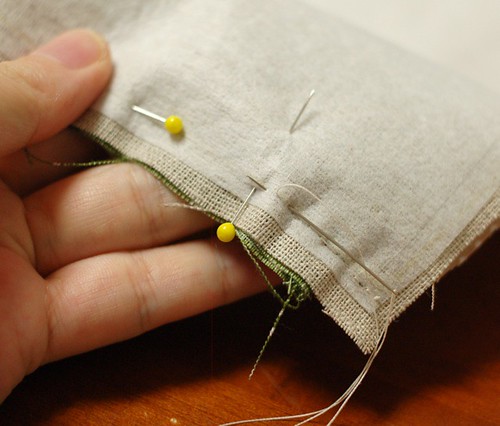
Turn it out from the space. You are around the corner.
Sew it little by little from the bottom (It's easier than begin from the top). Sew one stitch for the one side,

Then sew one stitch for the other side. Continue this.

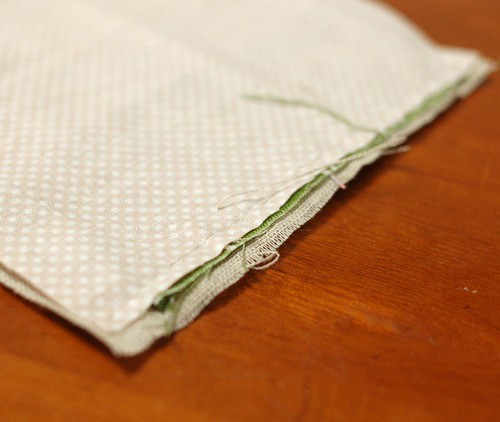
You finished closing the space.
Turn it out and put the strings on the top. That's all!!!!!
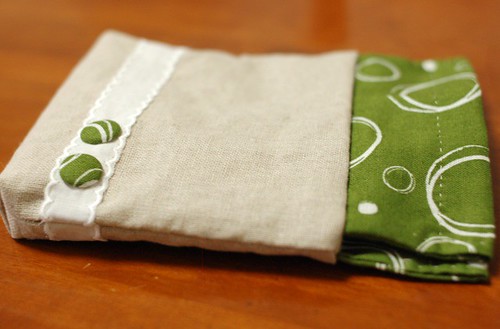
The orange one is with a strap.
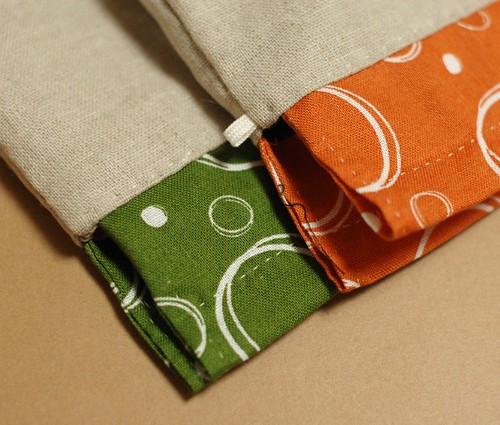
I like this fat shape (* v *).
If you have any questions, please leave a comment here.
Thank you very much for reading this long long post.
Have a good day.


28 comments:
great tutorial :)
i love your blog, thank you so much for sharing :D
That is adorable. It is so sweet of you to share your talent.
As always: superb!
Thank yo uso much for more inspiring tutorials! The bag is so lovely.
Te ha quedado precioso. Me encanta.
Rosa.
Loved the tutorial!!!! thank you so much, the bags are lovely!
So cute! Thank you!
excellent tutorial Mai - thanks for posting it, and I love the step by step pictures with clear explanations and instructions.
Your blog is super!
best wishes,
Annette
i love your blog, thank you so much for sharing... =)
sugoi jozu desu ne! arigatou!
your style is so sweet and sincere - i am utterly charmed. i definitely want to try to make one of your darling bags. thanks for sharing!!!
Great tutorial! Your work is always so yummy!!
I posted a link to your tutorial on Craft Gossip Sewing:
http://sewing.craftgossip.com/tutorial-handsewn-pouch-with-or-without-a-leather-strap/2009/09/14/
--Anne
Hello from the South of France!
I discovered you blog not long ago and I just love it!
I started sewing a couple of month ago and I still have a lot of things to learn!
Your tutorials are very helpful I just found my next project!
Thank you so much Mairuru!
Beautiful, bellissimo!
Greetings and appreciation from Italy
Vanina xx
I, too, would like to thank you for your fabulous step-by-step tutorials. I only recently discovered your blog and it is definitely a favorite of mine!
Much love,
Nancy
Wow. I am always totally taken aback by the beautify of your projects. They're always elegant and gorgeous. I'll be doing this one for sure. Thanks so much! I'll be linking as well. Just beautiful.
Arigato Mai. You are generous to share this with us. :-)
Grace
Arigato Mai ... very nicely done, as always.
Pls don't apologize for long tutorial ....it's good
Thanks for sharing
I will do this when I find some free time ;>)
Mena
Brilliant tutorial, thanks so much for sharing
Lynn
thanks for taking the time to create this tutorial. This is so helpful!
Hello Mai, I've found your blog in Kyoko's one. You are really very talented, sewing everything only with your hands and sharing it with us. Thanks a lot!
Hi Mairuru,
It's very nice, I love your blog, it's very different of french blogs.
you have very wonderful ideas.
It's a real pleasure for me to read it.
carolaluciole.
This is a very cute pouch :) I love it :)
you have no idea how much your tutorials have helped me
thank you
eleni
this is an interesting tutorial..
Thanks for sharing..
Mens Leather Bombers Jackets, Womens Leather Blazers Online, Leather Skirts
Interesting one. I like it. Keep it up.
Buy Leather Jackets,
Men Leather Blazers
nice, make me want to learn about that hehe
nice post love reading it.
Oh my god, I'm so glad for your posts! They're great! Thank you very much so! You're awesome!
Post a Comment