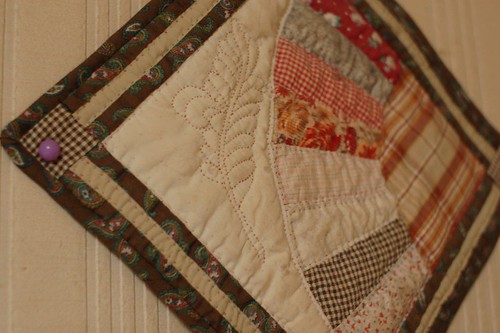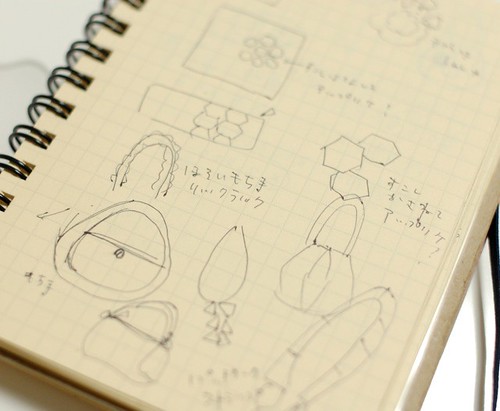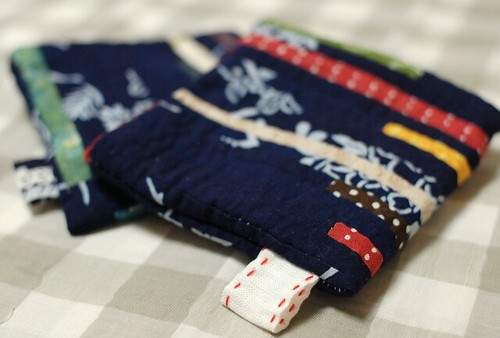
I made two string quilt pouches these days and took some pictures of the process.
It's easy to make this quilt, so please try it!
The pouch measures approximately 5.25 inches tall, 5.75 inches wide.
So to make it, you need,
*fabrics for the top about 10 inches x 6.5 inches
*fabric for the inside about 6.5 inches x 6.5 inches
*batting of the size 5.5 inches x 6 inches
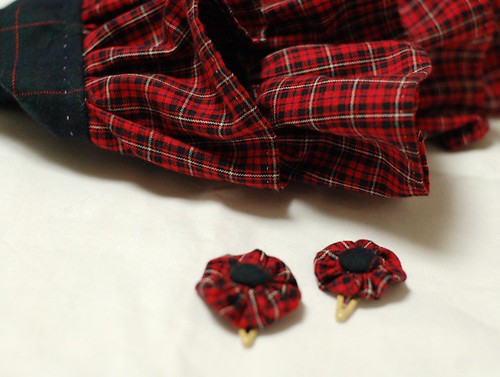
*a pair of magnetic snap(or snap or velcro)
*If you want to add a tag, the fabric for it.(I used a little piece of linen fabric and Sashiko embroidery thread)
That's all.
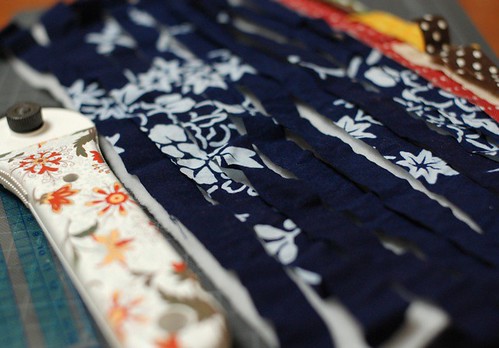
At first, prepare the strips for the top. I cut the fabrics into 0.5 inches strips. I also cut some small pieces of scraps as the same width, and patchworked them making 6.5 inches long strips.
Put the first strip on the batting, making the right side up.
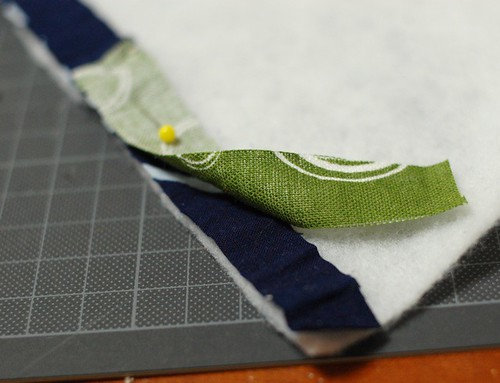
Put the second strip on it, making the right side inside.
Sew them with the batting like the picture.
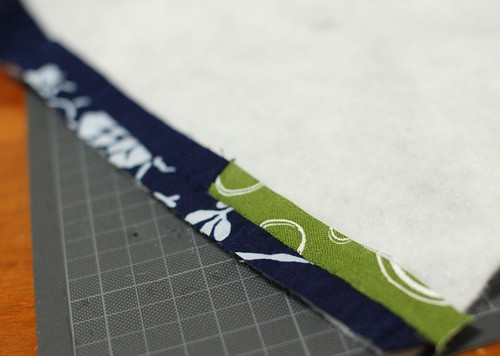
Open it, put the third strip on the second piece and repeat the process.
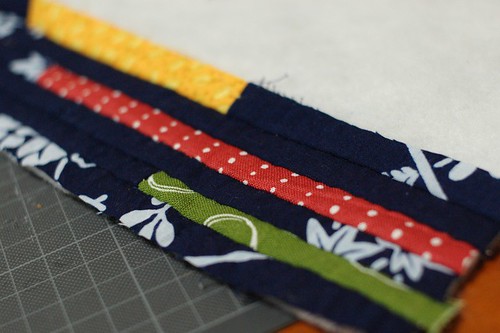
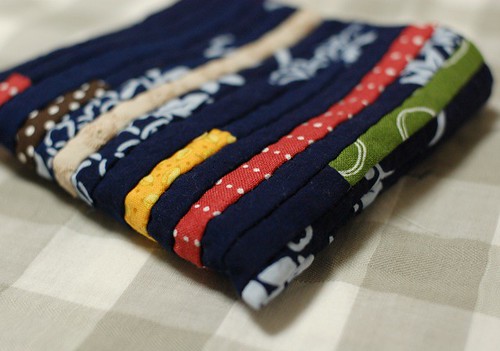
I quilted six strips.
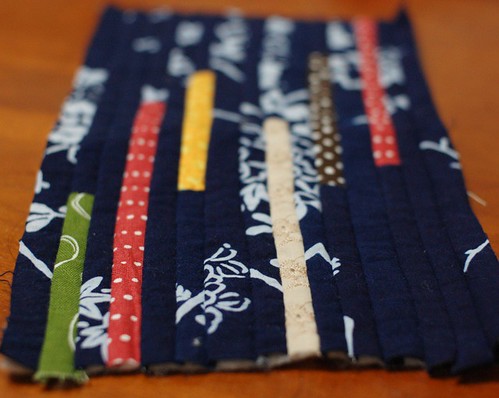
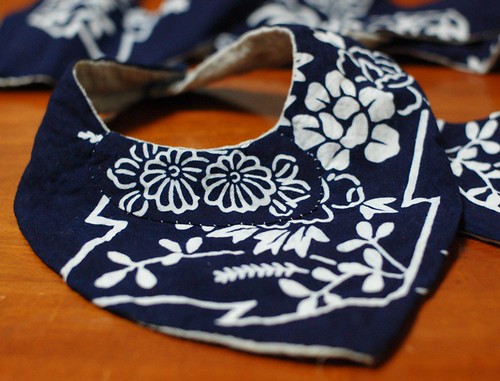
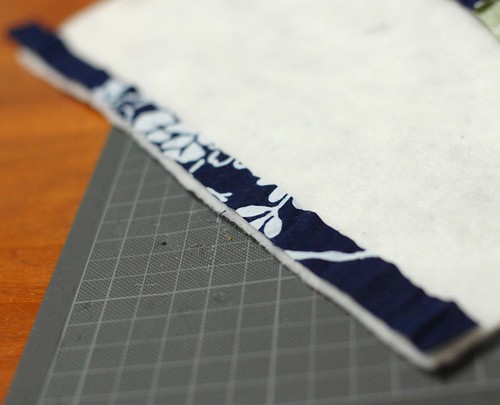
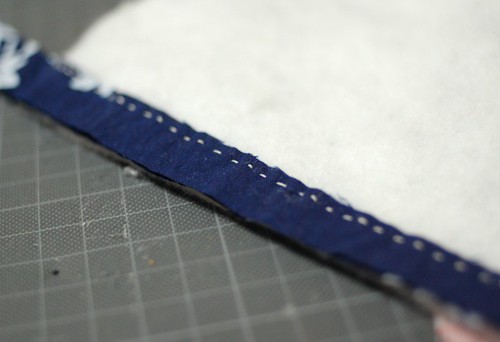
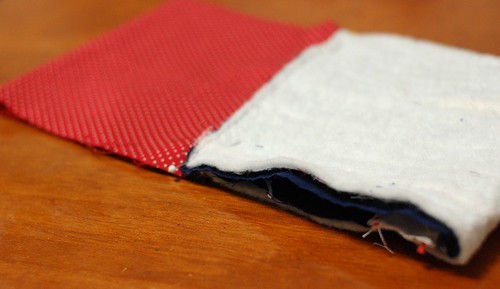
I covered the batting.

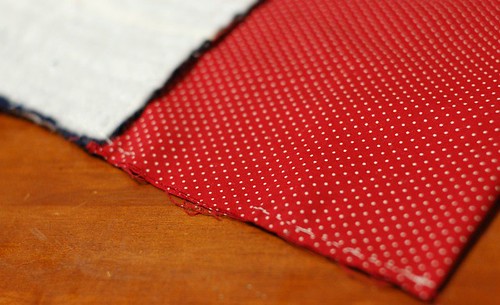
Trim it into rectangle. Mine was not so good rectangle, but I didn't care (* v *).
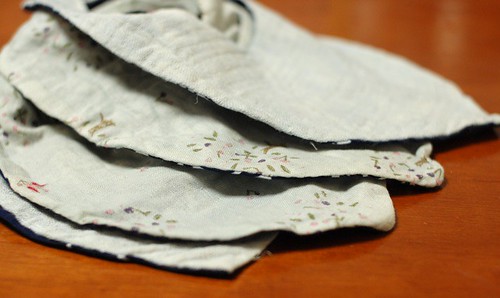
This is the back side.
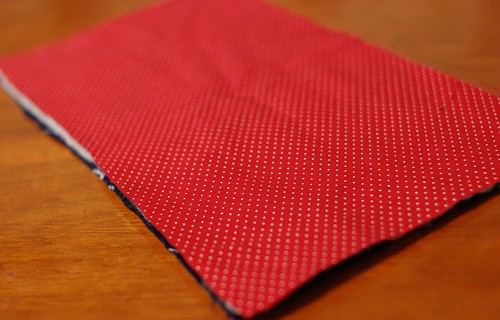
Cut the inside fabric as the same size.
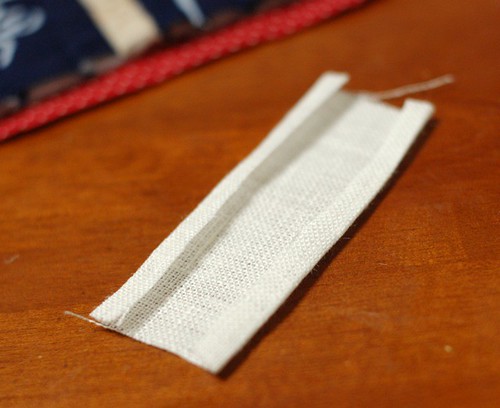
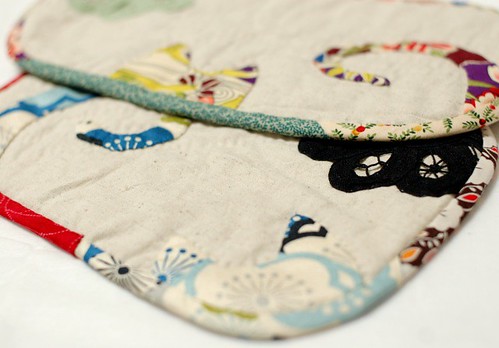
I made a little tag with a piece of white linen.
I folded the both sides.
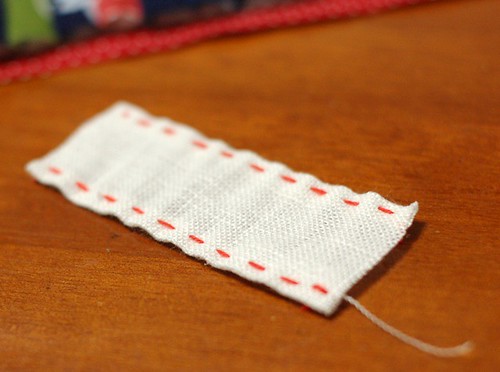
And stitched on the both seams with Sashiko embroidery thread.

Fold it in two and baste it on the top, a little upper place from the center.
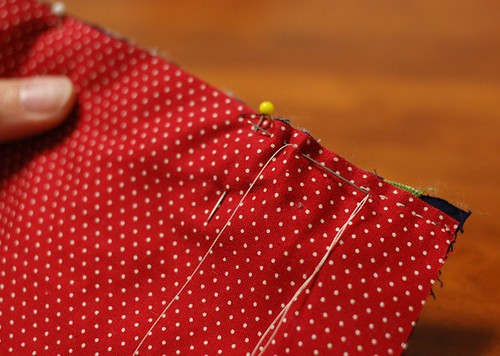
Put the top and the inside fabric making the right side inside and sew the shorter sides.

I sewed both sides.
Open it like the picture and put pins at the center.
Sew the side lines leaving an opening on the inside fabric side.

Turn it out from the opening.
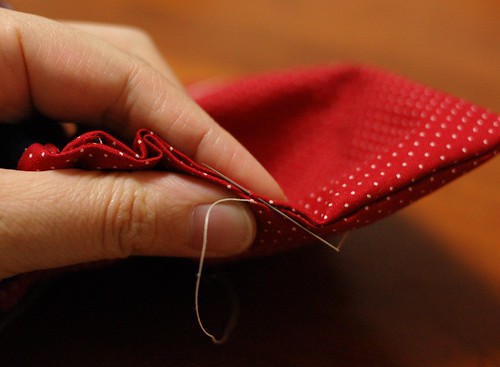
Close the opening with blind stitch.
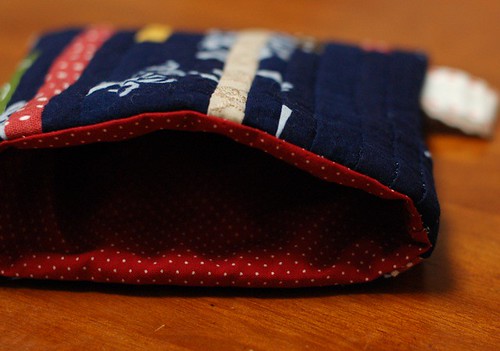
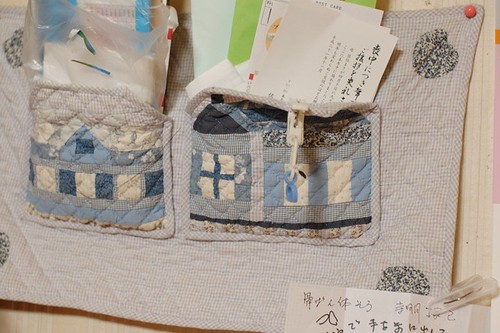
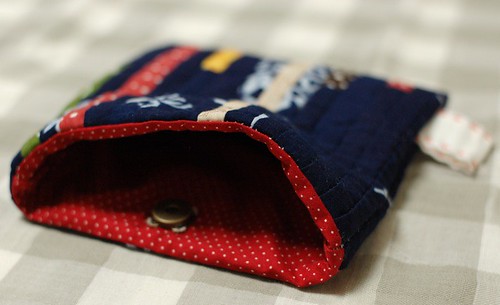
Put the inside pocket in the outside. It's almost done.
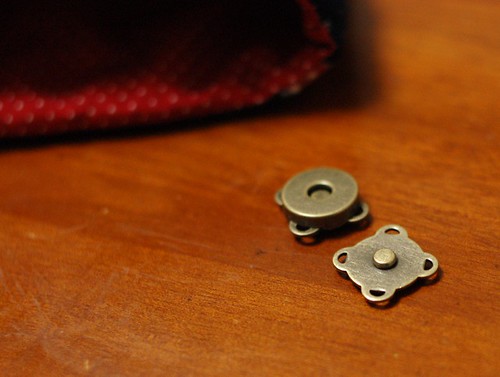
I used this pair of magnetic snaps. It's sew on type.
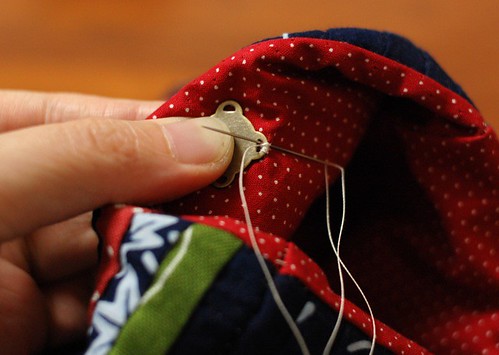
Sew them on the inside.
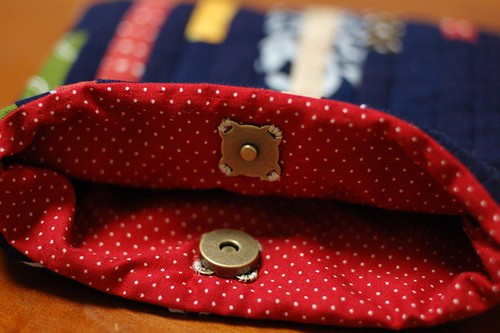
Finished!
It's OK to put a snap or velcro.
Enjoy sewing!!!!