
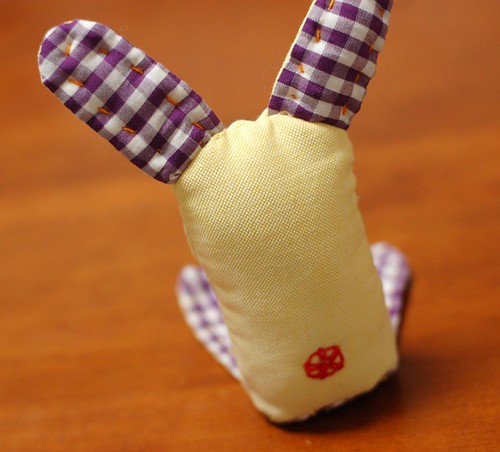
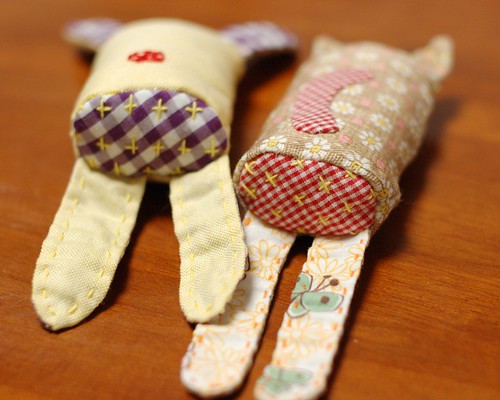
Yesterday, I made a rabbit plush.
I didn't make any patterns, I just only cut fabrics as I like. It's very easy way to make plush.
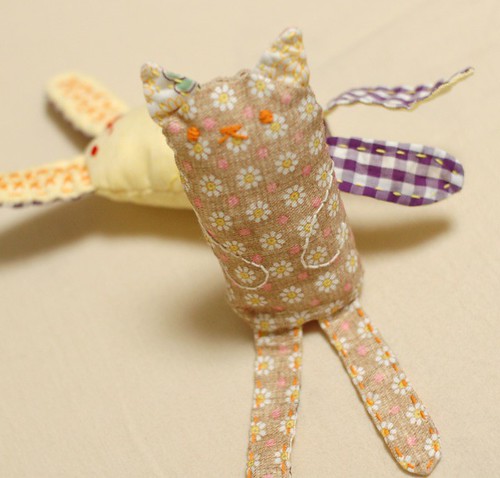
I write here the process of making cat one.
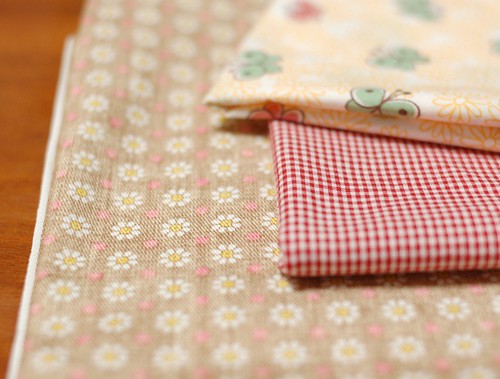
(1)Prepare the fabrics. I use three cotton fabrics for the body, for the back of ears and legs, and the hip and tail.
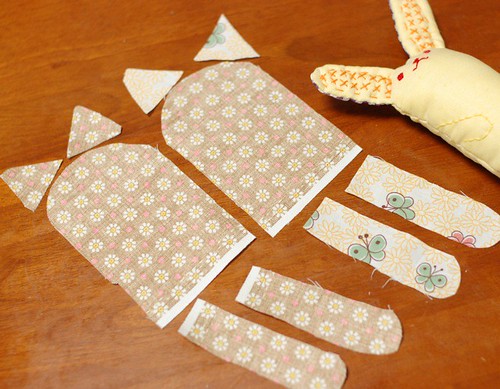
(2)Cut the fabrics. I cut the body at first, then ears and legs checking the size. The seam allowance is about 0.5 cm.
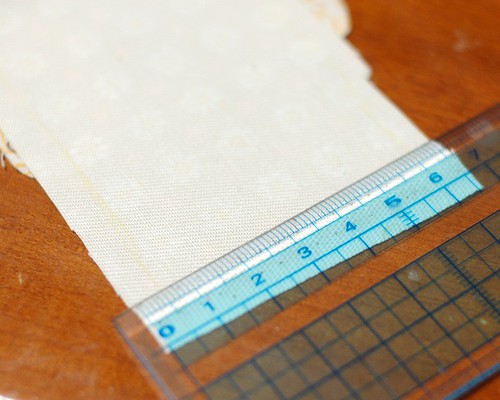
(3)To make the pattern of the bottom, scale the width of the body. I use a "cm" scale, and it was 6.5 cm(Approx. 2.5 inches). The allowance is 0.5 cm, so the pure body width is 5.5 cm.

(4)This pattern is only one what I made for this plush. Make the pattern of the bottom. Draw the curve line to be the same length of the body width. But actually, I didn't use the pattern what I drew, I used the pattern what I drew by free hand... Or you can cut the fabric after you'll finish to sew the body, then put the body on the bottom fabric making the curve as you like. When I made the first rabbit, I cut the fabric in this way.

(5)Cut the fabric for the bottom with the pattern with the allowance.
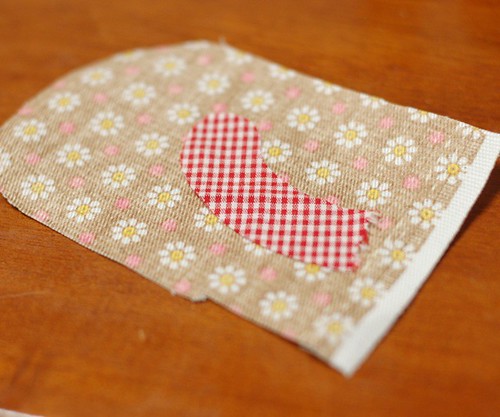
(6)I wanted to put the tail, so I cut out it by freehand. For the rabbit, I didn't applique the tail but hand embroidered it.

(7)Put the tail on the body fabric and applique it.

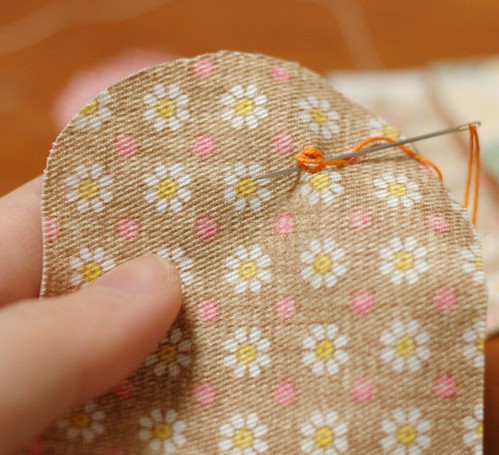
(8)Fold the allowance on the inside and sew by blind stitch.

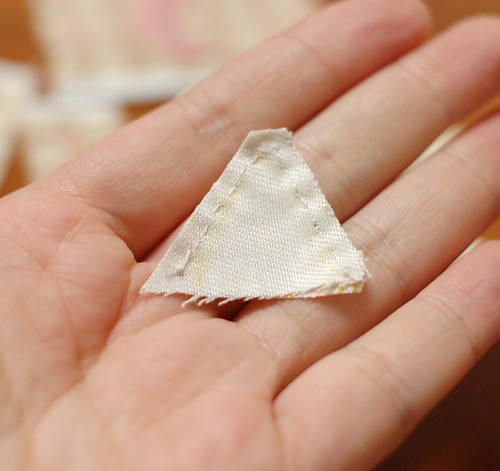
(9)Finished tail.
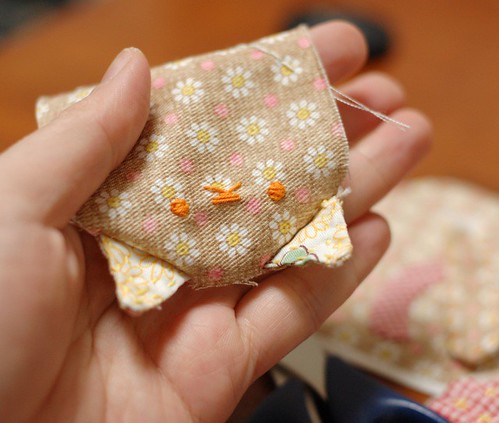
(10)Then make the face as you like.
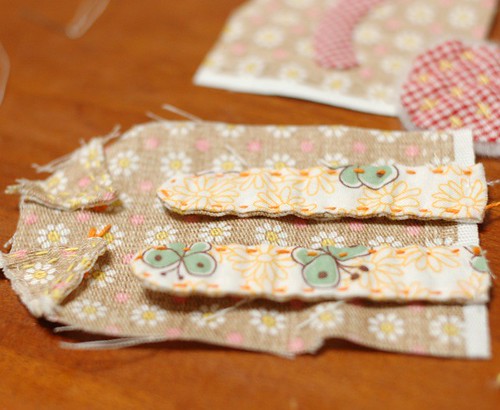
(11)Make the ears and legs. At first sew leaving the line with which attach with the body.

(12)Turn them around.
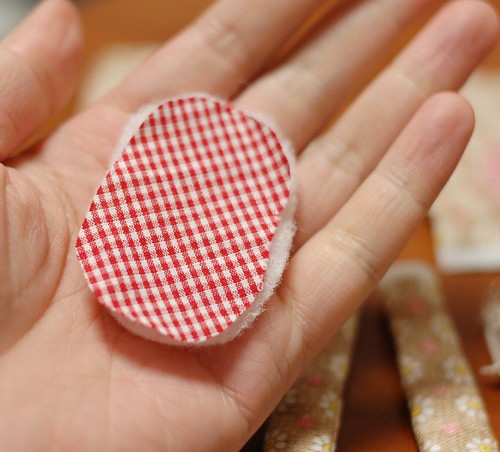
(13)For the stable sitting, put the batting on the bottom. Cut the batting as the bottom fabric.
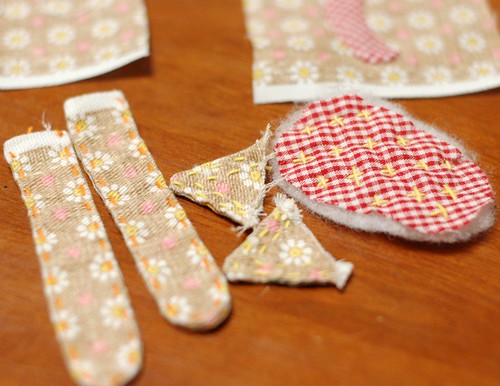
(14)Stitch ears, legs and the bottom as you like. I used Sashiko cotton thick embroidery thread. For the rabbit ears, I put the stuffing, but for the cat ears, I didn't put anything.

(15)Then, put the ears on the top of the front fabric.Sew the edge line.
(16)The ears comes like this picture.
(17)Sew the legs as the ears.
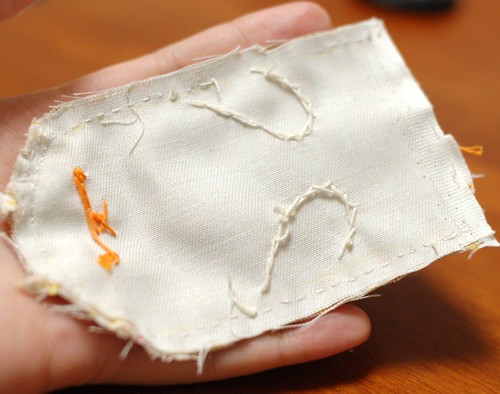
(18)Put the back fabric on the front fabric to make the right side inside. Then sew them leaving the space to turn it out and the bottom line.
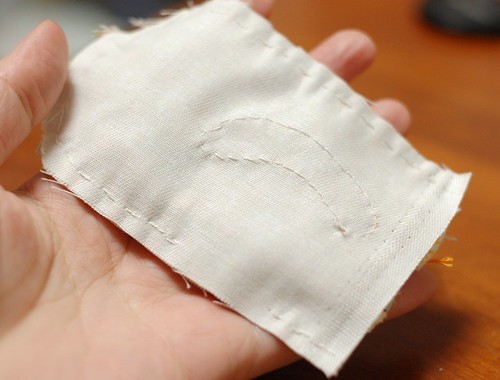
(19)The back side is like this.

(20)Sew the bottom. Put the bottom fabric and adjust it.

(21)I finished sewing the bottom.
(22)Turn it out.

(23)Fill the stuffing and close the space. You made it!
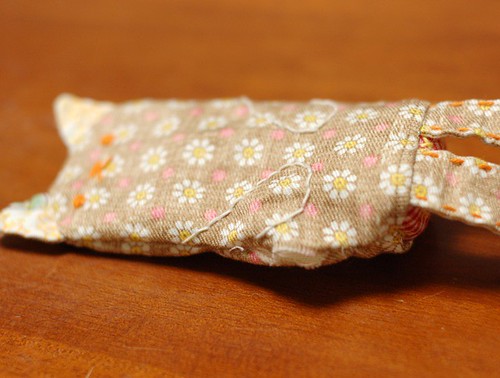
I like their bottom.
Thank you for reading this lo---ng post!
I'll make them more (maybe) and list them on my etsy shop. (* v *)


