I'm sorry to have kept you waiting. This tutorial has too much pictures...
But it's easy to make.
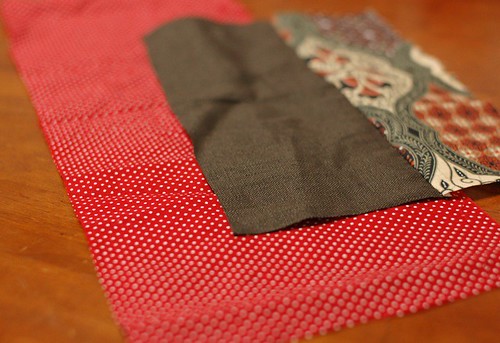
You need only two patterns, one for the outside, and the other for the inside.
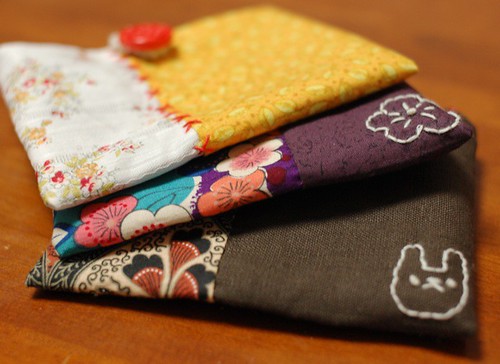
I patchworked the outside fabric, but you can make it with one piece of fabric too.
This pouch has a pocket in it and it's from a piece of inside fabric.
So the patterns are only these two.
*5 inches x 8 inches + allowances, for the outside (I patchworked two pieces and then cut in this size).
*5 inches x 13.5 inches + allowances, for the inside
I put 0.5 inches allowance for each edge.
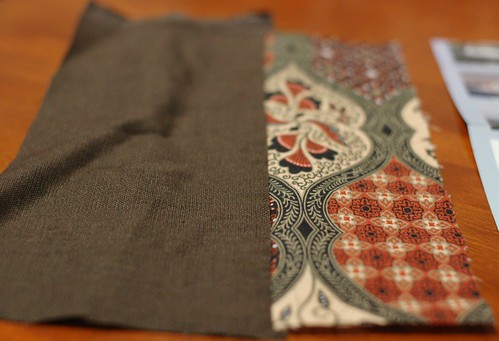
At first, I patchworked the outside fabrics. I cut them roughly and sewed them together.
Then, put the pattern on the wrong side, drew the line and cut with 0.5 inches allowances.
Cut the inside fabric too, with the allowances.
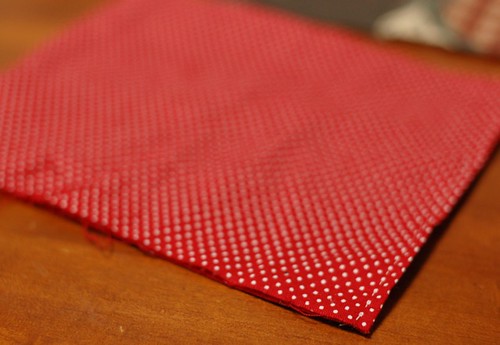
Fold the inside fabric in half making the right side up and sew 0.5 inches from the folded edge.
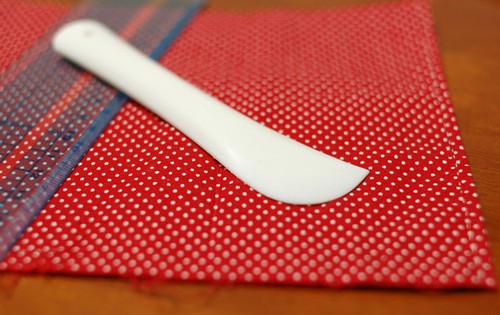
To sew the pocket line, I drew the line with this spatula(?) for marking. Draw a line at 2.75 inches from the folded edge.

And sew the line.
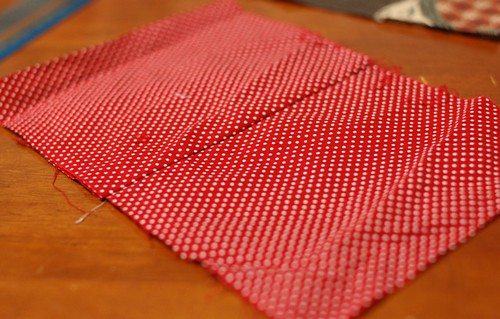
Open it like the picture. This is the wrong side and the size should be almost same as the outside fabric.

I put the outside and inside fabrics making the right side upside. The inside fabric has a pocket.
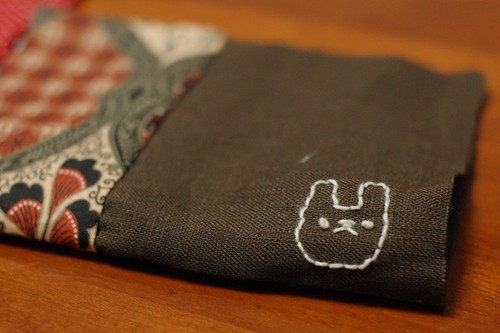
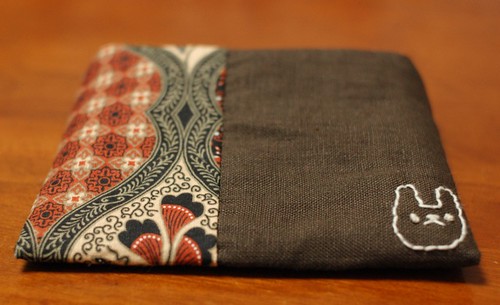
I hand embroidered a rabbit on the outside fabric. If you want to decorate outside fabric, please do it now.
Put the inside fabric on the outside fabric facing the right sides.
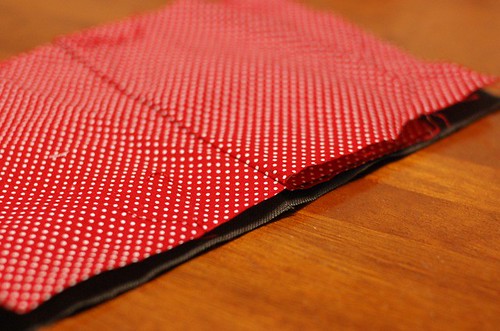
Sew the shorter lines like the picture.

And refold it like the picture, putting the sewed lines center.
Sew the side lines leaving a space (to turn it out) on the inside fabric.(In this picture, I left a space at the lower right.
For making beautiful corners, cut the allowances of every corner a little like the picture.

Also, for the beautiful shape, open the allowances and iron it.
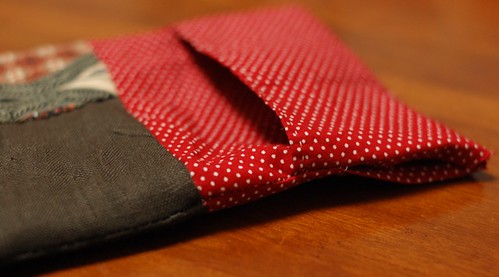
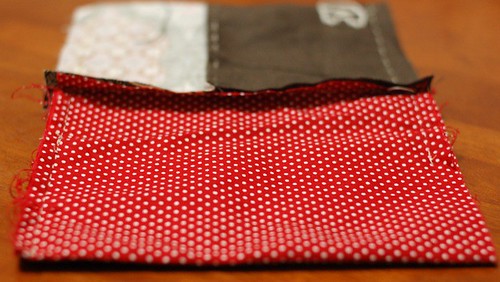
Turn it out. It has a pocket like the picture!
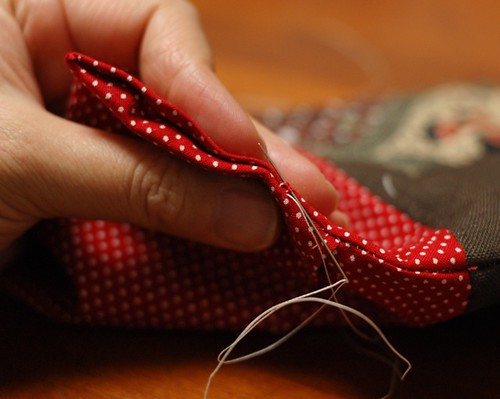
Close the space with blind stitch. You cannot see the stitched line from the outside so please don't care if it would be not so beautiful.
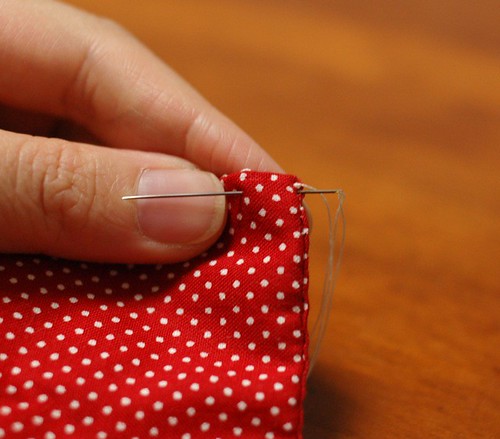
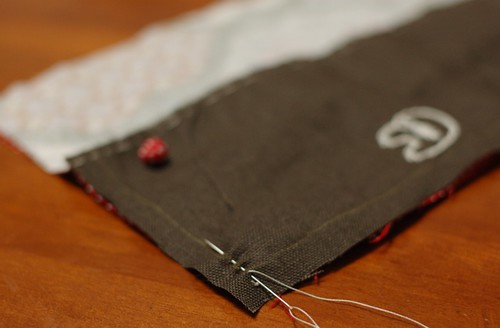
Make a knot and put out the needle at 1-2 inches away from the knot(See the picture).
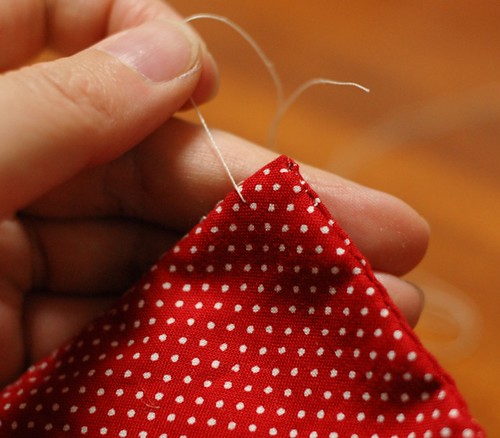
Pull the thread strongly and hide the knot inside. and cut the thread. I hide the end knot in this way (* v *)!!!!
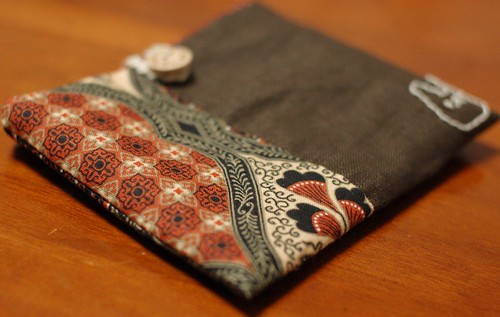
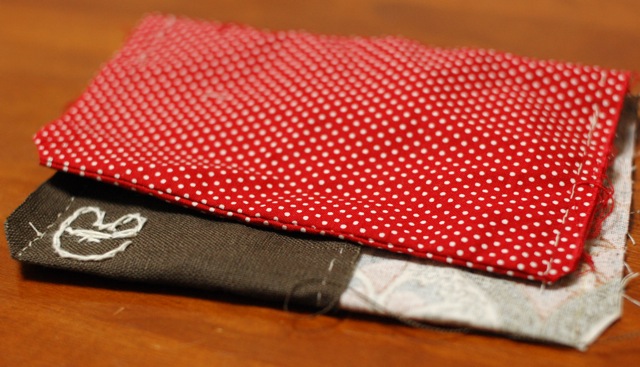
You made the pouch with a pocket! Then you only have to put a button and a loop.
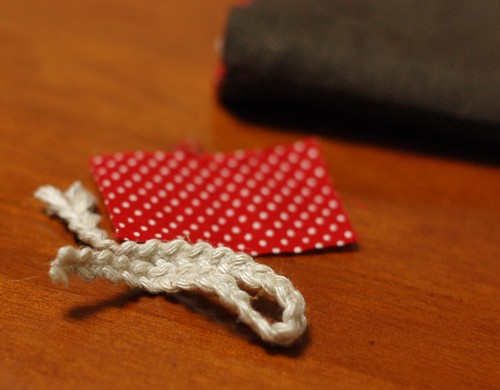
I made the loop with a linen code and a piece of fabric. The piece was 1.5 inches x 2.5 inches(I didn't make a pattern for it, I'm sorry). The code was approx. 6 inches long.
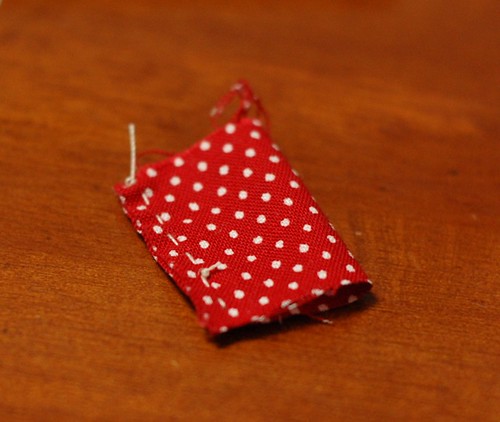
Fold the piece in half making the right side inside and sew a line like the picture.
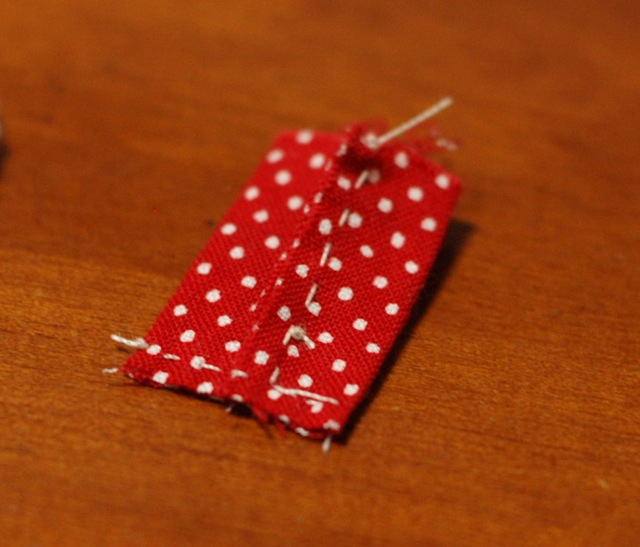
Refold it making the sewed line center and sew a line like the picture.

Turn it out and fold the allowance of the remaining side inside.
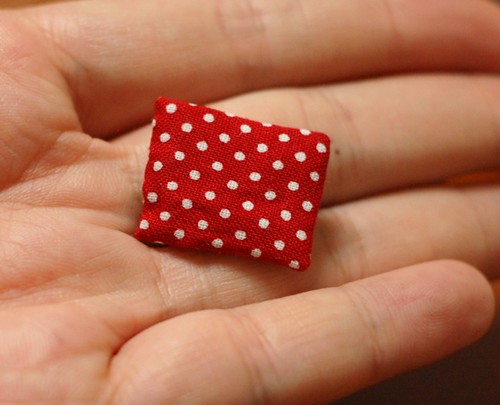
Close it with blind stitch.

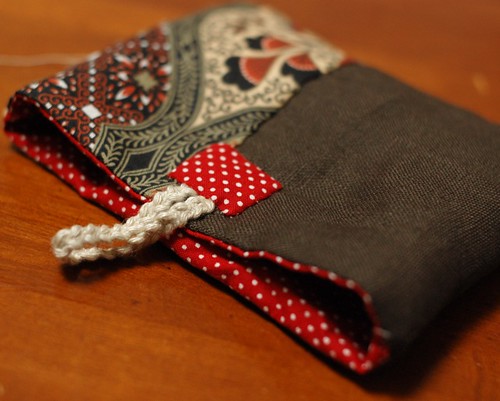
Sew the code at the center of the pouch on the back side, 1 inch from the top (In my case, the embroidered side is the front side).
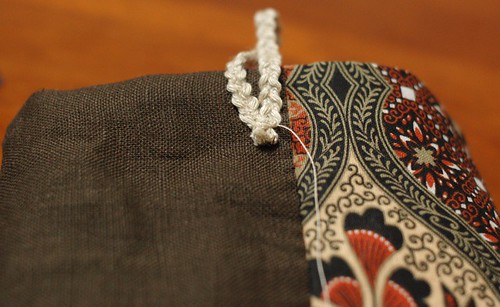
I didn't cut the thread and went on to the next step.
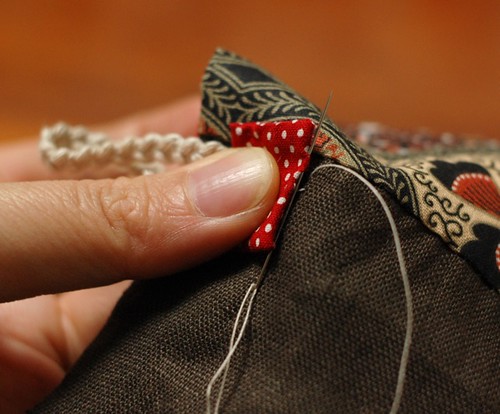
Put the piece what you made on the code and stitch it with blind stitch to hide the edge of the code.
You finished to put the code!

Put a button on the front side. You did it!!!!!!
I'm sorry for the long explanation. If you have any questions about it, please write me.
Thank you very much (* v *)!!!!


41 comments:
Cute. You always make such lovely items. I like the colour combinations too!
You R amazing! Lately your blog is my serious crash!
This is great, thank you!
Can't wait to try it!
Nice ¡¡
very beautiful!! thank you!!!!!
i love it! im looking for a perfect pouch to fit my school supplies in..this might be the one!
These pouches are adorable, as usual with you! Thanks for sharing your techniques too :)
Your sewing projects are always so beautiful!! I blogged your tutorial on Craft Gossip Sewing:
http://sewing.craftgossip.com/tutorial-small-buttoned-pouch-with-inside-pocket/2010/01/13/
--Anne
This is an absolutely lovely tutorial, and the pouches are great! I would love to make one of these; thank you, so much, for sharing it. :-)
You did anothe wonderful master class! Thank you sooo much, May!
Tatyana
Thank you for this gorgeous tutoria, the "spatula" is called Hera Marker, hugs from Brazil!
I don't think I have commented on your blog before, but I have been reading it for some time. This tutorial and these pouches are wonderful! I have wanted to make some of your projects for some time, but you know what they say, so many projects so little time. I definitely will put these on my list.
~jenny
It is such a treat looking at your blog. I love your photos and your creations. I always look forward to seeing what you've come up with next. Thanks for sharing!
My daughter in Chicago http://artscrapandmore.blogspot.com/ received the bag i made with your tutorial"a string quilt pouch" in november.She's put in it on her blog.Thank you for all your work.Y.S
You always make such beautiful things, Mai. I know everyone always says this, but it's so true that it bears repeating.
beautiful, thanks
Beautifull!!!
fantastic!
taced
I made one!
Thank you for the inspiration.
http://tamdoll.blogspot.com/2010/01/sweet-owl.html
You are so talented and generous! Thank you for your tutorials. I have made the Hana coasters and am looking forward to making this little pouch as well.
I am SO glad you're back! I've been checking your blog everyday and was so delighted to see your post (and your cute bags and tutorial!) I LOVE your blog and your sewing is beautiful. Thank you SO much.
Beth
Argh! Everything you make is so, so cute! Thanks for sharing!
Thank you! I love your tutorials, I would try to make it myself!
Thank you for the lovely tutorial!
So cute!! Let me finish some projects I'm working on and I'll try to do a couple of your little pouches! :D
Congratulations to achieve good work completely work thick with love ...
I have give you a Award to day.
Thank *you* very much for sharing! Your pouches are adorable. I don't have as much patience as you, but every time I visit your site you make me want to hand-stitch everything!
Beautiful work!!
Beautifull, thanks for sharing.
I love your items and tutorials. You make something so simple look truly professional and all with hand sewing. I am very envious, my own hand sewing is terrible!
I have read your blog for a long time, and I know you apologise for your English often, even though you do fantastic. I would like to offer you a little advice- the string, or "code" as you call it, is a "cord". I studied Japanese at school and can remember very little of it, a very difficult language in my opinion!! For some reason I always remember how to ask for someone's phone number, but not how they are feeling! hehe.
A real delight to read your blog and these little pouches are so sweet. Thank you for sharing with us.
Wow Mai, thanks. Must try this (I say this to all your creations ...lol)
Your virtual friend
Mena :)
I love it. I also loved the pictures of the ferris wheel in Yokahama. I was there this spring, but they ha closed it down because of the wind and somoe other problems.....Have you rode it? If so was it wonderfull????
Holly in VA. USA
Thanks for this I went & made one straight away will email you a pic when the button is on!
Wow, I love your bags and everything you do, especially these pouches!!! Is it ok to use the pattern of Sarubobo? Greatings from Finland and the Aaland Islands! Have a nice day!
Thank you Mai! Your pictures for this project turned out very nicely. It was worth the wait! :)
How sweet ! I loved this pouch nice that you have shared it with us all. Have a wonderful week.
Absolutely gorgeous fabrics:)
I just discovered your blog and it has INSPIRED me! great job!
So cute! I'm linking to this how-to in my blog. Is that all right?
Garnet
According to the study, the most important tool for small businesses to succeed in 2010 is search engine marketing, while email marketing, public relations and social media cited as crucial for success. 23.8% of all small businesses reported that search engine marketing was the tool most needed for their business to succeed in 2010.
www.onlineuniversalwork.com
Post a Comment