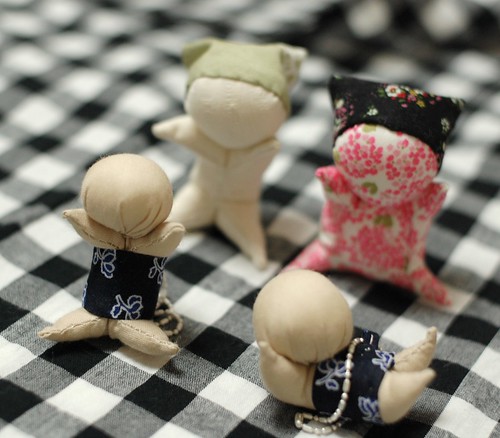
Jun 3, 2009

Sarubobo pen case and card holder

Sarubobo pen case & card holder
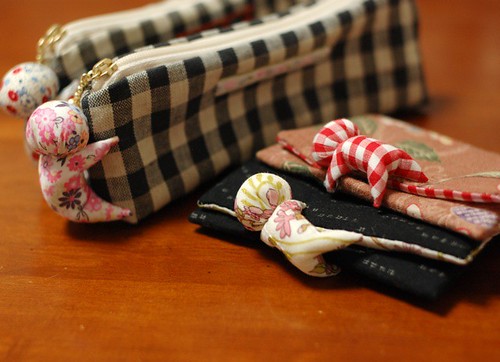
I made new versions of Sarubobo, on pouches.

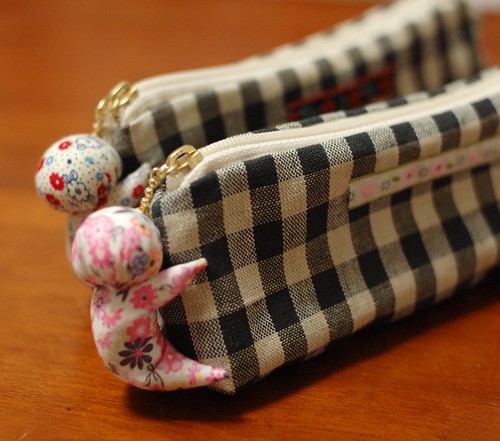
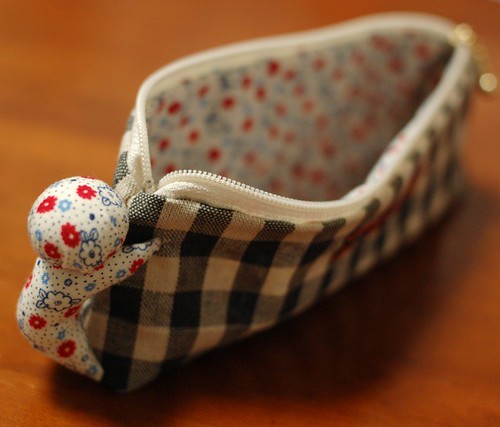
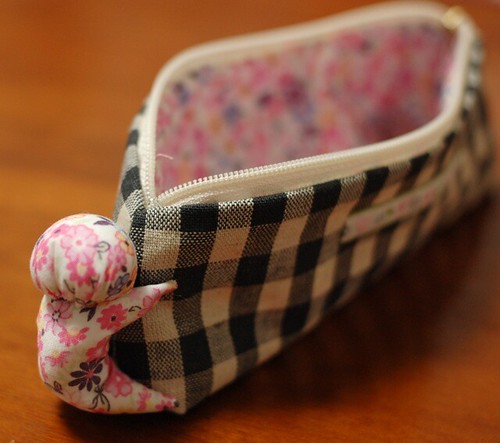
Sarubobo pen case
The one is the pen case.
I attached a sarubobo on the edge.
I made the sarubobo with the same fabric as the inside.
Sarubobo pen case
Sarubobo pen case

Now I'm working on writing the how to make this pen case.
Please wait for a while.

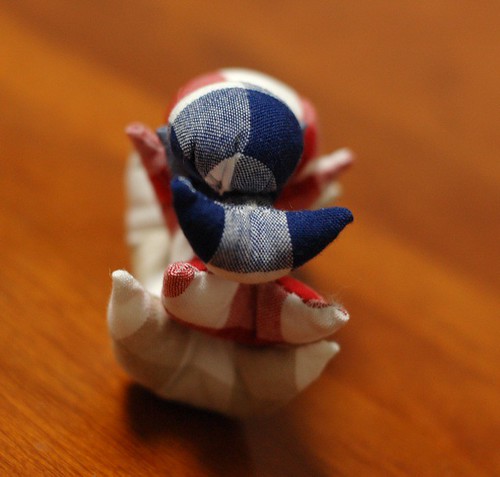
Sarubobo card holder
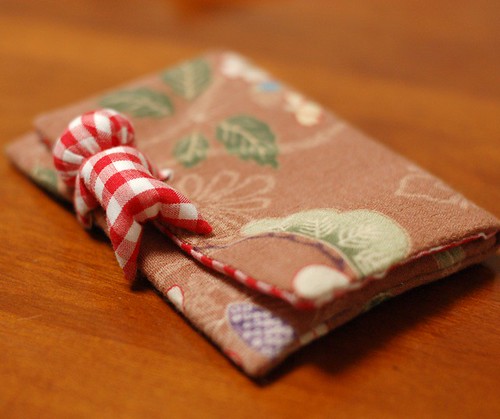
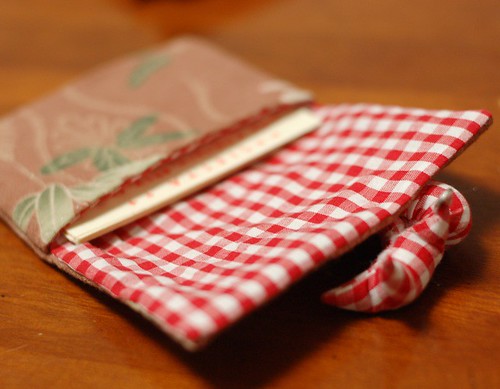
The second one is the card holder.
It closes with a sarubobo. I put snap on the hand.
Sarubobo card holder
For the outside fabric, I used Japanese printed cotton which my mother gave me.
I like this flower print one very much.

Sarubobo card holder

Thank you very much for seeing them.
Umm, can I find more variations???

Jun 2, 2009

Sarubobo variation 3 !!!!!

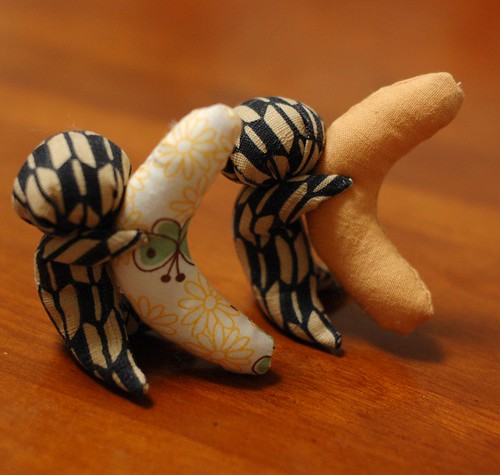
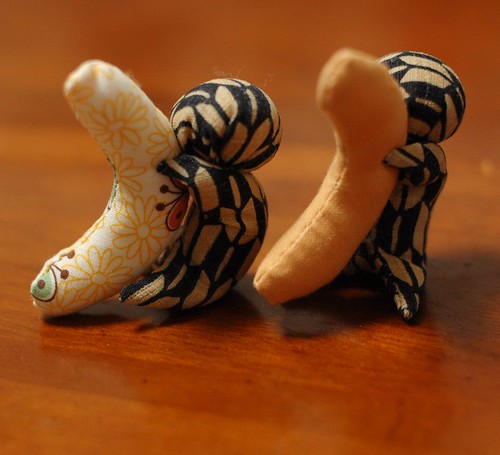
Bobo banana
I make sarubobo only these days!
Today I made more three patterns. All of them came up in my head while I was sleeping last night.
The first one is with bananas.
Bobo banana
But the bananas don't look like bananas... I couldn't make a good pattern.
Bobo banana

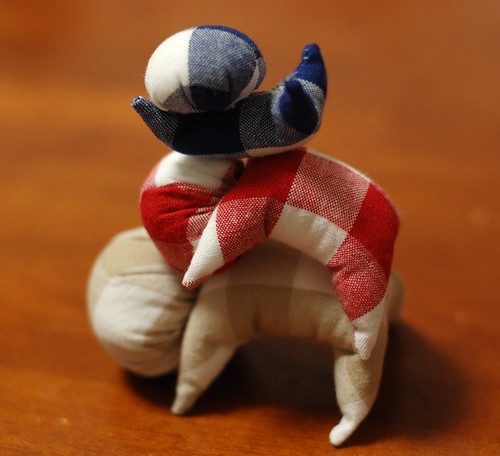
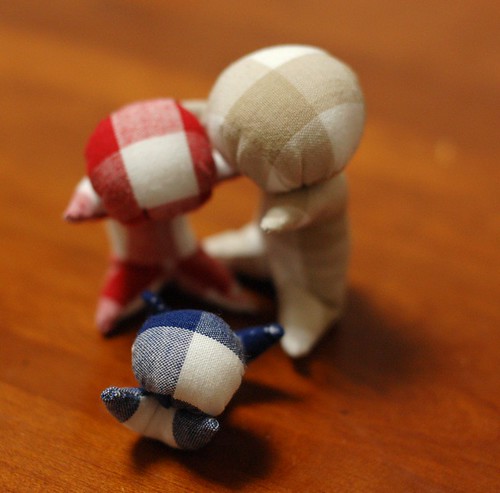
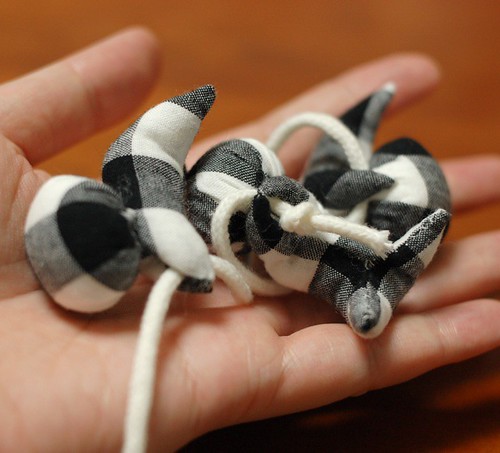
And the second one is a family. I wanted to stack them.
Bobo family
Father, mother and a baby.
Bobo family

I like this gingham check fabrics very much. It costs only 6-7 dollars per meter but really good fabric.
Bobo family
Cute hips!

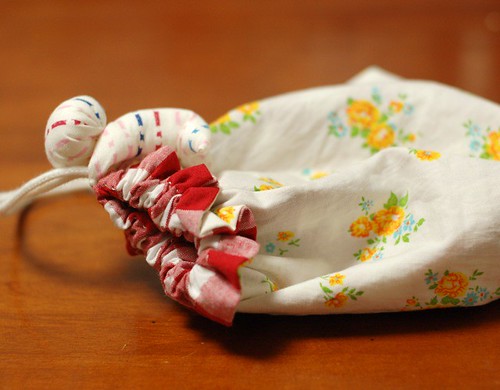
The last one is a pouch.
Bobo pouch
I wanted to put a sarubobo on the code.
Bobo pouch
The bag is reversible, because I used my favorite fabric for the inside.
Bobo pouch

I hope you enjoy these three sarubobo like previous post.

Thank you!

Jun 1, 2009

Sarubobo variation 2!!!!!

Bobo box
Still going my sarubobo days.

From yesterday, I made more two sarubobo items.
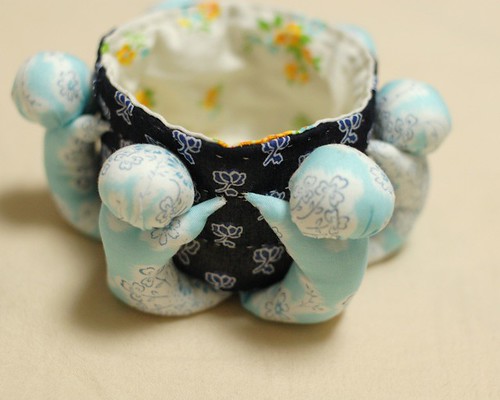
Bobo box

The first one is a treasure box. Six sarubobo are saving it and I put batting, so it's very safe place to put your treasures.
Bobo box

Today, I got a package from my mother. She put some beautiful fabrics.
Japanese cotton fabrics
So I made these sarubobo.
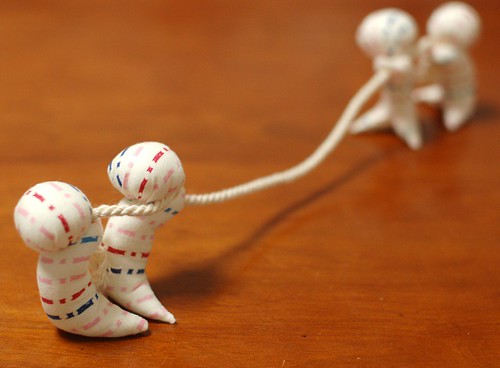
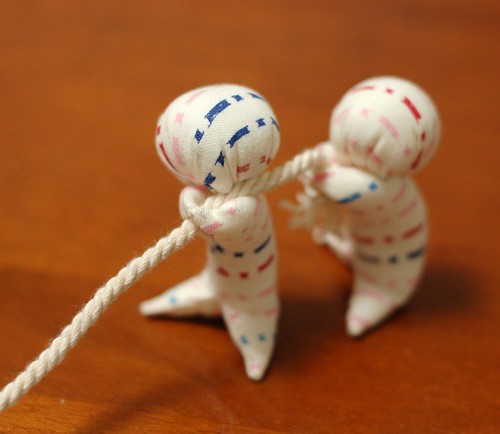
Bobo-hiki
They are playing at a tug of war.
When I made up these sarubobo, I asked my boyfriend, "What do you want them to play?". His answer is this.
Bobo-hiki

It's fun to make lots of them! From yesterday, I made 13 sarubobo!!!!

May 31, 2009

Sarubobo variation

I made some styles of Sarubobo these days.
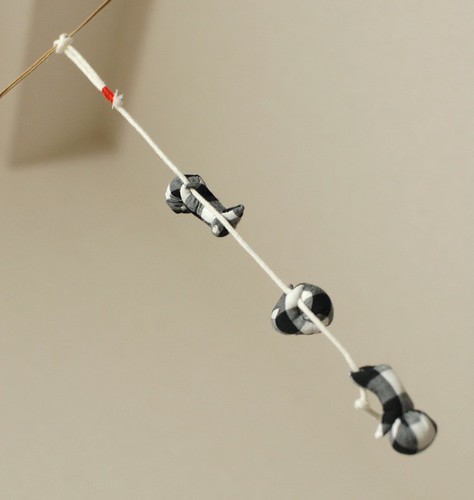
Sarubobo on the rope
The first ones are hanging dolls.
I made nine sarubobo, and put them on the rope.
Sarubobo on the rope
They are detachable from the rope.
Sarubobo on the rope
They are in different poses.
Sarubobo on the rope
I sewed their hands to catch the rope. Some of them catch the rope with their legs.

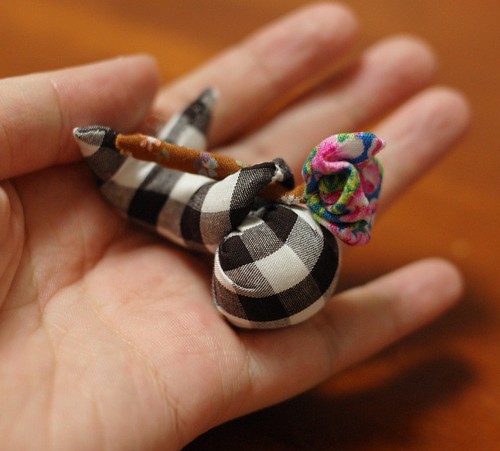
Hana bobo
The other ones are with flowers.
I thought they wanted to have a flower in their hands.
Hana bobo
The flowers are also detachable.

Hana bobo
I like this flower, because I made it with the fabric from Ravenhill.
I love this flower print.

I think if I can give you some ideas.
Thank you for reading!

May 29, 2009

How to make Sarubobo plush

Sarubobo

I wanted to write here the way to make Sarubobo plush.
It's easy and simple.
But I found some variations, so I tried some patterns.
The first one is very simple, traditional one. I need only one circle and one rectangle.
With this recipe, you can make this Sarubobo. This is the recipe 1.
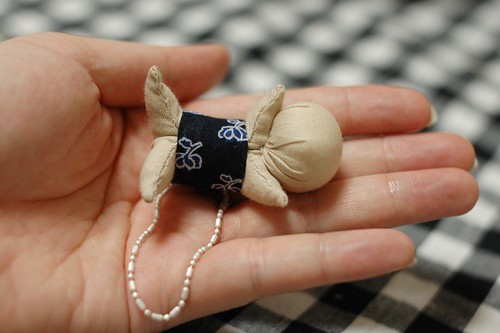
Sarubobo, pattern 1

If you put the head on the back, you can make this(It's flying!). This is the recipe 2.
Sarubobo pattern 2

And you can put hats on them. This is the recipe 3(The white one).
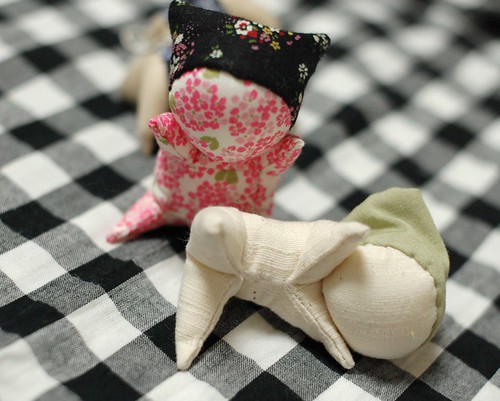
Sarubobo, pattern 3 and 4
The last one has different body. I made it with not rectangle, but square pattern. In the traditional recipe, they make the body with square. But it has a big hole in the middle, so they put a cloth to hide it.
So I made a little different pattern to close the hole. This is the recipe 4(The pink one).

The recipe 1
This is the basic recipe. Prepare the pattens of 5 cm diameter circle and 5 x 6 cm rectangle. The circle one is for the head, and the rectangle is for the body. I put 5 mm allowance for each.
Sarubobo pattern 1, step 1
At first, make the head. Sew the edge of the circle roughly.
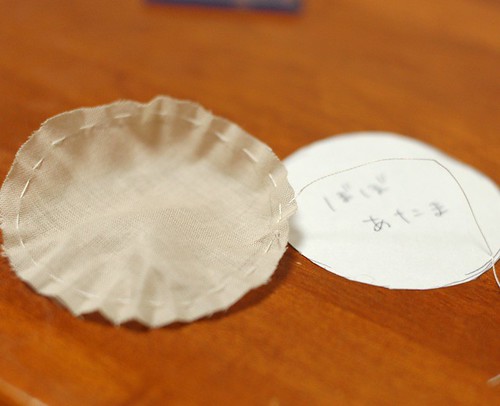
Sarubobo pattern 1, step 2

Then, put stuffing and pull the thread. Sew some places and make the ball.
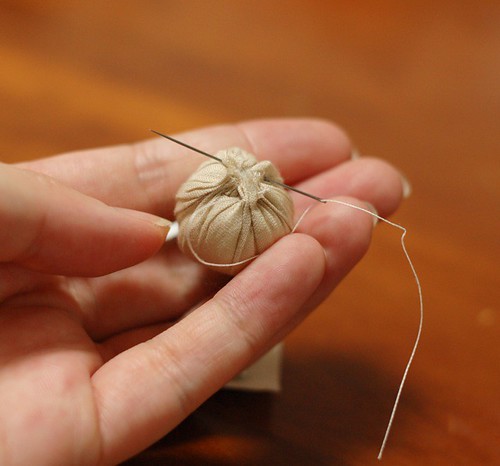
Sarubobo pattern 1, step 3

To the next, make the body. Every corners is their hand or leg. And there should be left the space (1 cm) to turn it out.
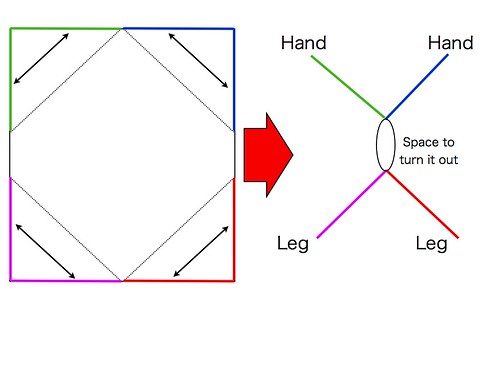
Sarubobo pattern 1, step 4
Take one corner and fold it like the picture and sew from the middle of the shorter side to the end of the corner. I sewed it from some millimeters closer to the corner from the middle to make bigger space.
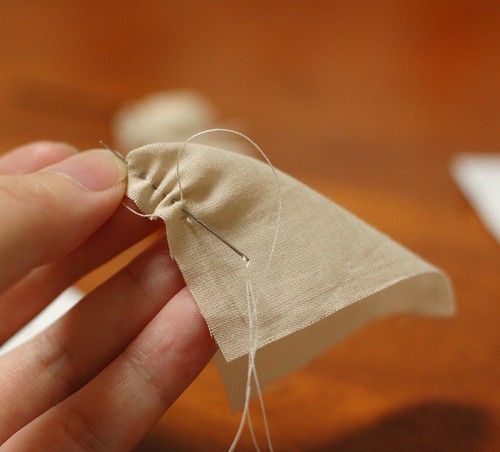
Sarubobo pattern 1, step 5
After you sew the four limbs, it comes like the picture.
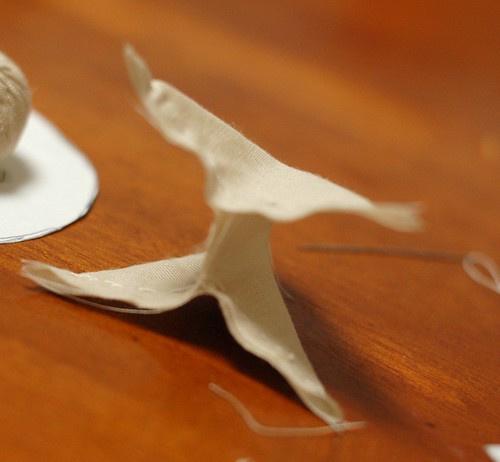
Sarubobo pattern 1, step 6
Then turn it out from the space of the center.
Sarubobo pattern 1, step 7
And put the stuffing little by little from the corner. I put it with my hair pin.
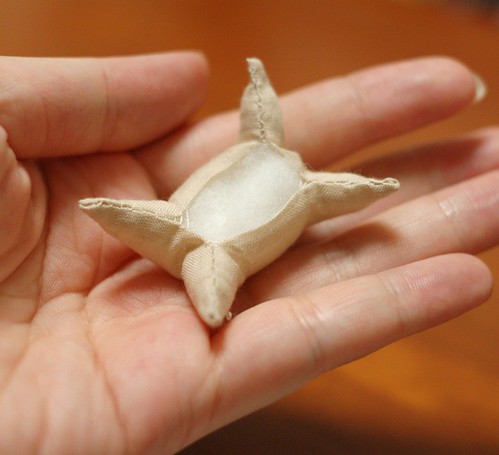
Sarubobo pattern 1, step 8
Then close the space.
Sarubobo pattern 1, step 9

You made the body and the head.
Sarubobo pattern 1, step 10

Then, sew the head on the body. That's all.
Sarubobo pattern 1, step 11
I made the clothing for it. I only put the strip on it.
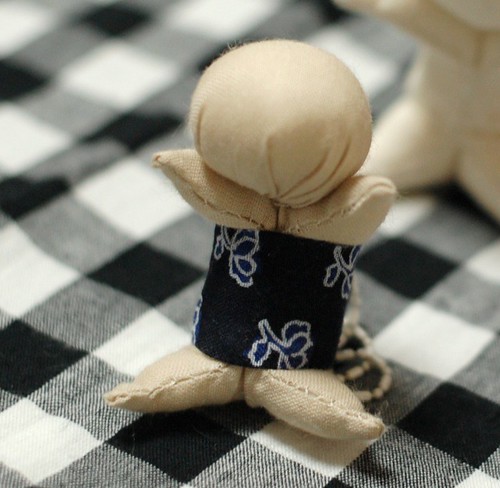
Sarubobo pattern 1, step 12

The recipe 2

Make the body and the head like the recipe 1, and put the head on the back of the body.
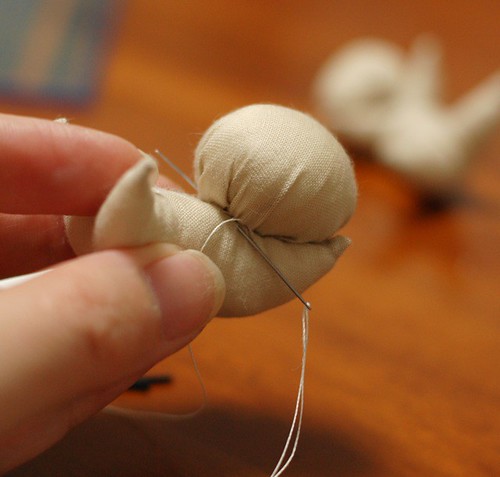
Sarubobo pattern 2
It's like flying!
Sarubobo pattern 2

The recipe 3
For this and for the recipe 4, I make the pattern little bigger than the recipe 1 and 2. The circle is 6.5 cm diameter, and the rectangle is 6 cm x 7 cm.
At first, make the head like the recipe 1.
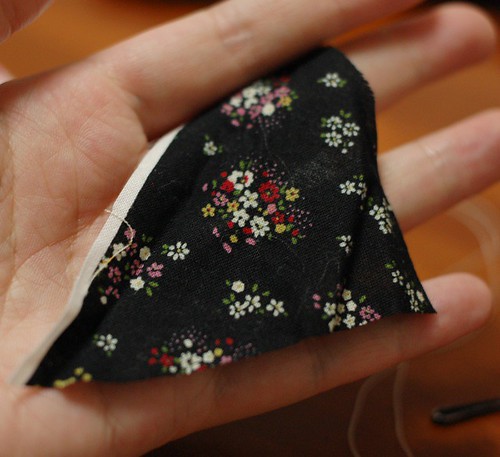
Sarubobo pattern 3, step 1

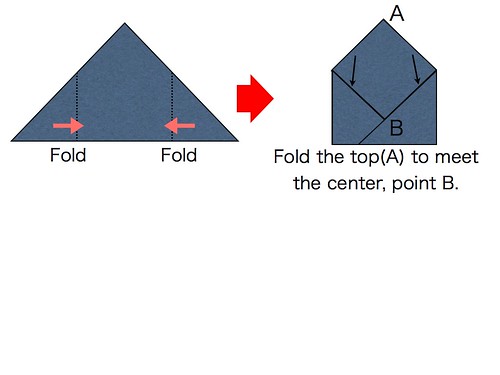
Then, make the hat. Prepare the piece of a rectangular triangle of 7.5 cm side.
Sarubobo pattern 3, step 2
Then fold each end to meet at the middle of the back. Put the right side inside.
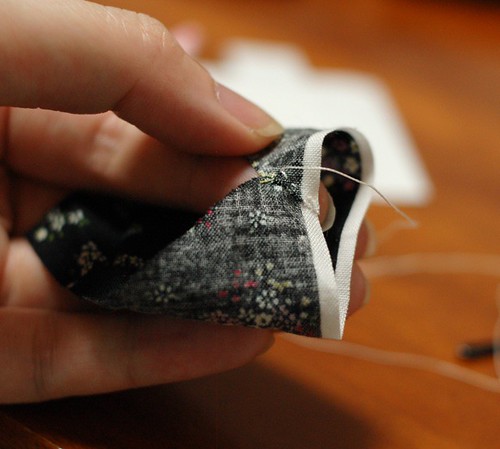
Sarubobo pattern 3, step 3
Sew the point.
Sarubobo pattern 3, step 4
Then Fold the top to meet to the sewed point and sew the line.
Sarubobo pattern 3, step 5
It comes like this.
Sarubobo pattern 3, step 6
Then turn it out.
Sarubobo pattern 3, step 7
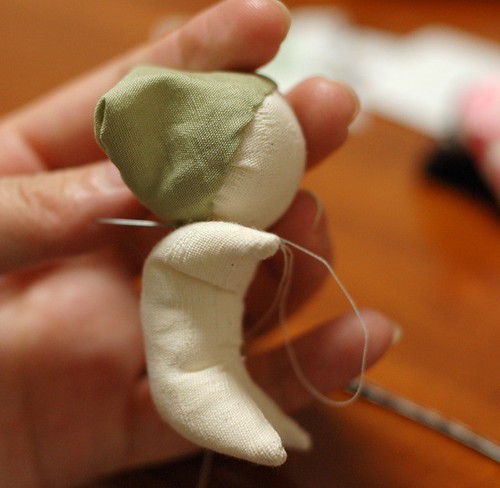
Put the hat on the head folding the edge a little and sew it.
Sarubobo pattern 3, step 8
And put the head on the body.

The recipe 4
Sarubobo pattern 4, step 1
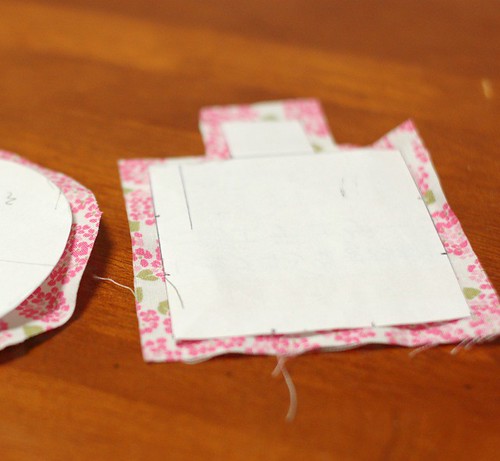
This has the different pattern of body from others. The pattern is 6 cm square with the 2 cm square on the middle of the top.
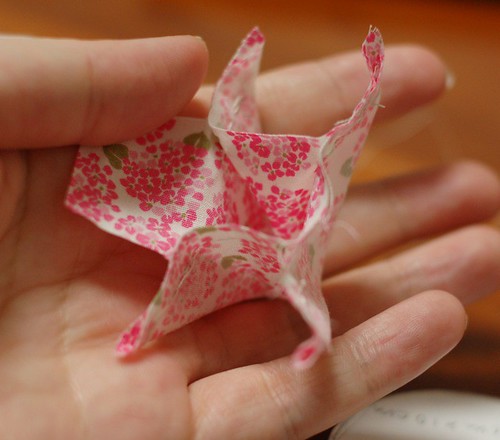
Sarubobo pattern 4, step 2
Sew each leg like the recipe 1 leaving the 2 cm square.
Sarubobo pattern 4, step 3
And then sew the two sides of the 2 cm square to close the space, only one side left.
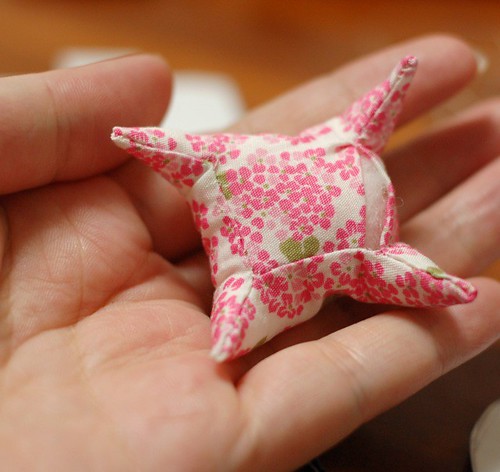
Sarubobo pattern 4, step 4
Turn it out, fill with the stuffing and close the space.
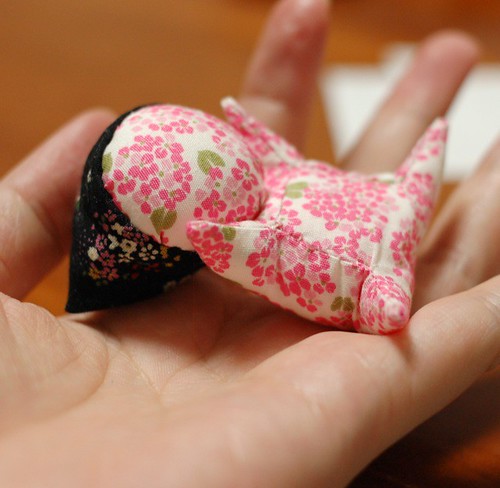
Sarubobo pattern 4, step 5
Put the head on the body. You did it!

If you make the body with a square, you leave the space in the center.
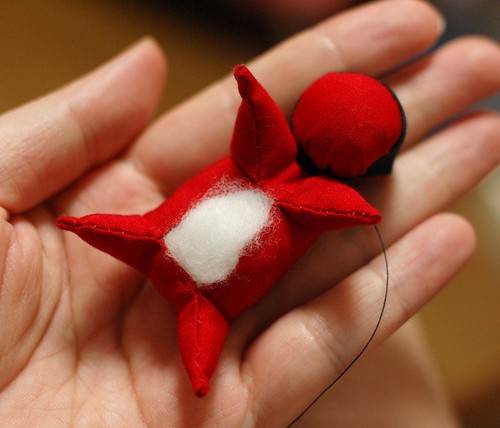
Sarubobo, with space open
In such case, you can make the cloth for it and hide the space. This is the traditional recipe.
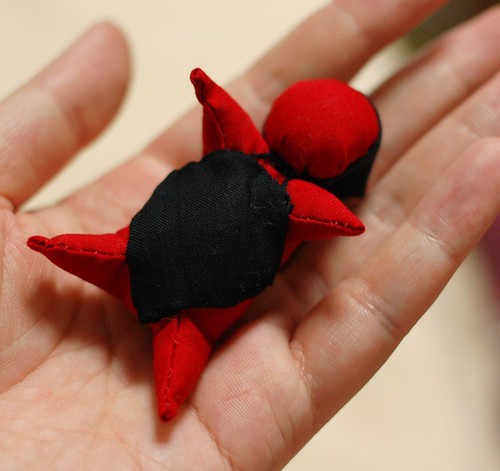
Sarubobo, with space open

I'm sorry to write so long and the explanation is too complicated.
If you have any questions, please leave a comment.

Enjoy Sarubobo!