
Finally I can write this tutorial.
It's easy to make it but the pattern is a little complicated, I'm sorry.
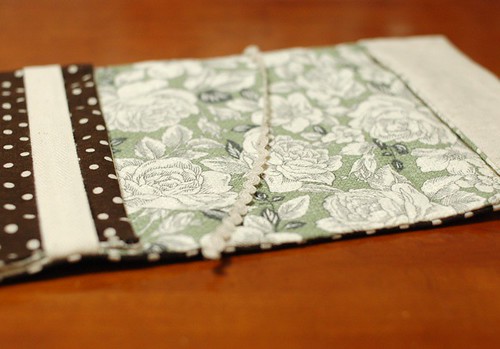
The feature of this book cover is adjustable for one side. A side is a pocket, and the other side closes with a cotton tape.
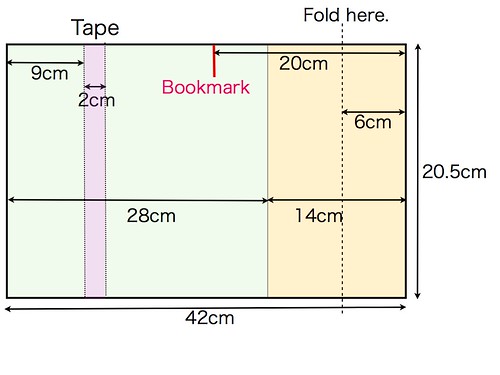
For this book cover, you need only two pieces(for outside and inside) of 20.5 cm x 42 cm (without allowances). You also need a piece of cotton tape (of 22 cm long) and a lace or tape for a bookmark.
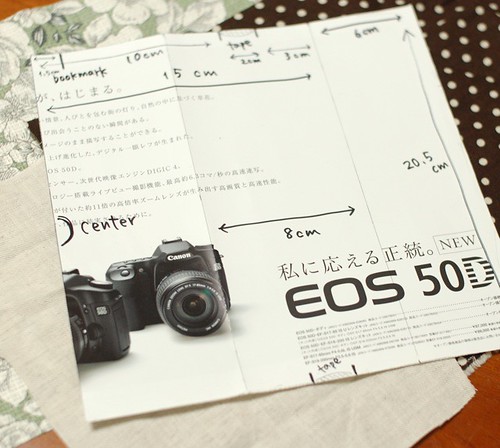
I drew the pattern on a piece of paper like the picture. It's only half of the pattern.
I patchworked the outside fabric, so I sewed 20.5 cm x 14 cm and 20.5 cm x 28 cm (without allowances).
If you don't patchwork, please skip the next step.

I sewed the two pieces of the outside, then open the allowance.

I also added a piece of batten lace on it.
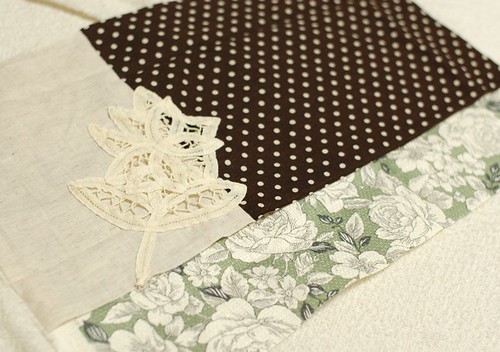
I finished the outside.

Then put a piece of cotton tape on the inside fabric. I used 2 cm wide tape, but if yours is different size, please put it 9cm from the side.
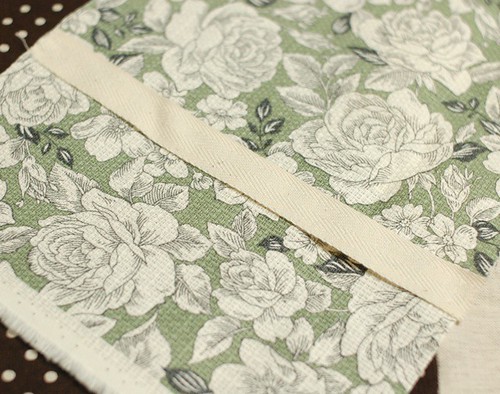
Baste the tape on the allowance.

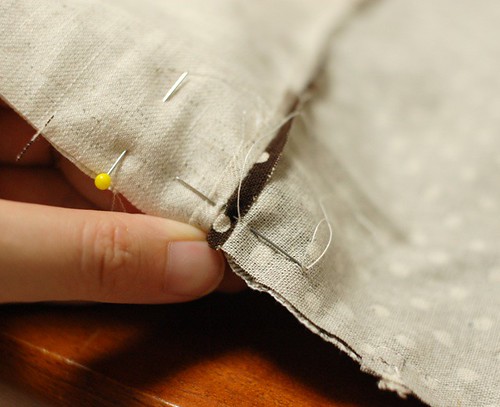
Put the bookmark on the outside fabric(It's OK to put it on the inside fabric). This should be 20 cm from the pocket side. Please note that it should be on the top, not on the bottom.
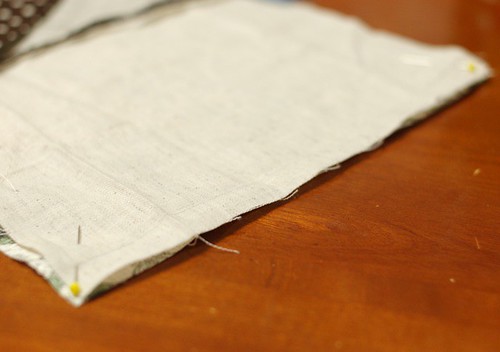
Then put the outside fabric on the inside fabric making the right side inside, and sew the side line of the pocket side.
Sew the other side also.

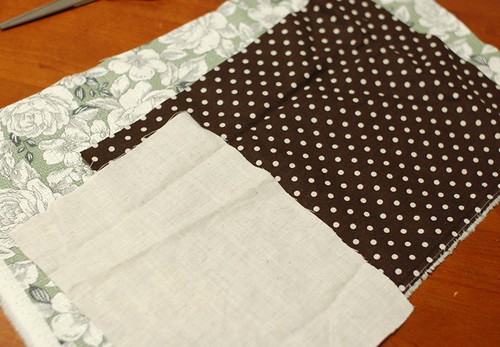
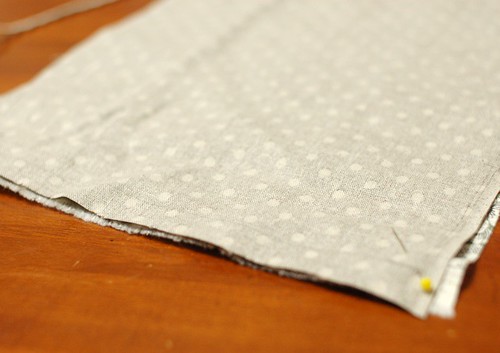
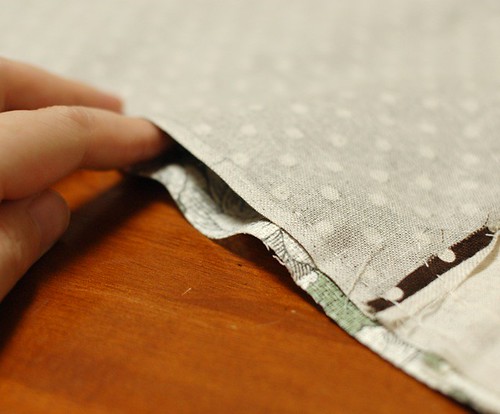
Go to the pocket side again. Fold the sewed line inside like the picture making the 6 cm pocket.
And sew the top and bottom line leaving the space to turn it out. I leave it at the bottom for 5-6 cm.
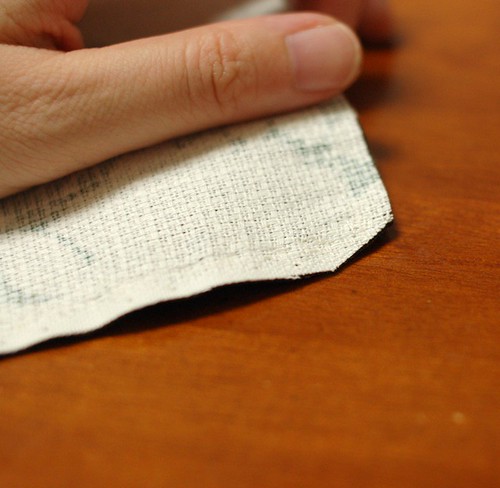
Before turn it out, please cut extra allowances and the corners to make it sharp.
Turn it out and close the space with blind stitch.
You did it!!!!!
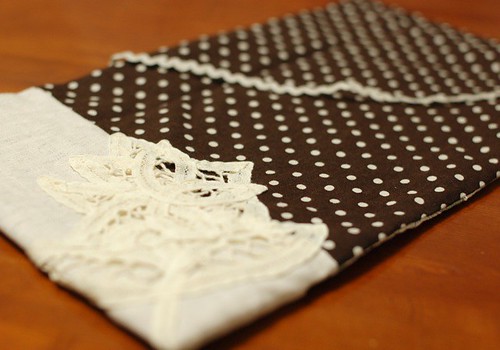
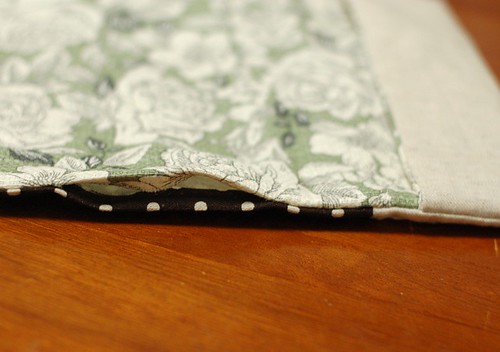
This is the outside,

And this side is the inside.
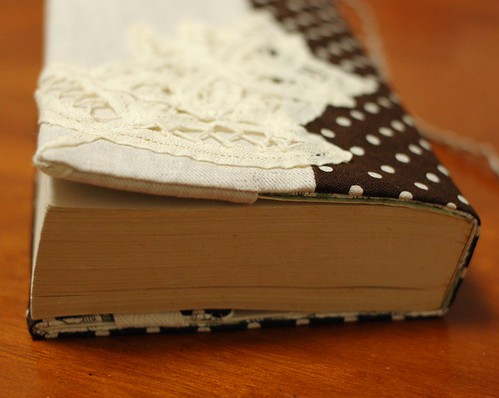
It can hold such a thick book.
If you have any questions, please leave a comment here or e-mail me -> maimairuru(at)gmail(dot)com !
Thank you very much.


28 comments:
Mai i love this tutorial! Been wanting to make a book cover for myself and your tutorial will help me alot! Thank you so much for sharing this with us. Loving the touch of batten lace! I have yet to find a shop that would let me buy these lovely batten lace. :( I hope you had a good weekend and lots of love to yoU!
It's so beautiful and your tutorial is so detailed and full of fantastic photos of each step. A lovely fabric cover like yours would definitely make me want to read more... thank you for this!
It´s beautiful! i love this kind of things, thank you for the tutorial, it´s very well explained!
thank you so much for writing this tutorial, I've really wanted to know how to make one! I can't wait to give it a go!! :) i love your batten lace piece! :)
Lovely, and thanks for teaching us.
Will try it as I have lots of books, without covers.
This is so personalised
Love the batten lace
Mena :)
Mai, what type of stitches do you use to sew the cloth together? i always use backstitch, but i never know whether that is the right stitch, is it? i want them to be really strong!
Thank you for showing us how to make these book covers. I want to make some and use them and make some for gifts also. Yours are very pretty as well. I enjoy your blog also. You do some lovely work.
jenny
Hello Grace,
I use back stitch at each 2-3 running stitches(I think this English is incorrect...).
If I sew it all with back stitch, it takes too much time for me.
But when I make my clothes or something for baby, I use back stitch more often.
It's great.. (and you say thank you, when we should say thank you for all your beautiful things)
I'll try tonight your tutorial and I hope I will do my cover as well as yours.
Thanks again
Thank-you for another beautiful project. I can see myself giving one of these to all my friends and family for Xmas.
The tutorial was very well set out and easy to follow.
Thank you Mai for another lovely tutorial! I love making the things you teach us to do!
Ali
c
This is so pretty!!! I posted a link to your tutorial on Craft Gossip Sewing:
http://sewing.craftgossip.com/tutorial-paperback-book-cover/2009/08/25/
--Anne
I adore this! And might just have to try it. ;)
I love your tutorial...it's just wonderful. Now i can cover my precious books...Will be trying it once i hv some free time :D Thank you!
your work is so lovely, very nice tutorial
I love all the details you show in your tutorials, they're wonderful! Thanks so much for this, I'll be linking.
Wow! Great work. I've never seen an adjustable book cover before. Your directions are excellent, so I'll have to make one. Thank you for sharing!
Making fabric notebook covers is my new favorite thing to do! And I love finding all kinds of different ways to do it! YAY. thanks for a cute tutorial!
Anne
this is gorgeous! i just finished my first one, and i think i've got the hang of what i need to do to make it work for me. i love your ideas!
I have been looking for a good tutorial for ages. Thanks so much! Greetings from Germany!
thanks so much for this tutorial! very cute! i made my own tonight and love it!
I have been looking how to make a book cover for awhile and your tutorial says it all.
Thanks for sharing and loved your blog.
Merry christmas
this is interesting ahahha...i like that
It will not work in fact, that is exactly what I think.
Mai, Thank you very much for your tutorial! I really liked your idea and will try to make one soon! Merry Christmas!
Candida
Concerns about this controversial measure and the associated contributions to climate change are driving many groups to reassess the policy.
I have essentially made the decision to dedicate a significant portion of my limited resources to helping people better appreciate the consequences of their choices.
Thank you so much for this tutorial. I have a quick question - if my length is 50 instead of 42, then should I still place the tape after 9 cm?
Post a Comment