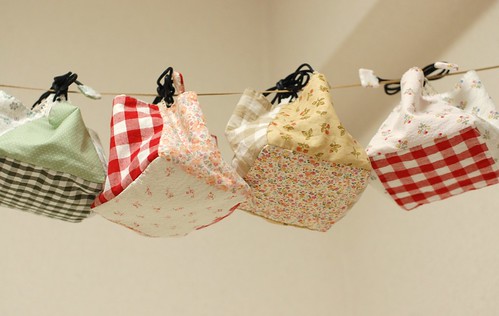
Today I write the how to of my cube drawstring bag. It's simple and easy. Please try it!
(1)First of all, prepare the fabrics. You need only one pattern of 4.7 inches square(12cm, without allowances).
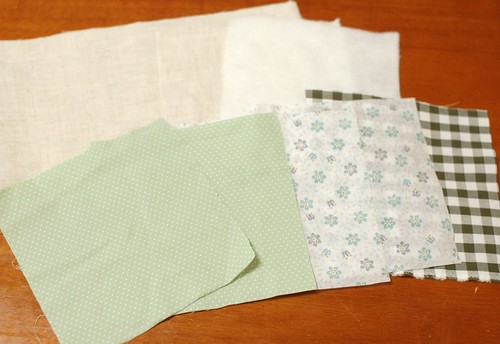
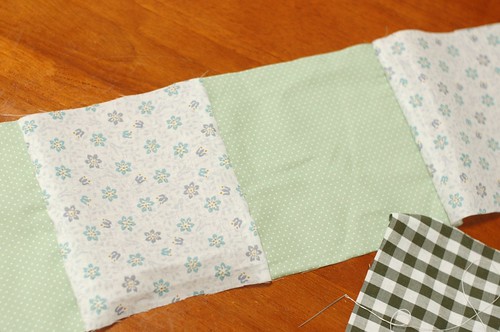
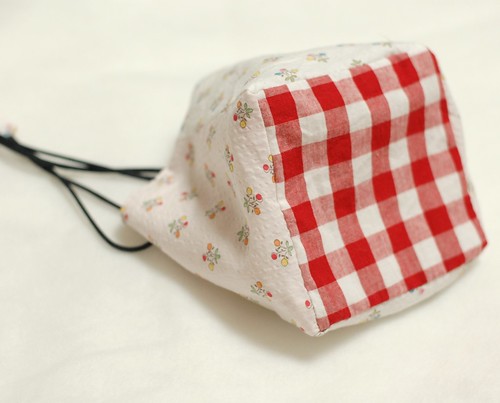
For the outside, cut five pieces, four for the sides, one for bottom. I used green polka dot and flower print for the sides, and gingham check for the bottom.
For the inside, cut a piece of square for the bottom, and a rectangle of four squares size( 4.7 x 18.8 inches, or 12cm x 48 cm). Please mark each edge of square to put with the bottom, or the outside fabric.
(I used cotton linen fabrics for the inside.)
And also cut a piece of batting for the bottom.
(2)Sew the outside. Patchwork the side pieces.
When you finish the side, open the allowances and iron it.
Then put the bottom fabric and sew it with the side.
I sew with back stitch a place to make it sturdy.
You made the outside.
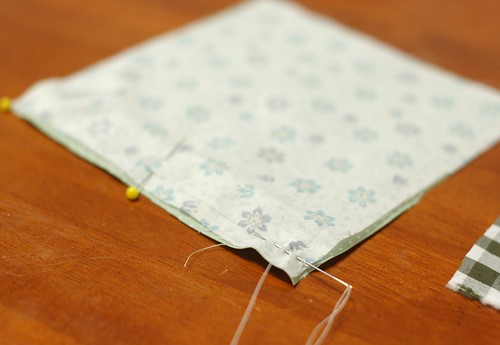
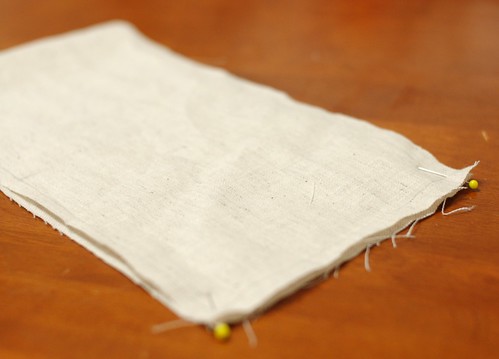
(3)Sew the inside. Fold the side fabric in two, and sew the side.
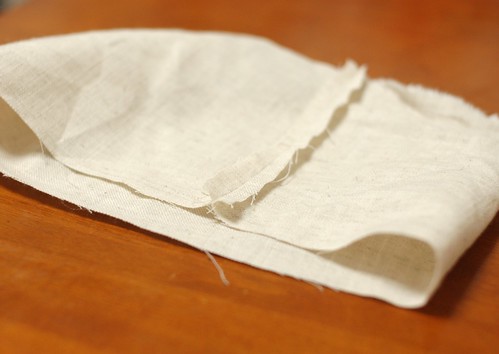
Open the allowance like the outside.
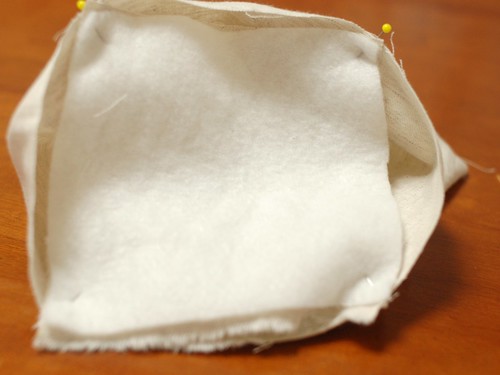
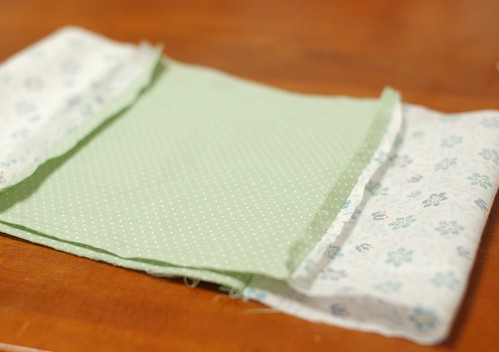
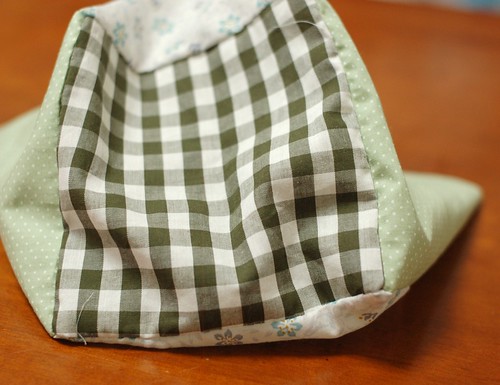
Then put the bottom fabric and batting in piles like the picture and sew it with the side.
You made the inside.
(4)Sew the inside and outside together.
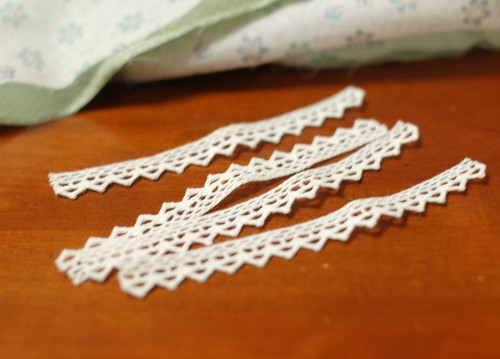
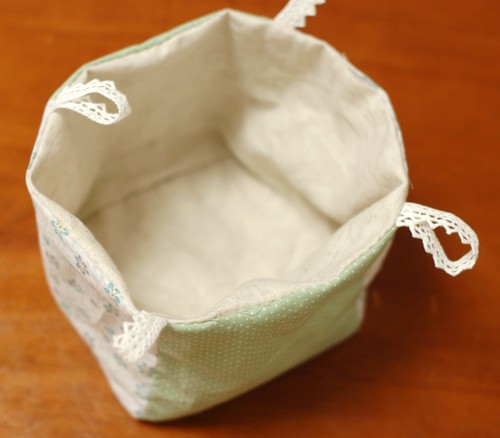
Prepare 4 pieces of 4.7inches (or 12 cm) long lace for the loop.
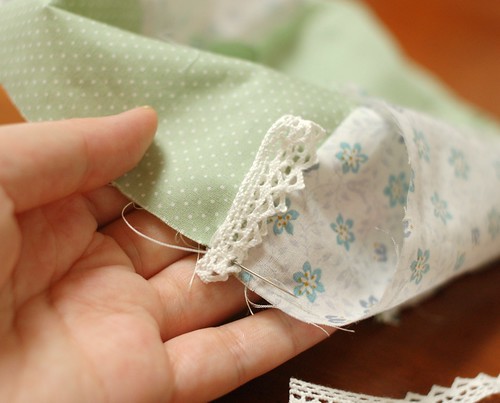

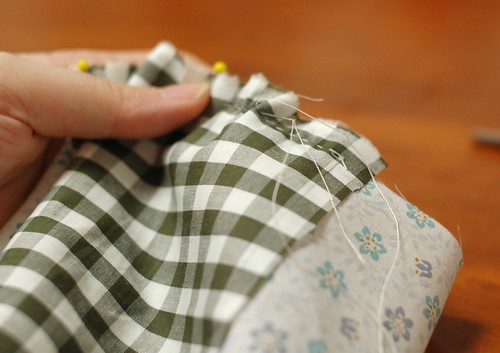
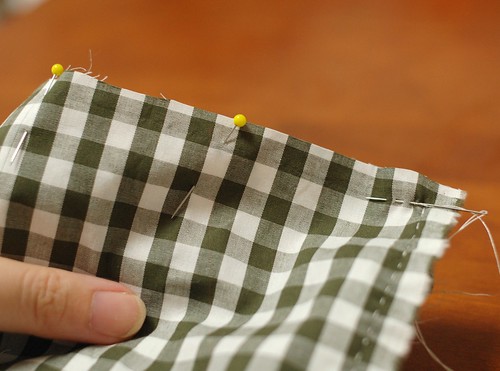
Put them on the patchworked line of the outside fabric like the picture and sew it.
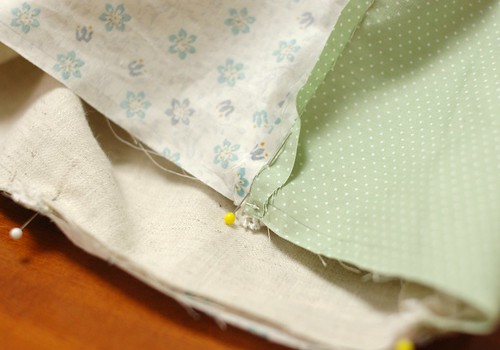
Put the inside fabric in the outside fabric making the right side inside.
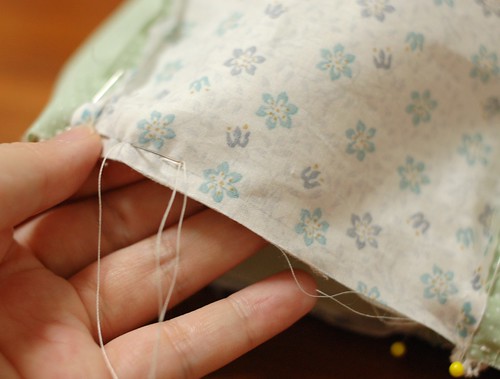
Sew it leaving the space to turn it out.
Turn it out and close the space.
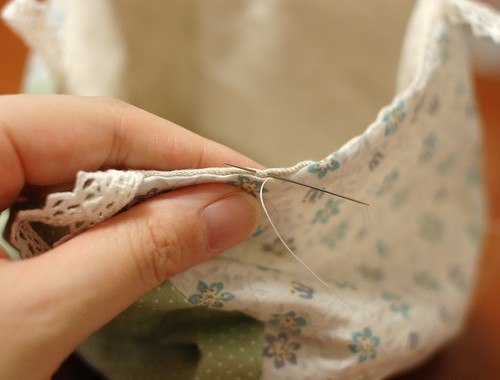
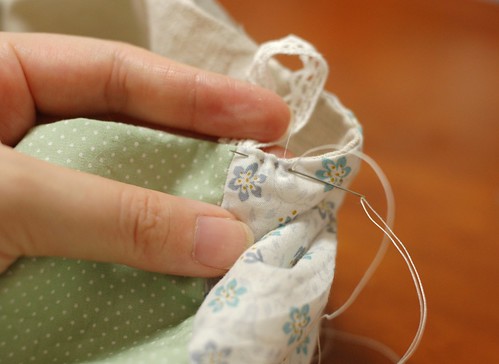
Then, sew the edge line to make it sturdy.
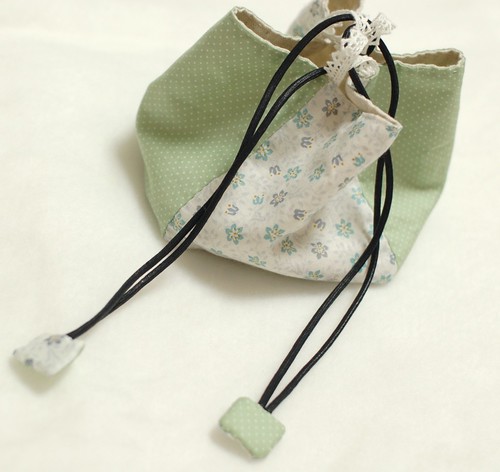
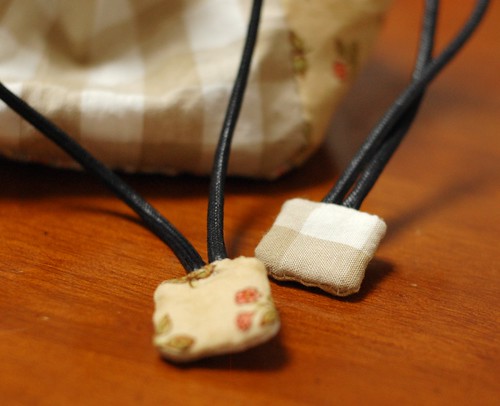
(5)Make the code end.
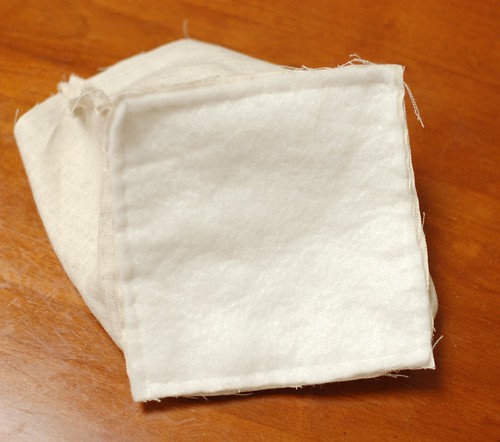
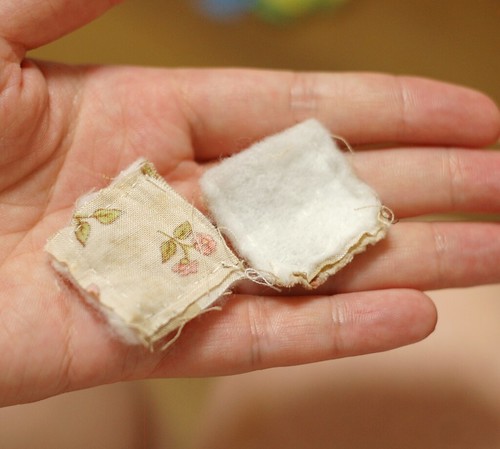
Prepare four pieces of cotton fabrics of 1.25 inches / 3cm square size(include the allowance). Also cute two pieces of batting as the same size.
I'm sorry these pictures are for the other bag using other fabrics. But please use the same fabric as the outside fabrics.
(two cotton and one batting for one code end)
Put two cotton pieces the right side inside, and put the batting on it.
Then sew three side of it with 0.1inches / 3mm allowance. Leave one side to turn it out.
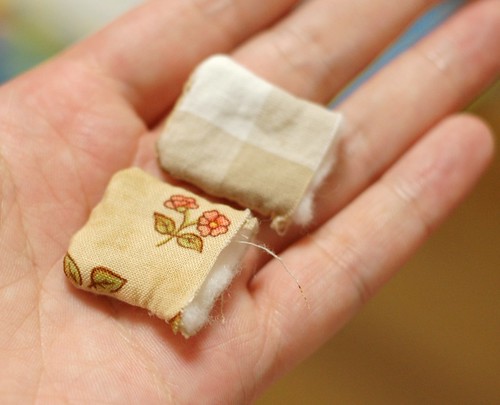
Turn them out.
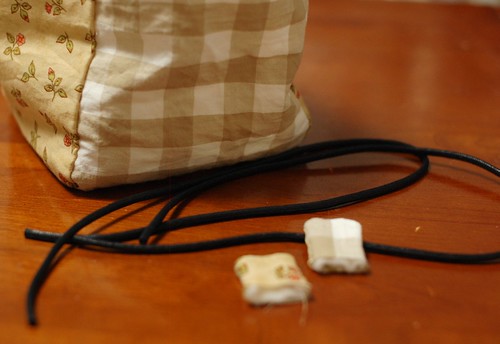
Cut two strings as the size of the bag and put it in the loop.
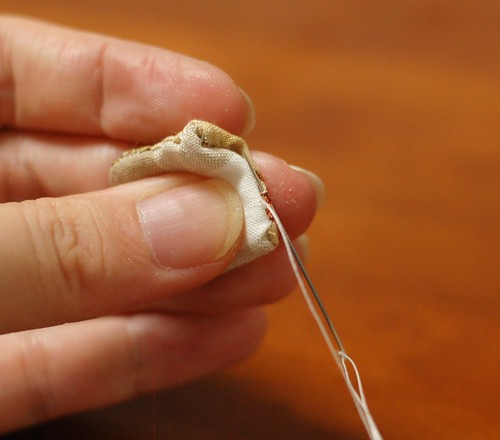
Then, fold the allowance of a code end to the inside and sew it 1cm / 0.5 inches from the corner.
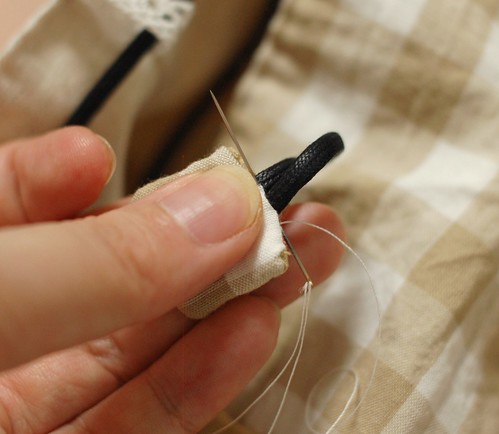
And put two ends of the code in the code end like the picture, and sew it well.

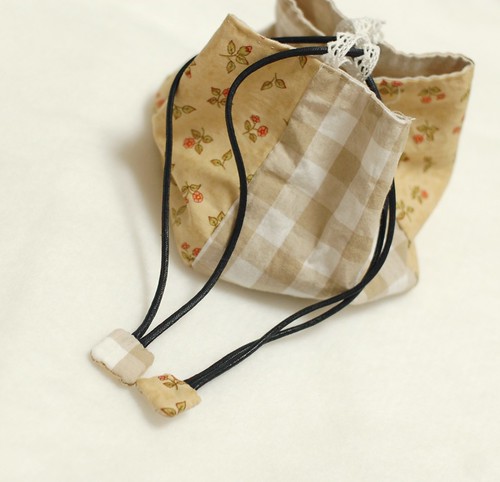
That's all!
I'm sorry if I couldn't explain well. Please leave a comment if you have any problem or question.
Thank you very much!!!!


40 comments:
That is so so cute, I wish I could try it! But when I sew it looks so messy ha!
Thank you: I will try it a once. Maybe in a little bigger version... You make nice things and so patiently and so so so small!!
These bags are beautiful. They would make perfect project bags for knitters and crocheters. I may have to make a dozen or so! :) Thank you for sharing your wonderful patterns Mai.
I only found your blog recently but love it and this bag tutorial is fantastic, thank you! I love that you sew by hand - it's very inspirational.
Thank you!!! Your directions are perfect and I just love the little bag. So sweet of you to take the time to write out the pattern.
thank you, thank you, thank you! You are the best.
I keep thanking you for each of your creations ... can't thank you enough
I love bags ... all kinds.. and esp the handmade ones
Yours are pretty. Thanks for sharing details on making them step by step with photos
Mena
Thank you! It was a great tutotial and the images were really helpful!
You make such lovely things, your blog is one of my favourites to read :) Thank you for all the tutorials, you do a great job of teaching :)
oh.. they are so cute! i also liked your tetra charms :-).
yesterday i made a rectangle bag to carry sewing materials inside. i didn't use drawstring, instead i put a button-on handle.
it will be up in my etsy store soon... check it out ok? www.WhimsyLoft.etsy.com
this is a new shop. :-)
i really wish i have time to sew something now! pls grant my wish...=(
Oh boy - this is great. Lace loops are simply adorable. As soon as I come back from vacation - will try bags! Thanks!!!!!!
Such a great tutorial! Thanks so much Mai! I hope to make one for myself! Have a lovely merry happy day! Love to you!
wow, so great :) thank you so much for sharing
Hi, thanks for sharing the tutorials you have posted, especially on Sarubobo :) the instructions are clear and the steps are easy to follow. I have only found your blog recently and love reading it :)
Thank you for sharing. It's a great tutorial, got to try it.
Your handsewing is always so inspiring!!! I posted a link to your tutorial on Craft Gossip Sewing:
http://sewing.craftgossip.com/tutorial-sew-a-square-bottomed-patchwork-bag/2009/08/05/
--Anne
beautiful pictures and lovely explanations.. thank you for sharing :) x
Love them! Got to try it out myself.
Don't worry about being not clear enough in your directions: you write them very well and you make it seem so easy to make these lovely items. I really love your work. Thank you for sharing!
x Karin
Argh! Those ends are so cute, I love this bag! I'll be linking.
Thank you for the how-to. You explained it very well and I'm looking forward to making it.
Mai! Thank you again for sharing with us. I have been looking for another hand sewn project and this is perfect.
So cute! I love the fabrics you used. This would be a great pattern for an Advent calendar!
they are so cute, thanks for sharing.
I have recently been interested in sewing thing, but always thought I need a sewing machine before I can start doing anything. But your blog is such a huge inspiration for me as I can see that you can do quite a lot with hand sewing. Thanks for showing us a lot of good stuffs. It must require quite a lot of efforts to post these how-tos. I love all of your products, they are so cute.
you make such beautiful things. you have reawakened an admiration of sewing in minature. i can't wait to get to it!xx
I love your blog and this tutorial,
thank you for sharing.
Um grande abraço
Juliana.
These are so cute! I'm going to try it =) Your creations are so beautiful! I am learning to do sashiko too. Thanks for sharing!
these are tooo cute! Thank you for sharing the tutorial.
Thanks for this tutorial =D ¡¡¡¡
Thanks for the tutorial! I made one over the weekend and just love how it turned out. I posted some photos over on my blog if anyone wants to check it out.
Cool blog as for me. It would be great to read something more concerning that theme.
BTW look at the design I've made myself London escorts
Really cute tutorial!!!!!!!!!
this is really really great :D i found you from a link on whipup.net...thank you for the tutorial...i might try this larger for a diaper bag :D
kudzu
Great story you place here.
It will be intresting to read anything more concerning this article.
Thank for giving that information.
With best regards Mika!
escorts in Ukraine
hi this is nice, thanks so much,...
Cell Phone Reviews Cell Phone Reviews
Thanks for this great tutorial. I was inspired to make one:
http://ephemeralchaos.blogspot.com/2011/09/projecting.html
I'm so glad to have found your beautiful blog.
Getting a bank advance for the sake of your business that reports to the business credit organizations is important for building business credit and finding bigger and less costly financing later on. check cashing carson
looks great embroidery digitizing usa*&
Post a Comment